
You put video on digital signage by uploading your video files into your signage dashboard, creating a playlist, and assigning that playlist to a connected screen or signage player. Videos are one of the most effective ways to capture attention because they are dynamic, engaging, and deliver more information in less time compared to static images. With PosterBooking, you can display videos on any screen in just a few simple steps.
This guide will walk you through the entire process - from preparing your videos to assigning them to screens, testing playback, and applying best practices to ensure your video signage is professional and impactful.
Table Of Contents
- Step 1: Gather Your Requirements
- Step 2: Connect Your Digital Signage Player
- Step 3: Upload Your Video Files
- Step 4: Create a Video Playlist
- Step 5: Assign Playlist to Your Screen
- Step 6: Test Video Playback
- Step 7: Schedule Your Videos
- Step 8: Maintain and Update Your Videos
- Best Practices for Using Video on Digital Signage
- Why Videos Work So Well for Digital Signage
- Final Thoughts
Step 1: Gather Your Requirements
Before you upload your first video, make sure you have the following:
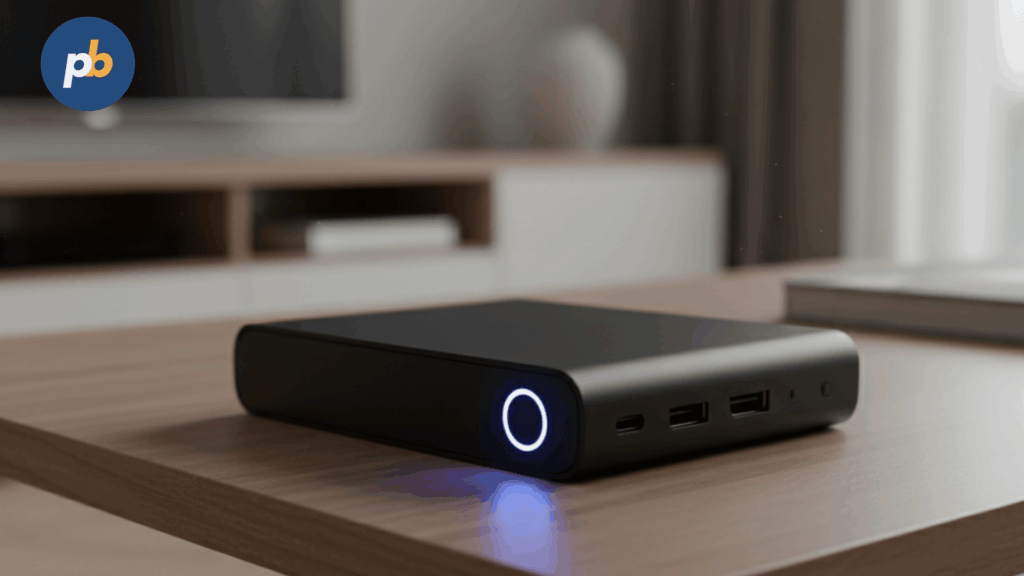
- A digital signage player or device PosterBooking works with:
- Amazon Fire Stick
- Amazon Signage Stick
- Android TV or Android tablet
- Raspberry Pi
- Any screen with HDMI, when paired with one of the devices above
- A PosterBooking account Sign up at posterbooking.co.uk/login. The free plan supports 10 screens, making it perfect for beginners.
- Your video files
- Format: MP4 is recommended for best compatibility.
- Resolution: HD (1920×1080) or 4K if your display supports it.
- Length: Consider looping short promotional videos (15–60 seconds) or longer explainer videos if your audience is in a waiting area. If your file is in a different format, you can easily convert to an mp4 to ensure smooth playback across devices.
- A stable internet connection Videos must be uploaded to your dashboard and pushed to your screens. Weak Wi-Fi may cause delays or playback issues.
Step 2: Connect Your Digital Signage Player
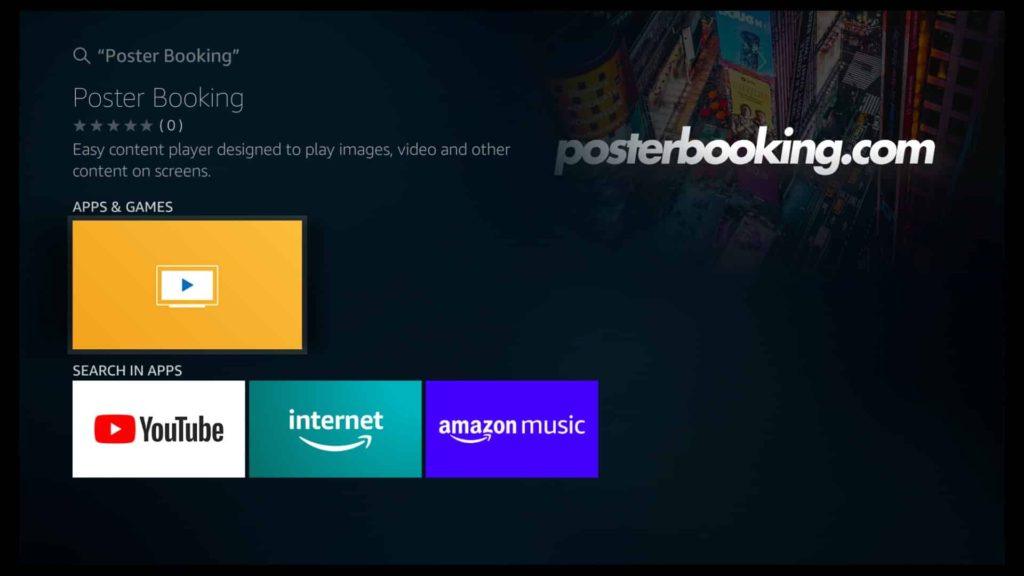
To display videos, your screen must first be linked to PosterBooking:
- Install the PosterBooking app on your device (Fire Stick, Android TV, or Raspberry Pi).
- Launch the app - you will see a unique code displayed on your TV or monitor.
- On another device, log in to posterbooking.co.uk/login.
- Go to Screens → Add Screen.
- Enter the unique code and give your screen a clear name (e.g., “Store Promo Screen” or “Gym Lobby TV”).
Your signage player is now connected and ready for video content.
Step 3: Upload Your Video Files
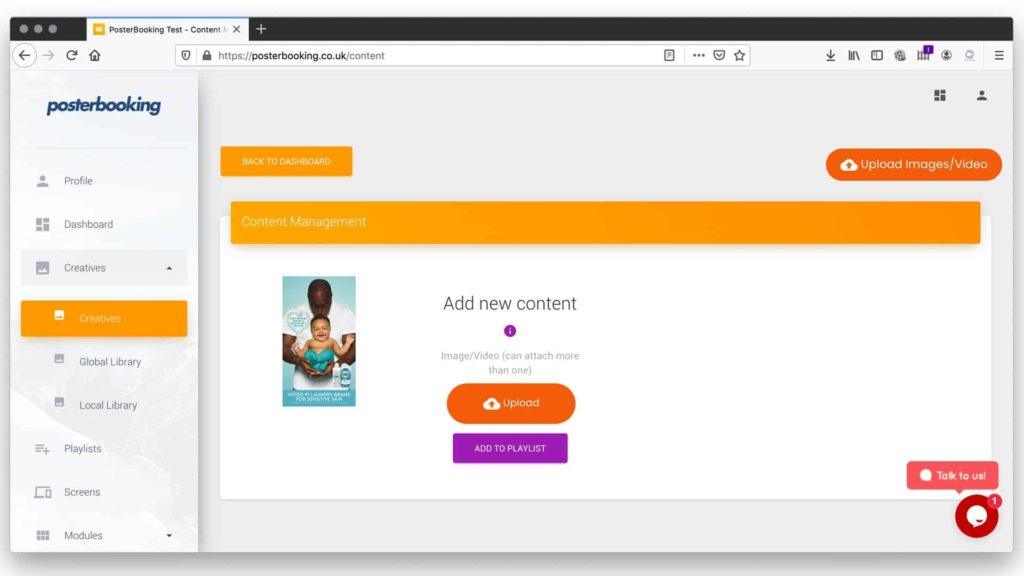
With your device linked, it’s time to upload your videos:
- In your PosterBooking dashboard, click Content.
- Select Images/Videos.
- Click Upload and select the video files from your computer.
- Once uploaded, your videos will appear in your content library.
Tips:
- Keep video sizes optimized. A 30-second MP4 compressed to around 10–20 MB uploads quickly and plays smoothly.
- Name files clearly (e.g., “Summer_Sale_2025.mp4” or “Gym_Class_Promo.mp4”) to avoid confusion later.
Step 4: Create a Video Playlist
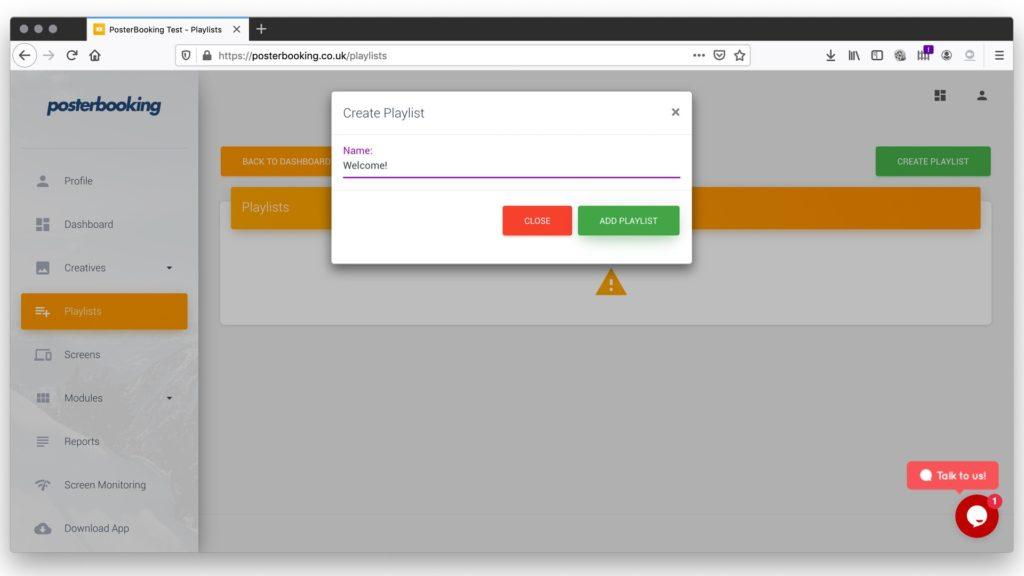
Playlists control what content appears on your screen and in what order.
- Go to the Playlists tab in your dashboard.
- Click Create Playlist.
- Name it something descriptive like “Promotional Videos” or “Menu Loop.”
- Add your uploaded videos from the content library.
- Adjust settings:
- For videos, PosterBooking defaults to playing the full clip.
- You can reorder clips to control sequence.
- Save the playlist.
If you want to mix videos with images, you can add both into the same playlist.
Step 5: Assign Playlist to Your Screen
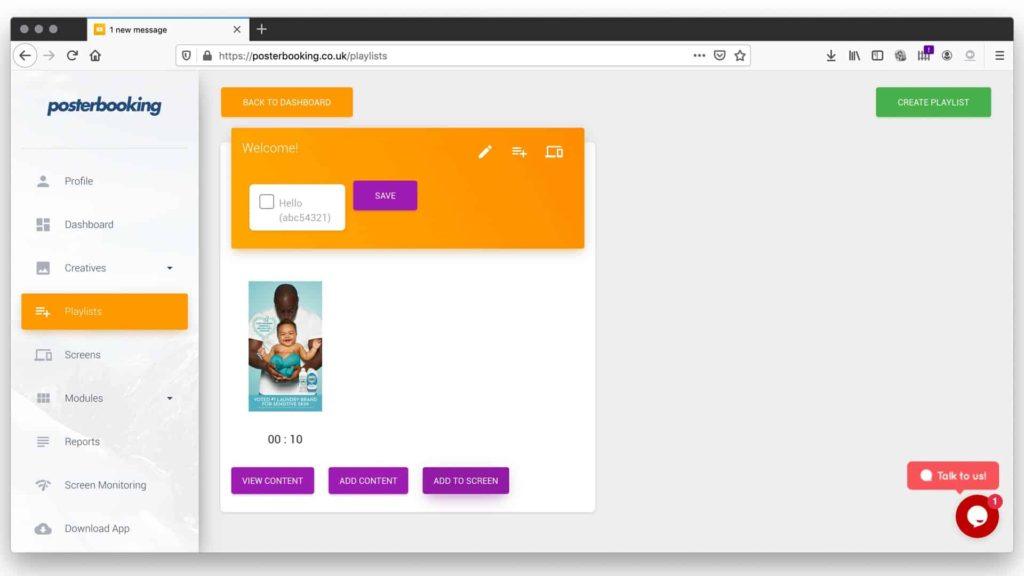
Now it’s time to put your videos live:
- Go to the Screens tab.
- Find the screen you want to update.
- Click Add/Edit Playlist.
- Select the video playlist you created.
- Click Save.
Within seconds, your screen will update and begin playing the videos you assigned.
Step 6: Test Video Playback
Testing ensures your videos display correctly:
- Check quality: Make sure the video plays in full resolution without blurring.
- Check sound (if applicable): If your videos have audio, confirm volume levels are balanced. Background music should not overpower speech.
- Check timing: Confirm the playlist loops smoothly without long gaps.
- Check stability: If a video stutters, re-upload a compressed version optimized for online playback.
Testing is especially important if you are displaying videos across multiple screens.
Step 7: Schedule Your Videos
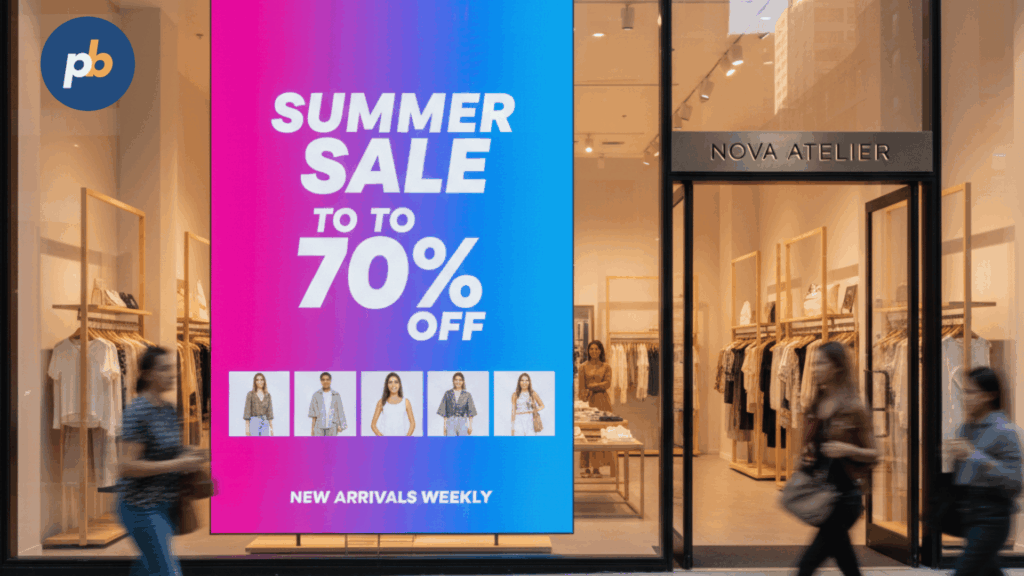
You don’t always want videos to play all day. PosterBooking allows you to schedule playlists by time of day or day of the week.
Examples:
- Restaurants → Breakfast video menus from 7 AM to 11 AM, lunch specials from 11 AM to 3 PM.
- Retail → Seasonal promotions during weekends, product demos on weekdays.
- Gyms → Class promo videos in the morning, membership ads in the evening.
To schedule:
- Go to Screens → Schedule.
- Select the video playlist.
- Choose the times and days it should play.
- Save the schedule.
The signage player will automatically switch videos based on your rules.
Step 8: Maintain and Update Your Videos
To keep audiences engaged, regularly refresh your video library:
- Upload new campaigns seasonally.
- Retire outdated promotions.
- Rotate content weekly to prevent “banner blindness.”
- Test new formats like short looping clips, customer testimonials, or behind-the-scenes videos.
PosterBooking makes this simple - just upload new files and update playlists remotely.
Best Practices for Using Video on Digital Signage
- Keep videos short and clear Aim for 15–60 seconds in busy environments. Longer videos work better in waiting rooms where audiences are stationary.
- Add captions Many viewers will watch without sound, so captions ensure your message is clear.
- Optimize for looping Create videos that look seamless when repeated. Avoid abrupt cuts or endings.
- Balance visuals and audio If your videos include music, test sound levels so they complement your environment rather than overwhelm it.
- Test across screens Different displays may have different brightness or resolution. Adjust your video exports to suit the lowest-quality display in your network.
Why Videos Work So Well for Digital Signage
Videos are the most engaging content format for digital signage:
- Attention-grabbing: Movement naturally draws the eye, making videos more effective than static posters.
- Informative: Videos can explain products, services, or offers in more detail.
- Memorable: People retain 95 percent of a message when they watch it in a video compared to 10 percent from reading text.
- Flexible: Videos work for retail, restaurants, schools, gyms, and corporate environments alike.
Final Thoughts
You put video on digital signage by uploading your files to the dashboard, creating a playlist, and assigning it to a connected screen. With PosterBooking, this process takes only a few minutes and works on Fire Sticks, Android TVs, Raspberry Pi, and Amazon Signage Sticks.
The key to success is preparation: optimize your videos, create clear playlists, test playback, and schedule content strategically. Done right, video signage captures attention, delivers your message effectively, and creates an atmosphere that keeps audiences engaged.
With PosterBooking’s free plan supporting 10 screens, you can start experimenting with video signage today, test different formats, and scale your network as your needs grow.