
You use a Raspberry Pi as digital signage by installing a signage app like PosterBooking, connecting it to your display via HDMI, and managing content from a cloud-based dashboard. The Raspberry Pi is an affordable, compact, and flexible device that transforms any standard TV or monitor into a powerful digital signage screen.
This guide will walk you through everything step by step, from preparing your Raspberry Pi to scheduling and managing content on your screens.
Table Of Contents
- Step 1: Gather Your Requirements
- Step 2: Prepare the Raspberry Pi
- Step 3: Connect Your Raspberry Pi to the Display
- Step 4: Link Your Raspberry Pi to PosterBooking
- Step 5: Upload Your Content
- Step 6: Create Playlists
- Step 7: Assign Playlists to Your Raspberry Pi
- Step 8: Schedule Content
- Step 9: Test Your Setup
- Step 10: Maintain and Scale Your Setup
- Best Practices for Raspberry Pi Digital Signage
- Why Use Raspberry Pi for Digital Signage?
- Final Thoughts
Step 1: Gather Your Requirements
Before you begin, make sure you have all the essentials ready:
- Raspberry Pi board
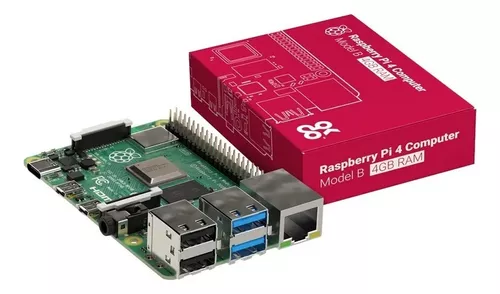
- Recommended models: Raspberry Pi 3, Raspberry Pi 4, or Raspberry Pi 400 (these provide enough power for smooth video playback).
- MicroSD card (16 GB minimum, 32 GB recommended)
- This is where the operating system and PosterBooking app will run.
- HDMI-compatible display
- Any TV or monitor with an HDMI port works.
- Micro HDMI to HDMI cable
- Required to connect your Raspberry Pi to your display.
- Power supply
- Official Raspberry Pi USB-C or Micro-USB power adapter depending on your board version.
- Keyboard and mouse (optional)
- Needed only for initial setup if you don’t want to use SSH or VNC later.
- PosterBooking account
- Sign up for free at posterbooking.com. The free plan supports up to 10 screens, making it ideal for experimenting before scaling.
- Internet connection
- Connect your Raspberry Pi via Wi-Fi or Ethernet for content updates.
Having all these requirements ready ensures a smooth setup process.
Step 2: Prepare the Raspberry Pi
You need to install the operating system and PosterBooking software on your Raspberry Pi.
- Download Raspberry Pi Imager
- Available from the official Raspberry Pi website.
- Install it on your computer.
- Get the PosterBooking OS image
- Visit posterbooking.com and download the custom Raspberry Pi OS image designed for digital signage.
- Flash the image to your microSD card
- Open Raspberry Pi Imager.
- Select the downloaded PosterBooking OS file.
- Choose your microSD card as the target.
- Click Write and wait until it’s finished.
- Insert the microSD card into your Raspberry Pi.
Step 3: Connect Your Raspberry Pi to the Display
- Plug your Raspberry Pi into your TV or monitor using the HDMI cable.
- Connect the power supply to boot it up.
- If using a keyboard and mouse, plug them into the USB ports.
- On first boot, the system will load the PosterBooking app automatically.
You should now see a unique screen code displayed on your monitor. Keep this visible for the next step.
Step 4: Link Your Raspberry Pi to PosterBooking
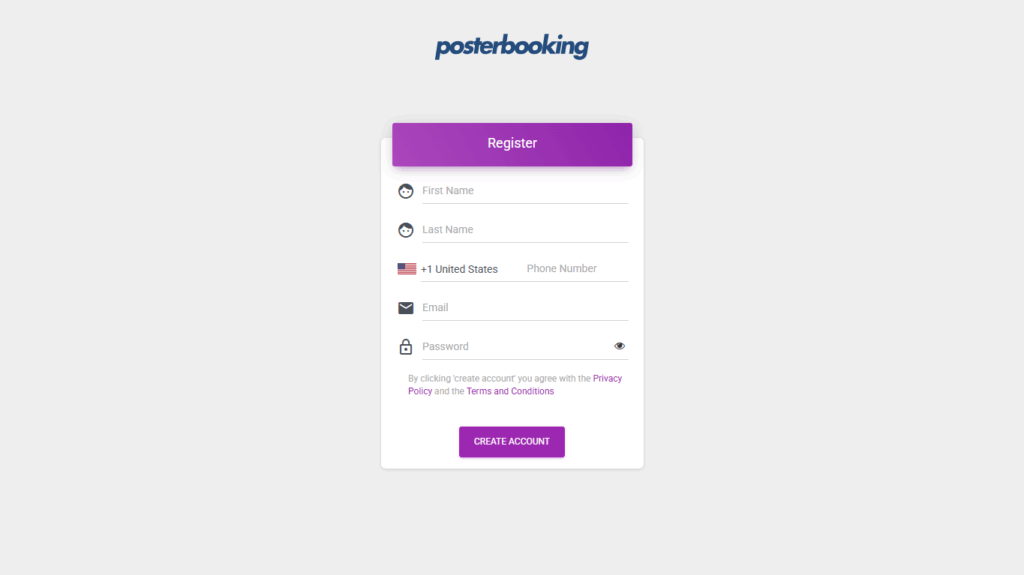
- On your computer or phone, log in to Posterbooking.com.
- In the dashboard, click Screens from the left-hand menu.
- Select Add Screen.
- Enter the screen code displayed on your Raspberry Pi.
- Assign a descriptive name (e.g., “Reception Pi” or “Menu Board”).
- Click Add Screen.
Your Raspberry Pi is now officially connected to PosterBooking as a digital signage player.
Step 5: Upload Your Content
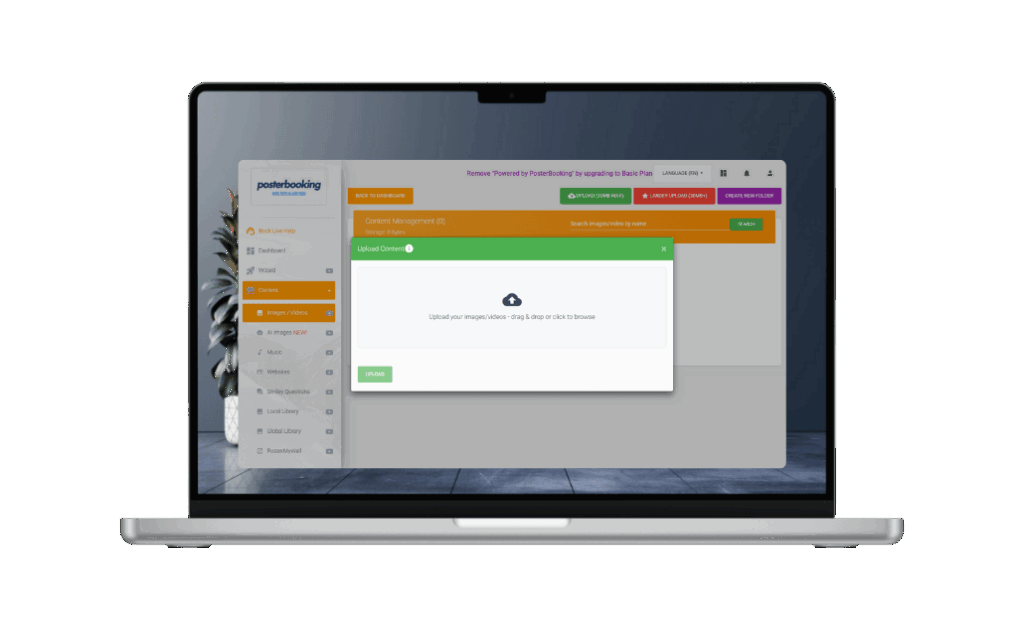
Before your Raspberry Pi can display anything, upload content to your PosterBooking dashboard:
- Navigate to Content → Images/Videos.
- Upload images (JPG, PNG) or videos (MP4).
- To display live websites or dashboards, go to Content → Websites and paste the URL.
- Organize your content into folders if needed for easier management.
Once uploaded, your content is available in your library for use in playlists.
Step 6: Create Playlists
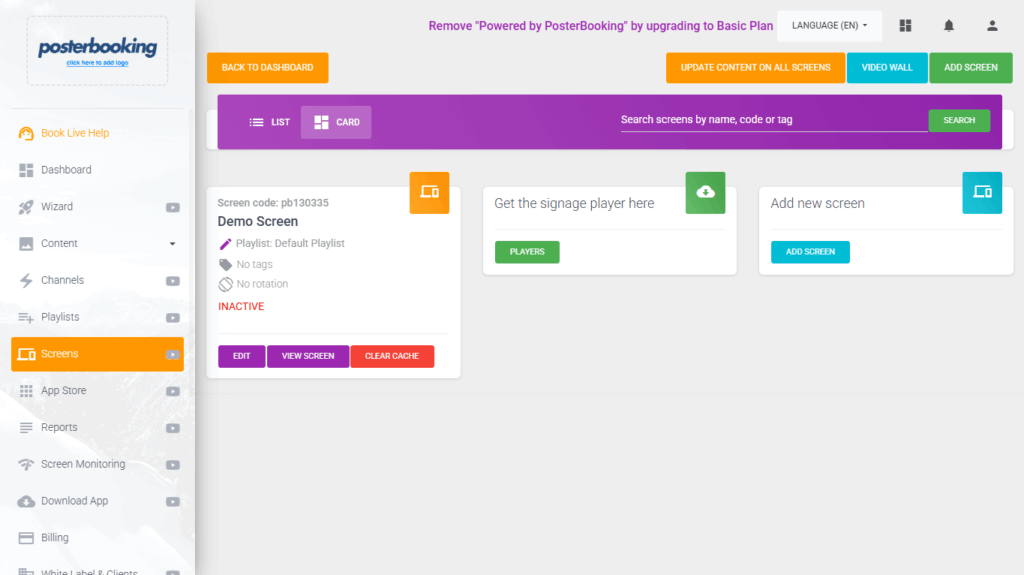
Playlists control what content plays on your Raspberry Pi and in what order.
- Go to the Playlists tab.
- Click Create Playlist and give it a name, such as “Morning Specials” or “Announcements.”
- Add content from your library into the playlist.
- Adjust the duration for each item - for example, keep slides for 15 seconds and play videos in full.
- Save your playlist.
Repeat this step to create multiple playlists for different times of day or different campaigns.
Step 7: Assign Playlists to Your Raspberry Pi
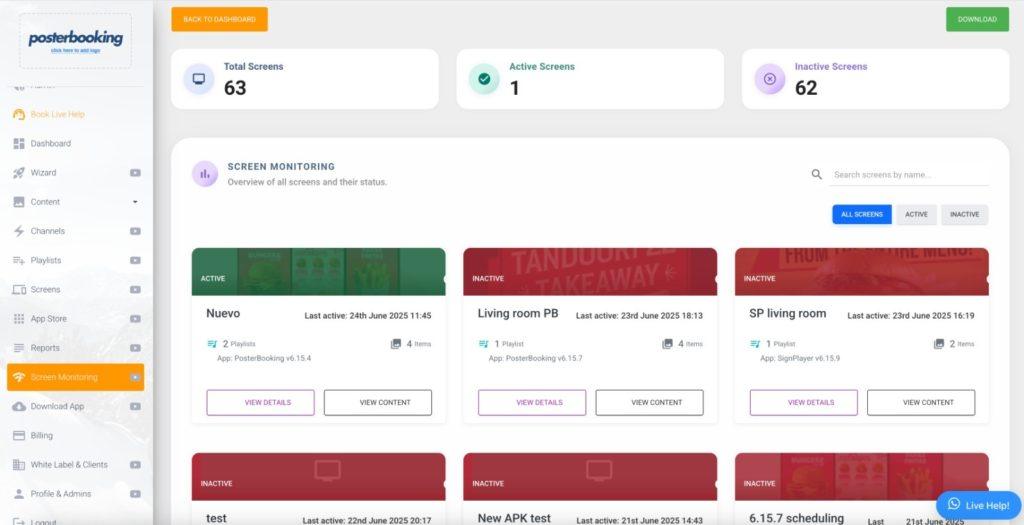
Now link your playlist to your Raspberry Pi screen:
- Return to the Screens tab.
- Locate your Raspberry Pi screen.
- Click Add/Edit Playlist.
- Select the playlist you just created.
- Click Save.
Your Raspberry Pi will immediately begin displaying the playlist on your TV or monitor.
Step 8: Schedule Content
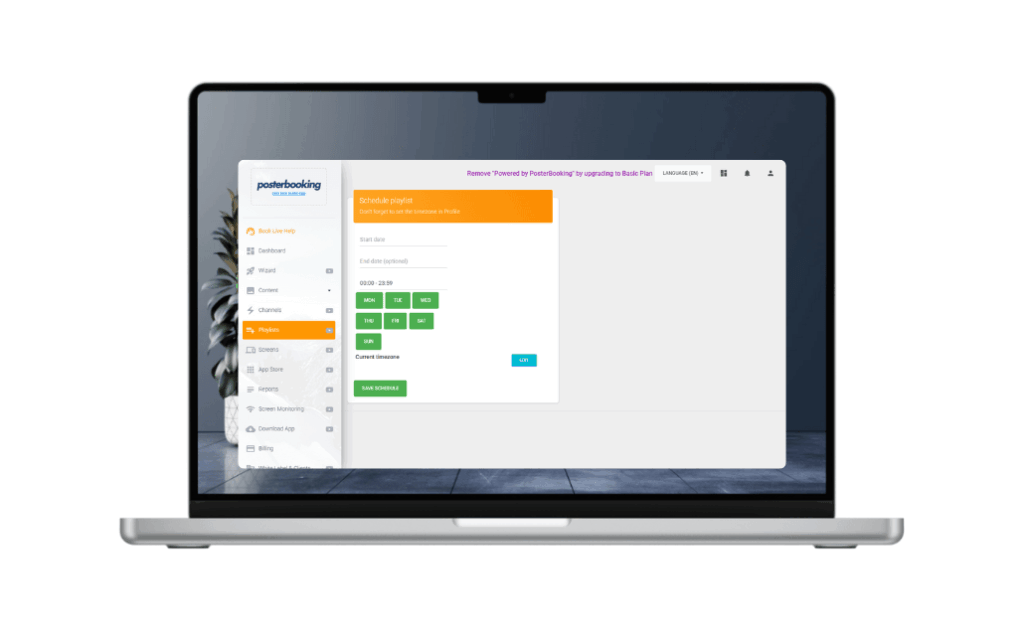
One of the most powerful features of digital signage is scheduling. With PosterBooking, you can set playlists to run at specific times:
- Go to Screens → Schedule.
- Select your Raspberry Pi screen.
- Add a playlist to a specific time slot.
- Example:
- Breakfast Menu: 7:00 AM – 11:00 AM
- Lunch Specials: 11:00 AM – 3:00 PM
- Happy Hour: 3:00 PM – 6:00 PM
- Save the schedule.
Your Raspberry Pi will automatically switch playlists according to your schedule.
Step 9: Test Your Setup
Before you roll it out fully, test to make sure everything works:
- Check visuals: Confirm that images and videos appear correctly.
- Confirm timing: Watch playlists change at scheduled intervals.
- Test connectivity: Disconnect your Raspberry Pi briefly and reconnect to ensure it resumes playback smoothly.
- Adjust resolution: If the display looks stretched, check display settings under Raspberry Pi OS to match your screen’s native resolution.
Testing helps prevent surprises later, especially in business-critical environments.
Step 10: Maintain and Scale Your Setup
Once your Raspberry Pi is running digital signage:
- Update content regularly: Keep playlists fresh to maintain engagement.
- Monitor uptime: Use the PosterBooking dashboard to check your Raspberry Pi’s online status.
- Add more devices: With the free plan, you can connect up to 10 Raspberry Pis or other devices.
- Upgrade when scaling: For unlimited screens, PosterBooking’s Business Pro plan removes limits and adds whitelabel features.
The Raspberry Pi is cost-effective enough that you can easily scale signage across multiple screens in different locations.
Best Practices for Raspberry Pi Digital Signage
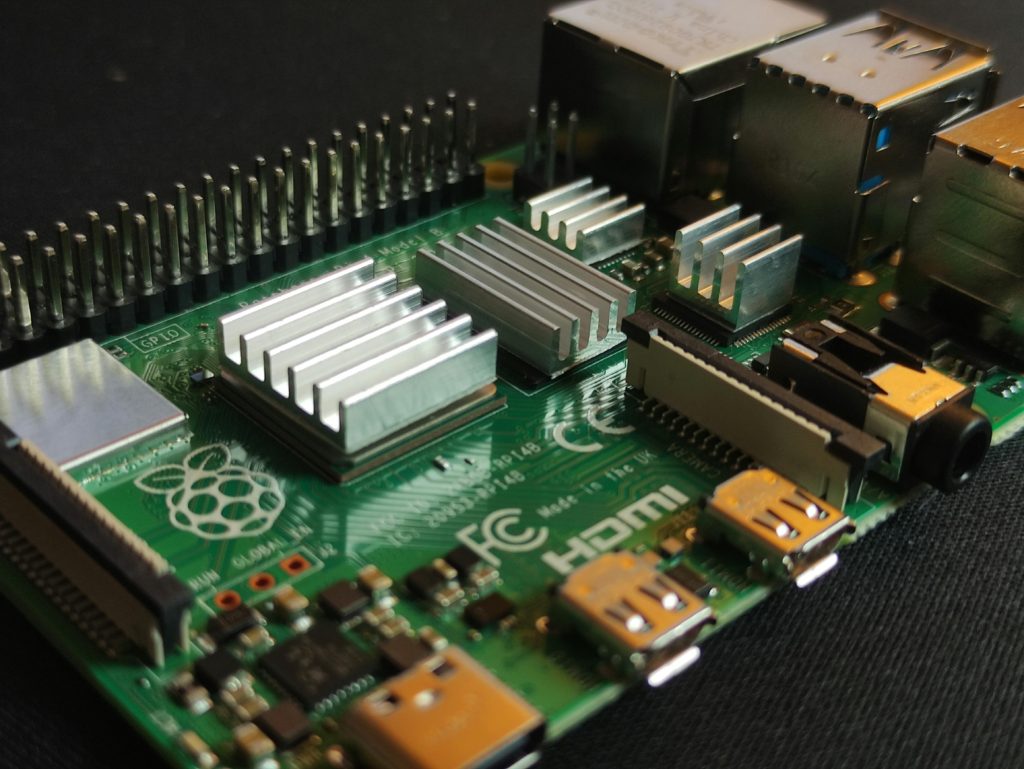
- Use heat sinks or a fan
- The Raspberry Pi can get warm during continuous video playback. Cooling accessories help prevent throttling.
- Secure power supply
- Use the official Raspberry Pi adapter to avoid power drops that might reboot the system.
- Choose a quality microSD card
- A high-speed card reduces lag and improves video performance.
- Name screens clearly
- Use descriptive names like “Lobby Pi” or “Cafeteria Menu” to make management easier.
- Backup your content
- Always keep local copies of your media in case you need to re-upload.
Why Use Raspberry Pi for Digital Signage?
- Low cost: At around $35–$55, Raspberry Pi is much cheaper than commercial signage players.
- Flexibility: Works with almost any display via HDMI.
- Portability: Small and easy to mount behind a TV.
- Scalability: Perfect for businesses that want to test digital signage without heavy investment.
- Seamless PosterBooking integration: Ready-to-use OS image removes technical complexity.
Final Thoughts
You use a Raspberry Pi as digital signage by installing the PosterBooking OS image, connecting the device to your display, linking it with a unique code, uploading content, creating playlists, and assigning them through your dashboard. With scheduling, you can automate content throughout the day, making your Raspberry Pi just as powerful as expensive commercial players.
The Raspberry Pi is one of the most affordable, versatile, and beginner-friendly options for digital signage in 2025. Combined with PosterBooking’s free plan for up to 10 screens, it gives businesses, schools, gyms, and restaurants a professional solution at minimal cost.
With the right setup, your Raspberry Pi becomes more than just a mini computer, it becomes the heart of a cost-effective, scalable digital signage network.