
You use Carousel digital signage by installing the Carousel Cloud app on your media player, connecting it to your Carousel account, and then creating zones, templates, and playlists to display your content. Carousel is a cloud-based signage system that emphasizes customizable layouts, interactive widgets, and enterprise-friendly features. It’s especially popular in schools, corporate offices, and community spaces that need to organize multiple types of information on a single screen.
In this guide, you’ll learn step by step how to use Carousel digital signage effectively - from setting up your hardware to managing zones, playlists, and schedules - plus best practices to make your screens engaging and professional.
Table Of Contents
- Step 1: Gather Your Requirements
- Step 2: Install the Carousel App on Your Media Player
- Step 3: Connect Your Player to Carousel Cloud
- Step 4: Create Zones and Layouts
- Step 5: Upload and Manage Content
- Step 6: Create Playlists
- Step 7: Schedule Content
- Step 8: Test and Confirm Setup
- Step 9: Maintain and Update Regularly
- Best Practices for Using Carousel Digital Signage
- Why Choose Carousel
- Final Thoughts
Step 1: Gather Your Requirements
Before you begin, prepare the following essentials:
- Display screen A TV or monitor with HDMI input. Carousel works with commercial displays and consumer-grade screens alike.
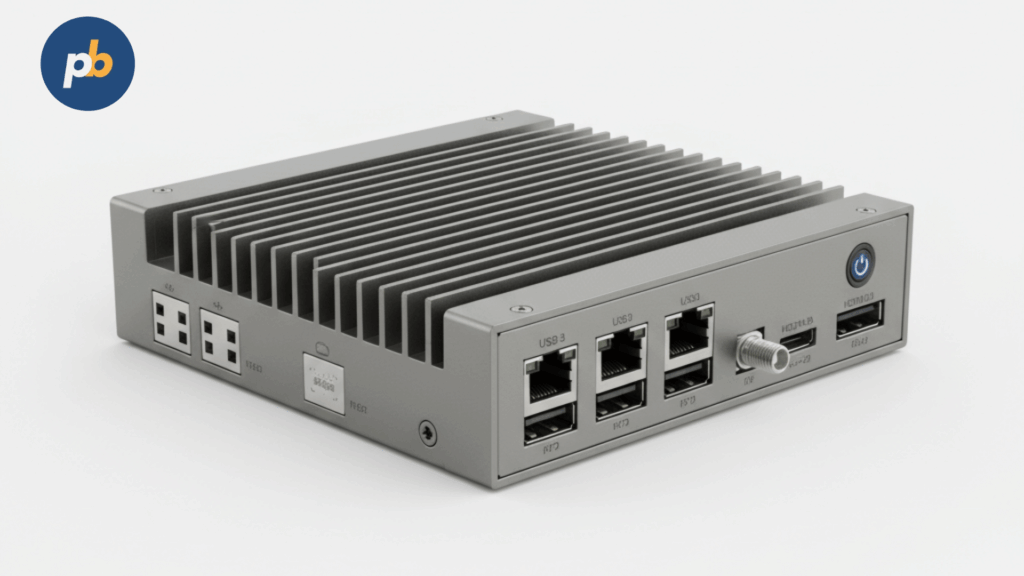
- Media player Carousel Cloud supports multiple platforms including:
- BrightSign players
- Apple TV
- LG webOS commercial displays
- ChromeOS devices
- Carousel’s own recommended hardware
- Internet connection A stable Wi-Fi or Ethernet connection is required to download content and sync updates.
- Carousel Cloud account You’ll need a subscription to Carousel Cloud. Login credentials will be used to link your media player and manage your screens.
- Content files Have your media ready: images, videos, text announcements, or web dashboards.
Preparation ensures a smooth setup process without interruptions.
Step 2: Install the Carousel App on Your Media Player
The first step is to install Carousel’s playback software:
- BrightSign: Load the Carousel Cloud channel onto your BrightSign player through BrightAuthor.
- Apple TV: Download the Carousel app from the Apple App Store.
- ChromeOS devices: Install Carousel as a kiosk app from the Chrome Web Store.
- LG webOS displays: Enable the built-in Carousel app available for commercial webOS screens.
When you launch the app for the first time, your screen will display a unique pairing code. This code is needed to link the device to your Carousel account.
Step 3: Connect Your Player to Carousel Cloud
On a separate device (computer or tablet):
- Log in to your Carousel Cloud account.
- Go to the Players section in the dashboard.
- Click Add Player.
- Enter the pairing code from your screen.
- Assign a name to your player (e.g., “Main Lobby Screen”).
Your screen is now connected and ready to display content from Carousel.
Step 4: Create Zones and Layouts
One of Carousel’s defining features is its zones system. Zones divide your display into multiple sections, each showing different content. For example:
- Top zone: School announcements
- Main center zone: Event calendar
- Side zone: Weather or news feed
To set this up:
- Navigate to Zones in your dashboard.
- Select a layout template or design your own grid.
- Assign content areas to each zone (text, video, widgets, or images).
Zones make it possible to present varied information simultaneously, which is why Carousel is so popular in schools and offices.
Step 5: Upload and Manage Content
Carousel supports multiple content types:
- Images and Videos: Upload files from your computer.
- Text Announcements: Type directly in the editor to create quick updates.
- Web Feeds: Add live websites, dashboards, or Google Slides.
- Widgets: Integrate clocks, calendars, weather, and social media feeds.
To upload:
- Go to the Content tab.
- Select the zone where you want the content to appear.
- Upload or create the content.
- Save and assign it to the zone.
Step 6: Create Playlists
Playlists determine the order in which content rotates within a zone.
- Navigate to the Playlists section.
- Create a new playlist and give it a descriptive name (e.g., “Morning Updates”).
- Add the uploaded content to the playlist.
- Adjust durations - e.g., 15 seconds per slide.
- Save your playlist.
Each zone can run its own playlist, so your main screen could be showing video loops while a side zone scrolls text announcements.
Step 7: Schedule Content
Scheduling allows you to control when specific content appears. This is crucial for time-sensitive messaging like cafeteria menus or event reminders.
- Go to the Schedule tab.
- Select the playlist or content item you want to schedule.
- Choose start and end times, and select which days it should run.
- Save your schedule.
Carousel will automatically activate and expire content at the correct times.
Step 8: Test and Confirm Setup
Once your zones, playlists, and schedules are configured, test your display:
- Check all zones: Confirm each section of your screen is showing the right content.
- Test rotation: Verify that playlists cycle at the correct durations.
- Verify scheduling: Ensure time-sensitive content appears and disappears on schedule.
- Network check: Confirm the device stays online so updates sync reliably.
Testing prevents miscommunication and ensures a professional look.
Step 9: Maintain and Update Regularly
Digital signage is most effective when kept fresh.
- Rotate content weekly: Update images and announcements to keep viewers engaged.
- Use templates: Carousel offers customizable templates for faster updates.
- Delegate admin roles: Allow different staff (teachers, managers) to update their zones without needing full system access.
- Review analytics: If enabled, check engagement reports to see what content resonates.
Best Practices for Using Carousel Digital Signage
- Keep content balanced Don’t overload zones with too much text. Use short, clear messages.
- Use branding consistently Apply your school, business, or organizational branding across zones to maintain a cohesive look.
- Schedule for relevance Morning screens might emphasize daily announcements, while evenings highlight upcoming events.
- Leverage widgets Add weather, news, or social media feeds for dynamic content that keeps screens interesting.
- Plan your layout Decide early which zones are permanent (like logos or clocks) and which rotate frequently.
Why Choose Carousel
Carousel stands out among digital signage systems for:
- Zone-based layouts: Display multiple types of content on one screen.
- User-friendly templates: Quickly create announcements without design skills.
- Cloud-based access: Manage screens remotely from anywhere.
- Enterprise features: Multiple user roles, scheduling, and integration with common platforms.
It’s particularly effective for schools, universities, offices, and community centers where organized communication is key.
Final Thoughts
You use Carousel digital signage by installing the app on your media player, connecting it to your account, creating zones, uploading content, building playlists, and scheduling it to play at the right times. Carousel’s flexibility with layouts and scheduling makes it powerful for environments where multiple streams of information need to be displayed at once.
By keeping your content fresh, balancing visuals and text, and leveraging Carousel’s zone-based approach, you can deliver engaging and professional signage that keeps your audience informed and connected.