
You use a USB stick for digital signage by loading media files onto it, inserting it into a compatible display or media player, and configuring the device to automatically play the content. This method is one of the simplest and most affordable ways to run digital signage, especially in single-screen setups where you don’t need remote management. While modern cloud-based solutions like PosterBooking provide remote control and scheduling, USB-based signage is a good entry point for small businesses, schools, or local organizations that want to display static loops of images or videos.
In this guide, we’ll go step by step through preparing your USB stick, setting up the display, organizing your content, and maintaining your signage. We’ll also explain the pros and cons of USB signage compared to cloud-based systems.
Table Of Contents
- Step 1: Gather Your Requirements
- Step 2: Prepare the USB Stick
- Step 3: Insert the USB Stick Into the Display
- Step 4: Automate Playback
- Step 5: Maintain and Update Content
- Step 6: Best Practices for USB Signage
- Step 7: Understand USB vs. Cloud-Based Signage
- Step 8: When to Switch to a Cloud-Based Solution
- Final Thoughts
Step 1: Gather Your Requirements
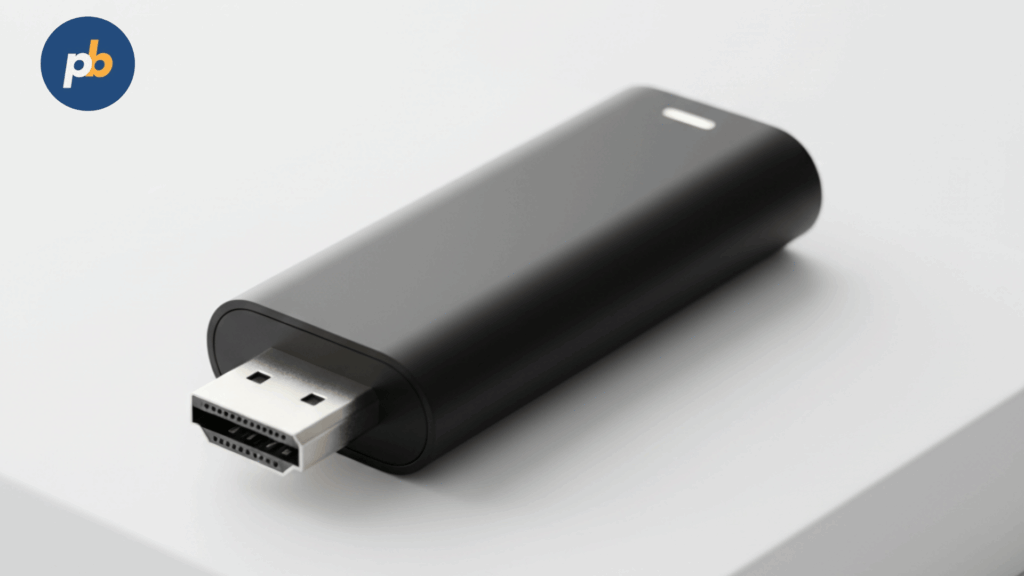
Before you begin, make sure you have the essentials:
- A display screen
- Most modern TVs and monitors have USB ports and built-in media players.
- Some older models may not support direct USB playback, in which case you’ll need a media player.
- A USB stick
- Choose one with enough storage for your media (8 GB or higher is recommended).
- Format it properly (usually FAT32 or exFAT) so the TV or player can read it.
- Your media files
- Supported formats vary by TV or player, but standard ones are:
- Images: JPG, PNG
- Videos: MP4, AVI, MOV
- Prepare content in the correct resolution (1080p for Full HD, 4K for ultra HD).
- A content plan
- Decide what will be shown and in what order (e.g., menu boards, promotions, event slides).
With these prepared, you’re ready to set up.
Step 2: Prepare the USB Stick
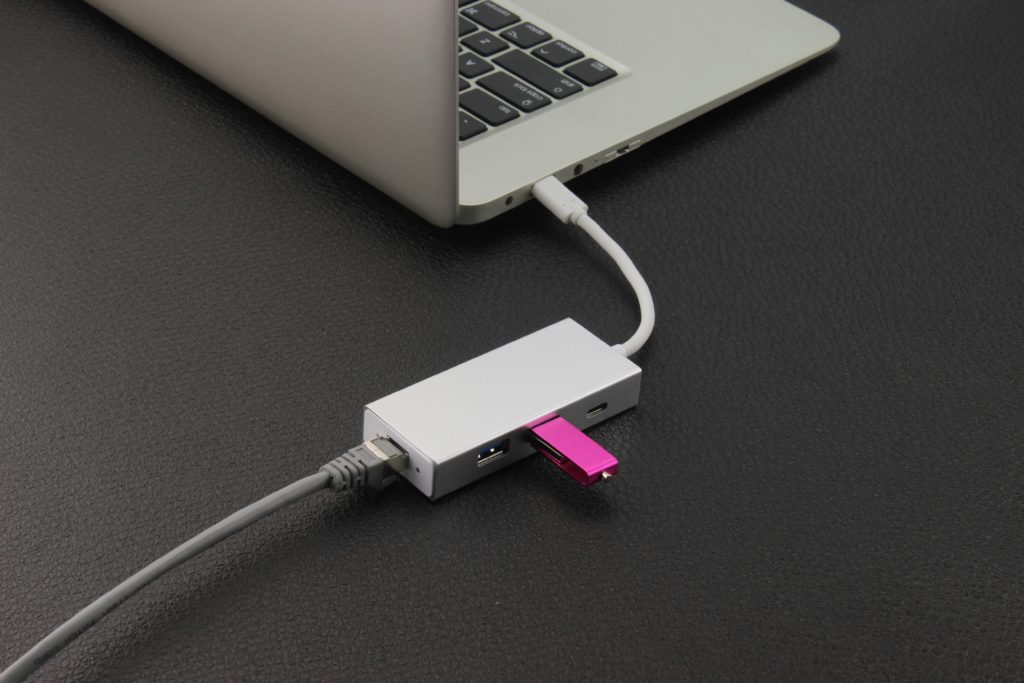
A well-organized USB stick ensures smooth playback:
- Format the drive
- Plug the USB stick into your computer.
- Format it to FAT32 or exFAT (avoid NTFS as many TVs cannot read it).
- Organize files
- Create folders for different campaigns (e.g., “Menus,” “Promotions,” “Announcements”).
- Rename files in playback order if your TV does not sort automatically (e.g., 01.jpg, 02.jpg, 03.mp4).
- Test file compatibility
- Some TVs may not support certain codecs. Test one file first before loading the entire library.
Step 3: Insert the USB Stick Into the Display
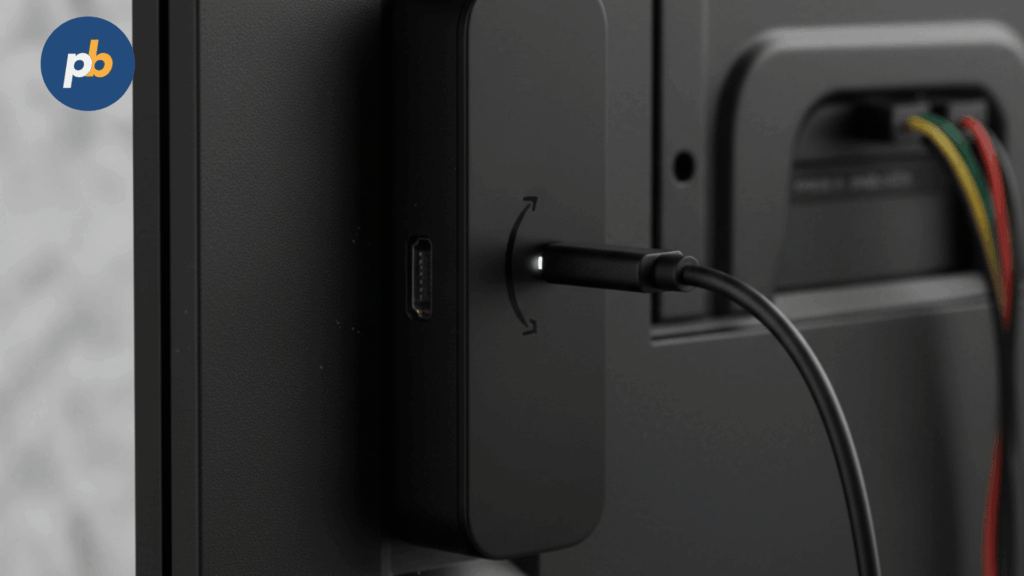
Once prepared:
- Plug the USB stick into the TV’s USB port.
- Switch the input source to “USB” or “Media Player” using the TV remote.
- Browse and select “Slideshow” or “Play All” mode.
- Your content will begin playing automatically.
Some TVs even support “Repeat” or “Loop” modes to keep the content running continuously.
Step 4: Automate Playback
Most USB signage setups rely on auto-play features:
- Auto-start on power up: Many TVs can be configured to automatically play media from USB when turned on.
- Loop playback: Enable looping in the TV’s settings so content restarts once it reaches the end.
- Slideshow settings: For images, configure transition effects and slide duration (e.g., 10 seconds per image).
If your TV doesn’t support auto-play, consider using a cheap media player (like an Android TV box) that can auto-launch USB content on startup.
Step 5: Maintain and Update Content
USB-based signage requires manual updates. To refresh content:
- Remove the USB stick from the display.
- Plug it into your computer.
- Delete outdated files and add new ones.
- Reinsert the stick into the TV.
This process works fine for one or two screens but becomes difficult with multiple locations - which is why many businesses eventually move to cloud-based solutions like PosterBooking for remote updates.
Step 6: Best Practices for USB Signage
- Use high-quality USB drives
- Cheap drives wear out quickly with constant playback. Choose reliable brands (SanDisk, Kingston, Samsung).
- Match screen resolution
- Export content at the display’s resolution (1080p or 4K) to avoid distortion.
- Keep file sizes reasonable
- Large video files may lag on older TVs. Compress if necessary.
- Regularly back up content
- Always keep a copy on your computer in case the USB fails.
- Check playback compatibility
- Not all TVs support advanced codecs like H.265. Stick with H.264 MP4s for maximum compatibility.
Step 7: Understand USB vs. Cloud-Based Signage
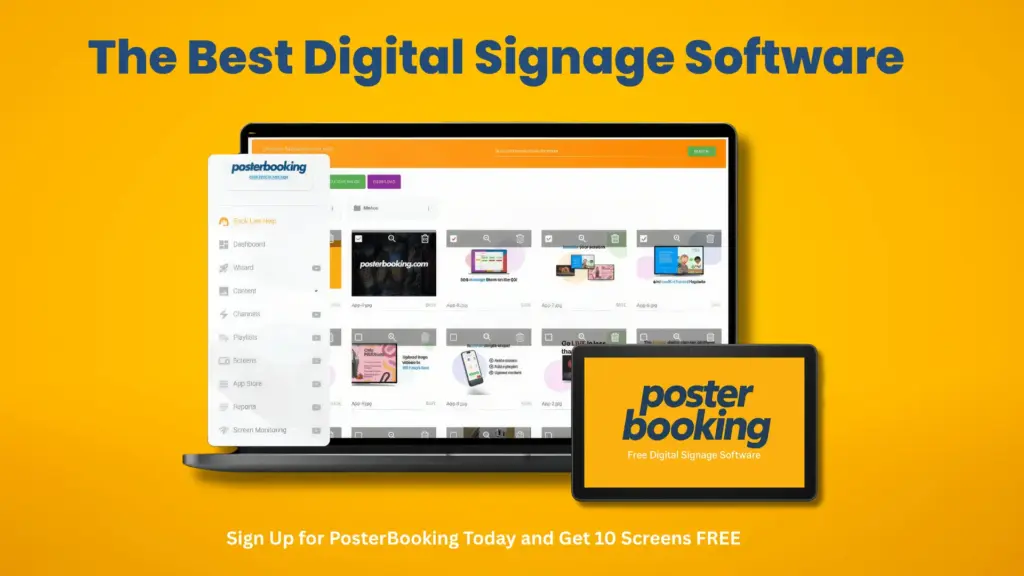
While USB signage is simple, it has clear limitations compared to software like PosterBooking:
| Feature | USB Stick Signage | PosterBooking (Cloud-Based) |
|---|---|---|
| Setup Cost | Low (just a USB stick) | Free for 10 screens (requires Firestick/Android device) |
| Content Updates | Manual (physically swap USB) | Remote, instant updates from dashboard |
| Scheduling | Limited or none | Full scheduling by time and date |
| Scalability | Difficult with multiple screens | Unlimited scaling across locations |
| Interactivity | Not supported | Supports live websites, Google Slides, dashboards |
| Reliability | Works offline, but prone to wear/failure | Cloud-based with monitoring tools |
For small-scale use (like a single café menu or school noticeboard), USB works fine. But for larger operations, cloud-based signage offers more flexibility and control.
Step 8: When to Switch to a Cloud-Based Solution
If you find yourself:
- Updating content frequently,
- Managing more than 2–3 screens,
- Needing schedules (e.g., breakfast vs. lunch menus),
- Wanting live content (e.g., dashboards, websites, QR codes),
…it’s time to move beyond USB signage. PosterBooking is the perfect next step. Simply replace your USB stick with a Fire Stick or Android player, install the PosterBooking app, and manage everything online.
Final Thoughts
You use a USB stick for digital signage by preparing your media files, formatting the drive, plugging it into a compatible TV or player, and enabling auto-play or slideshow features. It’s a simple, affordable solution for single-screen setups, especially for churches or schools with limited budgets.
However, USB signage has limitations. It requires manual updates, offers no remote control, and becomes impractical with multiple screens. For anyone needing scheduling, scalability, or live updates, cloud-based software like PosterBooking is a much better choice - and with 10 free screens, it’s just as affordable as USB.