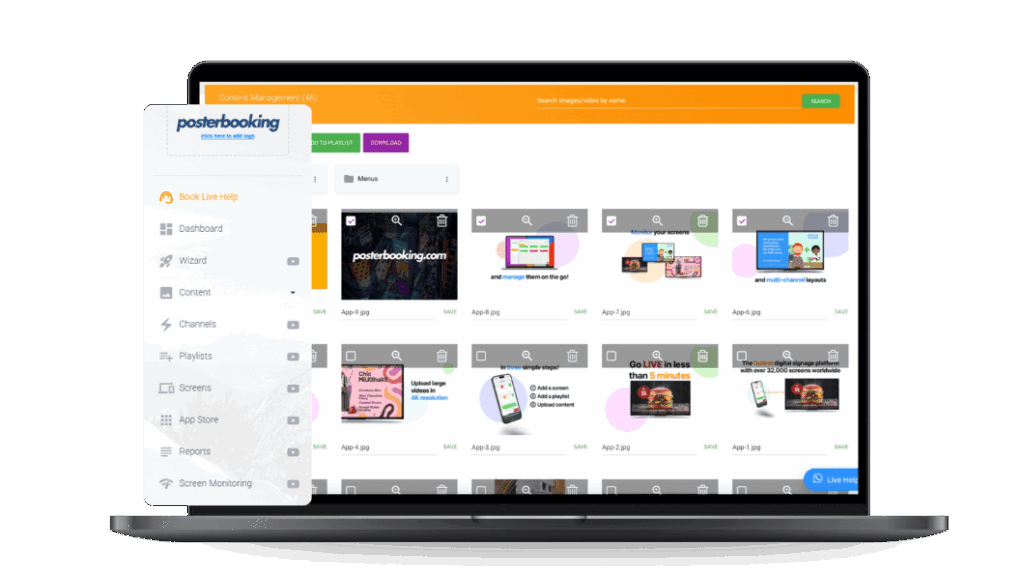
You use a laptop and PowerPoint for digital signage by designing slides in PowerPoint, setting them to play automatically, and connecting your laptop to a display screen. While professional digital signage software like PosterBooking gives you more flexibility, PowerPoint remains a practical option for small businesses, classrooms, or churches that need a quick and low-cost signage solution.
This guide will walk you step by step through preparing your laptop, creating content in PowerPoint, connecting to a TV or projector, and optimizing your slideshow for digital signage use.
Table Of Contents
- Step 1: Gather Your Requirements
- Step 2: Create a PowerPoint Presentation
- Step 3: Automate Slide Transitions
- Step 4: Set Slideshow to Loop
- Step 5: Connect Laptop to Display Screen
- Option 1: HDMI Cable
- Option 2: Wireless Casting
- Step 6: Run the Slideshow
- Step 7: Optimize for Performance
- Step 8: Maintain and Update Content
- Best Practices for PowerPoint Digital Signage
- Limitations of Using PowerPoint Alone
- PowerPoint vs PosterBooking for Digital Signage
- Final Thoughts
Step 1: Gather Your Requirements
Before you start, make sure you have the following:
- Laptop
Any Windows or Mac laptop will work, as long as it has an HDMI port or wireless casting capability. - Microsoft PowerPoint
You’ll need PowerPoint installed. Most versions from Office 2016 onward (including Microsoft 365) support the slideshow and loop features we’ll use. - Display screen
This could be a TV, monitor, or projector. Ensure it has an HDMI port or wireless casting support (like Miracast, Chromecast, or AirPlay). - Connection method
- HDMI cable for wired setups
- Wireless display adapter (e.g., Chromecast, Microsoft Wireless Display Adapter) for untethered setups
- Content materials
Images, videos, logos, and text that you want to showcase in your signage slideshow.
Once everything is prepared, you’re ready to build your signage presentation.
Step 2: Create a PowerPoint Presentation
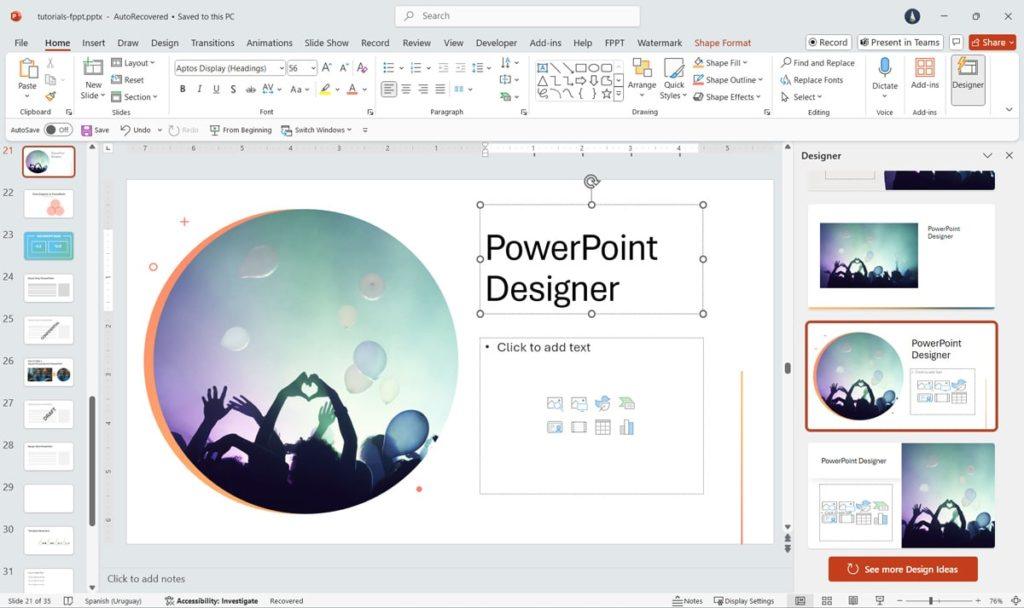
PowerPoint slides will act as your signage content. Here’s how to set them up:
- Open PowerPoint on your laptop.
- Set the slide size:
- Go to Design → Slide Size → Custom Slide Size.
- Choose 16:9 widescreen for TVs and projectors.
- For vertical signage, select Custom and flip dimensions (e.g., 1080px wide × 1920px high).
- Design your slides:
- Use large fonts (minimum 24pt) for readability from a distance.
- Keep text minimal and focus on visuals.
- Add high-resolution images and logos.
- Use consistent colors and branding.
- Insert videos if needed: Go to Insert → Video → Video on My PC. Videos will play inside your slideshow.
Each slide represents one piece of signage content, such as a menu, promotion, or announcement.
Step 3: Automate Slide Transitions
Digital signage should run automatically without manual clicks. Configure your slideshow for automation:
- Go to the Transitions tab.
- Uncheck On Mouse Click.
- Check After and set the timing (e.g., 15 seconds).
- Apply this setting to all slides.
Now your slides will advance automatically.
Step 4: Set Slideshow to Loop
To make your signage continuous:
- Go to the Slide Show tab.
- Click Set Up Slide Show.
- Select Browsed at a kiosk (full screen).
- Enable Loop continuously until Esc.
Your presentation will now loop endlessly, ideal for signage purposes.
Step 5: Connect Laptop to Display Screen
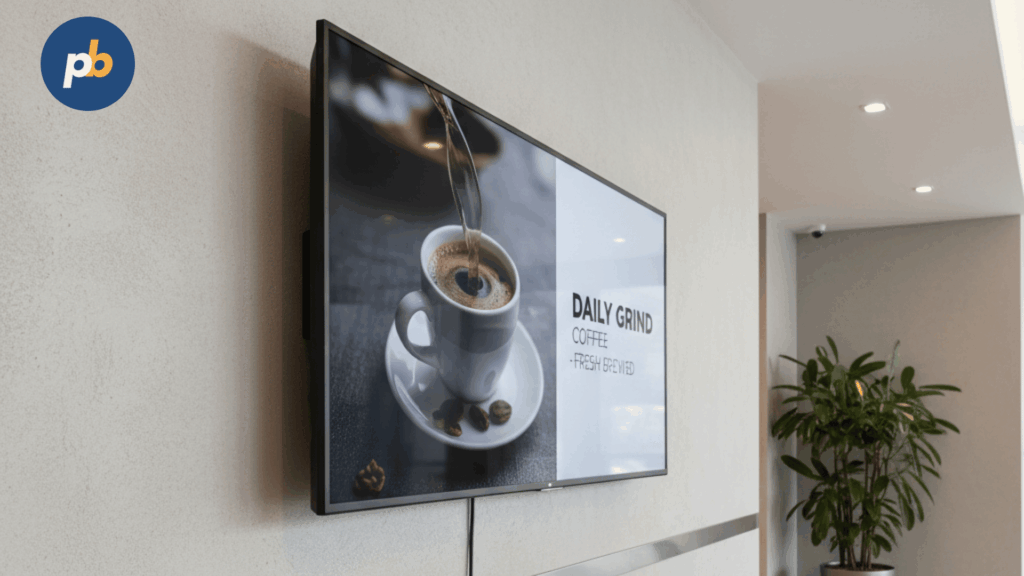
Now it’s time to project your PowerPoint signage:
Option 1: HDMI Cable
- Connect one end of the HDMI cable to your laptop.
- Connect the other end to your TV or projector.
- On your laptop, press Windows + P (or Mac: go to Displays).
- Choose Duplicate to mirror your screen, or Extend if you want your laptop free for other tasks.
Option 2: Wireless Casting
- Plug a Chromecast or wireless display adapter into your TV.
- On Windows, press Windows + K and select your display.
- On Mac, click the AirPlay icon and choose the device.
Wireless setups are cleaner and reduce cable clutter, though they require strong Wi-Fi.
Step 6: Run the Slideshow
- Open your PowerPoint file.
- Go to the Slide Show tab.
- Click From Beginning.
- Your presentation will launch in full screen, running automatically with loops and transitions.
Now your laptop is acting as a digital signage player.
Step 7: Optimize for Performance
Since laptops aren’t designed for 24/7 signage, optimize your setup for reliability:
- Disable sleep mode: Go to Settings → Power & Sleep, and set your laptop to never sleep when plugged in.
- Keep it plugged in: Running signage drains battery quickly.
- Turn off notifications: Use Focus Assist (Windows) or Do Not Disturb (Mac) to prevent popups from interrupting your display.
- Test your visuals: Stand at viewing distance to confirm text is legible and slides are eye-catching.
Step 8: Maintain and Update Content
PowerPoint signage requires manual updating, so keep it fresh:
- Replace outdated slides weekly or monthly.
- Save a master template for quick updates (menus, pricing, schedules).
- Export slides as videos (File → Export → Create a Video) if you want smoother transitions.
Best Practices for PowerPoint Digital Signage
- Keep slides simple
Too much text or clutter distracts viewers. Stick to headlines and visuals. - Use high contrast
Bright backgrounds with dark text (or vice versa) ensure visibility. - Add branding
Include your logo or colors on every slide for consistency. - Rotate content strategically
Highlight promotions during peak hours (e.g., lunch specials at midday). - Monitor screen placement
Ensure your display is at eye level where customers naturally look.
Limitations of Using PowerPoint Alone

While PowerPoint is a great entry-level signage solution, it has some drawbacks:
- Manual updates: You must edit and reload slides every time content changes.
- No remote management: You can’t control slideshows if your laptop isn’t onsite.
- Limited scheduling: You can’t easily set different content for different times of day.
- No analytics: PowerPoint doesn’t track what content is playing.
For small events or single screens, PowerPoint is fine. But for growing businesses, dedicated signage software like PosterBooking offers far more flexibility.
PowerPoint vs PosterBooking for Digital Signage
| Feature | PowerPoint | PosterBooking |
|---|---|---|
| Cost | Free with Microsoft Office | Free for up to 10 screens |
| Setup | Manual laptop + HDMI | Any TV + Fire Stick or Android app |
| Scheduling | Basic (manual only) | Full scheduling by time/date |
| Remote Management | No | Yes (update from anywhere) |
| Content Types | Slides, videos | Images, videos, live websites, Google Slides |
| Scalability | Difficult | Unlimited with Business Pro plan |
Final Thoughts
You use a laptop and PowerPoint for digital signage by designing slides, automating transitions, setting the presentation to loop, and connecting your laptop to a TV or projector. It’s an inexpensive solution that works well for small businesses, classrooms, events, or organizations with limited budgets.
However, for businesses needing remote control, automation, and scalability, PowerPoint alone quickly shows its limitations. That’s where tools like PosterBooking stand out. PosterBooking transforms any screen into professional signage, lets you schedule and update content remotely, and supports up to 10 screens completely free.
If you’re just starting, PowerPoint is a solid option. But when you’re ready to scale, switch to PosterBooking for a system designed specifically for signage in 2025.