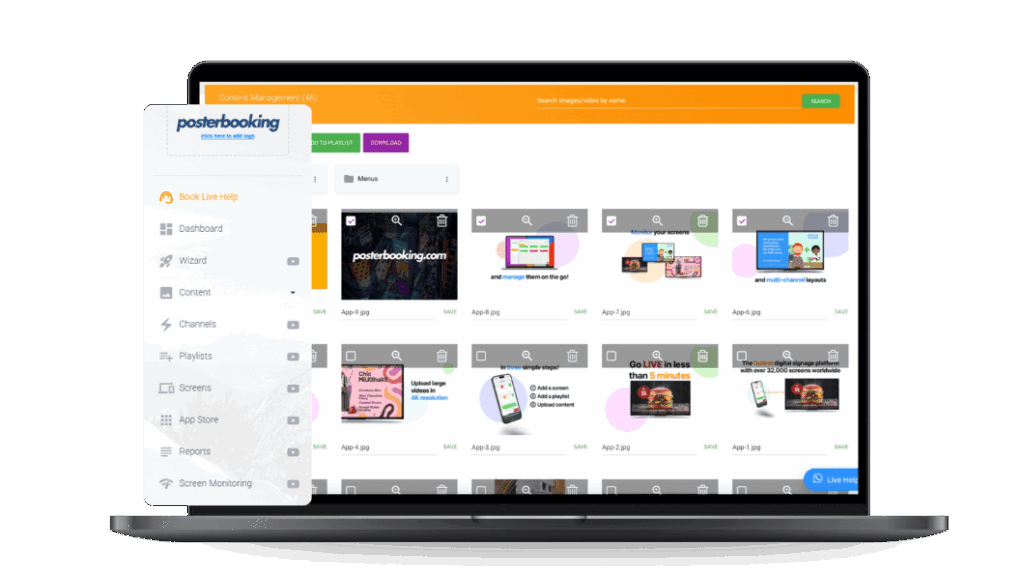
You upload content to digital signage by logging into your content management system (CMS), uploading files such as images and videos, embedding live data feeds or web pages, and assigning them to playlists or schedules. Modern signage systems allow you to display professional-quality content on any screen, from a simple TV in a restaurant to a multi-screen wall in a retail store.
In this guide, you’ll learn exactly how to upload all major content types to digital signage: images, videos, live feeds, web pages, social media, audio, and background music. Each section includes step-by-step instructions, best practices, common mistakes to avoid, and industry examples.
While there are many platforms available, we’ll use PosterBooking as the main example because it’s the best free digital signage software in 2025, offering up to 10 free screens, unlimited uploads, playlists, and scheduling.
Table Of Contents
- Step 1: Gather Your Requirements
- Step 2: Uploading Images
- How to Upload Images to Digital Signage
- Technical Guidelines
- Best Practices
- Common Mistakes to Avoid
- Example Uses
- Step 3: Uploading Videos
- How to Upload Videos to Digital Signage
- Technical Guidelines
- Best Practices
- Common Mistakes to Avoid
- Example Uses
- Step 4: Uploading Live Data Feeds
- How to Upload Feeds to Digital Signage
- Technical Guidelines
- Best Practices
- Example Uses
- Step 5: Uploading Web Pages
- How to Upload Web Pages to Digital Signage
- Best Practices
- Example Uses
- Step 6: Uploading Social Media
- How to Upload Social Media Feeds to Digital Signage
- Best Practices
- Example Uses
- Step 7: Uploading Audio and Music
- How to Add Audio to Digital Signage
- Best Practices
- Example Uses
- Step 8: Organize Content into Playlists
- How to Create Playlists in Digital Signage
- Best Practices
- Step 9: Scheduling Content
- How to Schedule Content in Digital Signage
- Example Schedules
- Step 10: Testing and Reviewing
- How to Test Digital Signage Content
- Final Thoughts
Step 1: Gather Your Requirements
Uploading to digital signage requires some preparation. Before you begin, make sure you have:
- A CMS platform – PosterBooking, as the recommended choice, is free to get started.
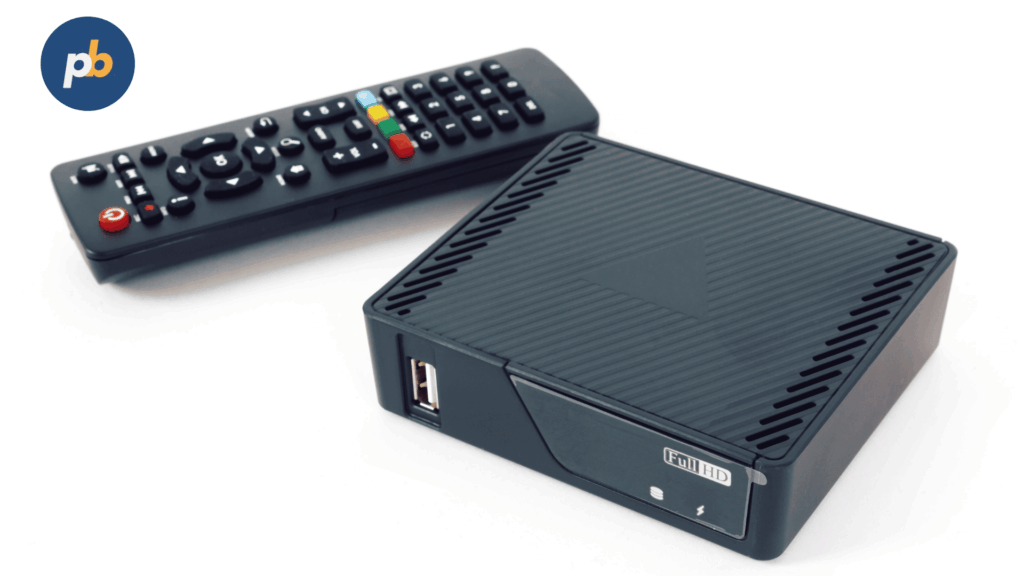
- Screens and players – This could be a smart TV, an Android tablet, or a normal TV with a device like Amazon Fire Stick, Raspberry Pi, or Amazon Signage Stick.
- Content files – JPG or PNG images, MP4 videos, MP3 audio, or live URLs.
- Stable internet connection – Required for uploading content and syncing it across screens.
- Screen specifications – Aspect ratio (landscape 16:9 or portrait 9:16), resolution (1080p, 4K), and orientation.
Clarification: A content management system (CMS) is the software that stores your files, organizes them into playlists, and pushes them to your screens. Without it, digital signage is just a blank display.
Step 2: Uploading Images
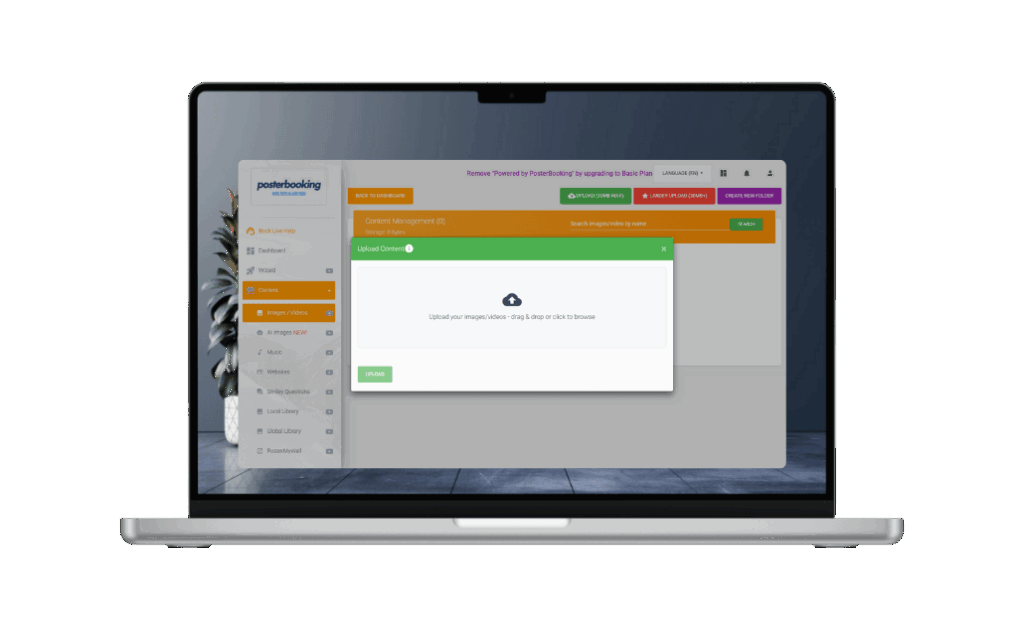
Images are the backbone of digital signage. They’re easy to design, lightweight to upload, and versatile enough for almost every use case.
How to Upload Images to Digital Signage
The 5 steps to uploading an image in a digital signage CMS (such as PosterBooking) include:
- Log in to your CMS dashboard.
- Navigate to the Content Library.
- Select Upload and choose your image file (JPG or PNG supported).
- Wait for the upload to complete. Your image is now stored in the library.
- Assign the image to a playlist for display on screens.
Technical Guidelines
- Format: JPG or PNG (PNG is best for sharp text, JPG for photos).
- Resolution: Minimum 1920×1080 for HD screens, 3840×2160 for 4K.
- Aspect ratio: Match your screen (16:9 for landscape, 9:16 for portrait).
- File size: Keep under 10 MB for fast loading.
Best Practices
- Use high-contrast colors for text.
- Limit text to 6–10 words per slide.
- Always include your logo in a consistent position.
- Test from a viewer’s distance (10–15 feet).
Common Mistakes to Avoid
- Uploading pixelated images from low-resolution sources.
- Designing for the wrong orientation (landscape vs portrait).
- Overcrowding with too much text.
Example Uses
- Restaurants: Daily specials or static menu boards.
- Schools: Event posters or safety reminders.
- Retail stores: Seasonal sale posters.
Step 3: Uploading Videos
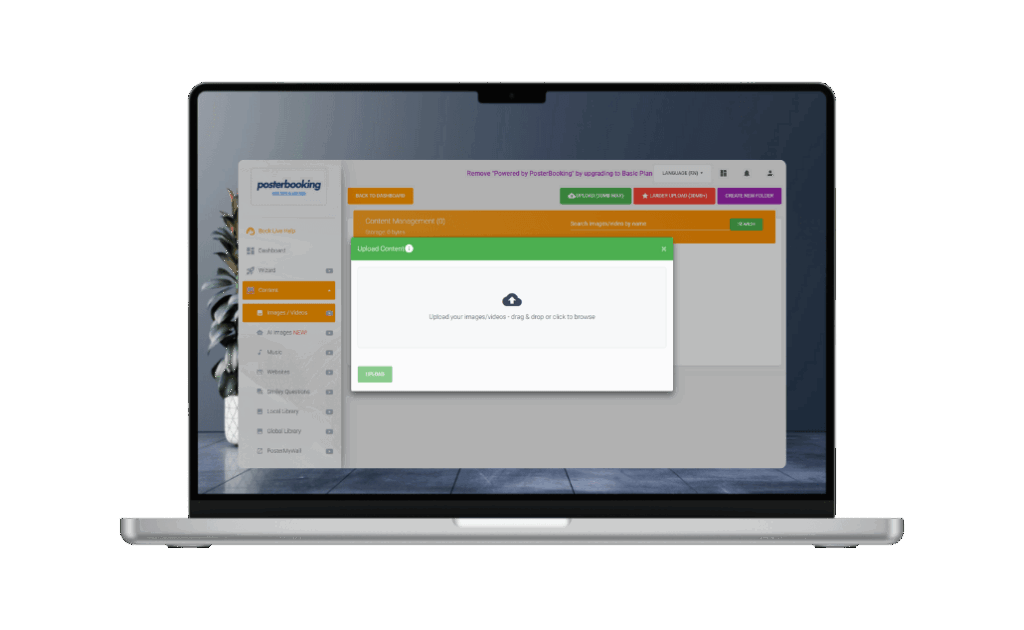
Videos are more dynamic and attention-grabbing than images, making them perfect for promotions, demos, and branding.
How to Upload Videos to Digital Signage
The 5 steps to uploading videos into a digital signage platform include:
- Log in to your CMS.
- Go to the Content Library.
- Click Upload and choose your video file.
- Wait for the system to process it.
- Add the video to a playlist for display.
Technical Guidelines
- Format: MP4 (H.264 codec recommended).
- Resolution: 1080p or 4K.
- Length: 15–30 seconds for ads, up to 2 minutes for information.
- File size: Keep under 500 MB for smooth uploads.
Best Practices
- Use captions for silent environments.
- Keep videos short and loop-friendly.
- Design with bold visuals and minimal text.
Common Mistakes to Avoid
- Uploading videos in unsupported formats (AVI, MOV).
- Using very long clips that lose viewer attention.
- Forgetting subtitles when audio is muted.
Example Uses
- Gyms: Workout demos or trainer intros.
- Cafés: Promo highlight reels.
- Corporate offices: Branding and onboarding content.
Step 4: Uploading Live Data Feeds
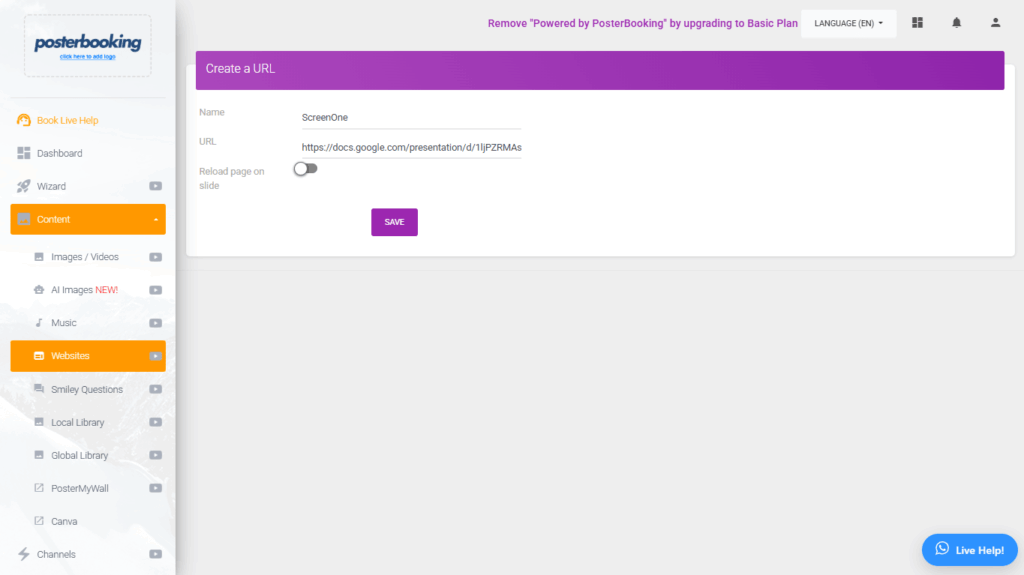
Live data feeds keep your signage fresh by pulling in real-time updates.
How to Upload Feeds to Digital Signage
The 5 steps to uploading a live feed include:
- Log in to your CMS.
- Go to Content → Websites/Feeds.
- Paste the URL of your live feed.
- Save and label it (e.g., “Weather Feed”).
- Add it to a playlist for display.
Technical Guidelines
- Must be a publicly accessible URL.
- Choose responsive feeds that scale to screen sizes.
- Avoid login-protected dashboards unless you can set them public.
Best Practices
- Focus on simple, essential data (weather, time, events).
- Avoid information overload.
- Use consistent formatting.
Example Uses
- Airports: Flight schedules.
- Offices: Sales dashboards.
- Schools: Upcoming events feed.
Step 5: Uploading Web Pages
Web pages allow you to display dynamic content like maps, booking systems, or online menus.
How to Upload Web Pages to Digital Signage
The 5 steps to uploading a webpage into signage include:
- Log in to your CMS.
- Navigate to Content → Websites.
- Paste the page’s URL.
- Save it with a clear label.
- Assign to a playlist or screen.
Best Practices
- Use mobile-friendly websites.
- Remove unnecessary elements (ads, popups).
- Keep URLs short and secure (HTTPS).
Example Uses
- Hotels: Online booking portal.
- Restaurants: Digital menu link.
- Universities: Campus navigation maps.
Step 6: Uploading Social Media

Social feeds engage audiences with real-time updates and community content.
How to Upload Social Media Feeds to Digital Signage
The 3 main ways are:
- Embedding public pages via URL.
- Using widgets like Walls.io or Taggbox.
- Manually uploading post screenshots or videos.
Best Practices
- Moderate feeds for quality and safety.
- Highlight image-based posts for maximum impact.
- Use branded hashtags to encourage participation.
Example Uses
- Restaurants: Instagram hashtag walls.
- Churches: Facebook event streams.
- Schools: Twitter announcements.
Step 7: Uploading Audio and Music
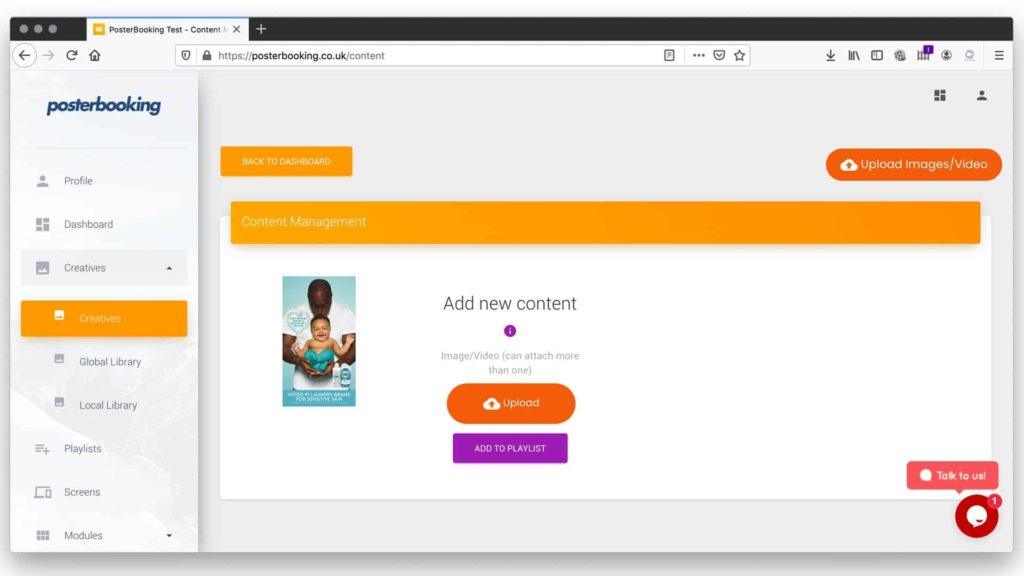
Music sets the tone in restaurants, gyms, or waiting rooms.
How to Add Audio to Digital Signage
The 2 main methods to add audio to digital signage are:
- Upload videos with embedded audio.
- Run licensed background music separately while signage plays visuals.
Best Practices
- Adjust volume to complement, not overpower visuals.
- Use properly licensed playlists.
- Match mood to the environment.
Example Uses
- Gyms: Upbeat playlists.
- Waiting rooms: Calming tracks.
- Cafés: Lo-fi or jazz playlists.
Step 8: Organize Content into Playlists
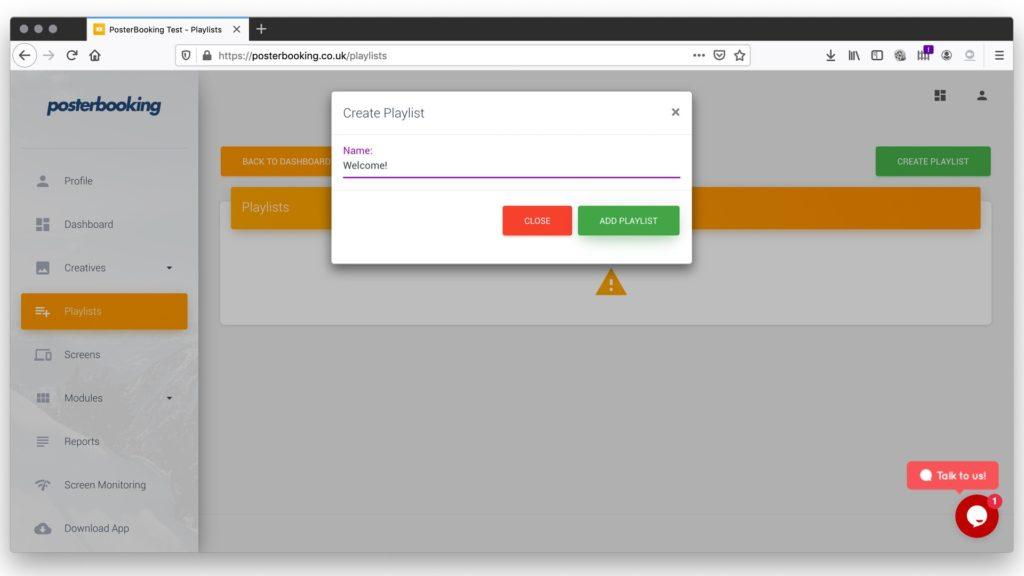
Playlists define what plays and in what order.
How to Create Playlists in Digital Signage
The 5 steps include:
- Open your CMS.
- Navigate to Playlists → Create Playlist.
- Add content from your library.
- Set durations for each item.
- Assign to a screen.
Best Practices
- Organize playlists by campaign.
- Balance content types for variety.
- Rotate playlists weekly to keep content fresh.
Step 9: Scheduling Content
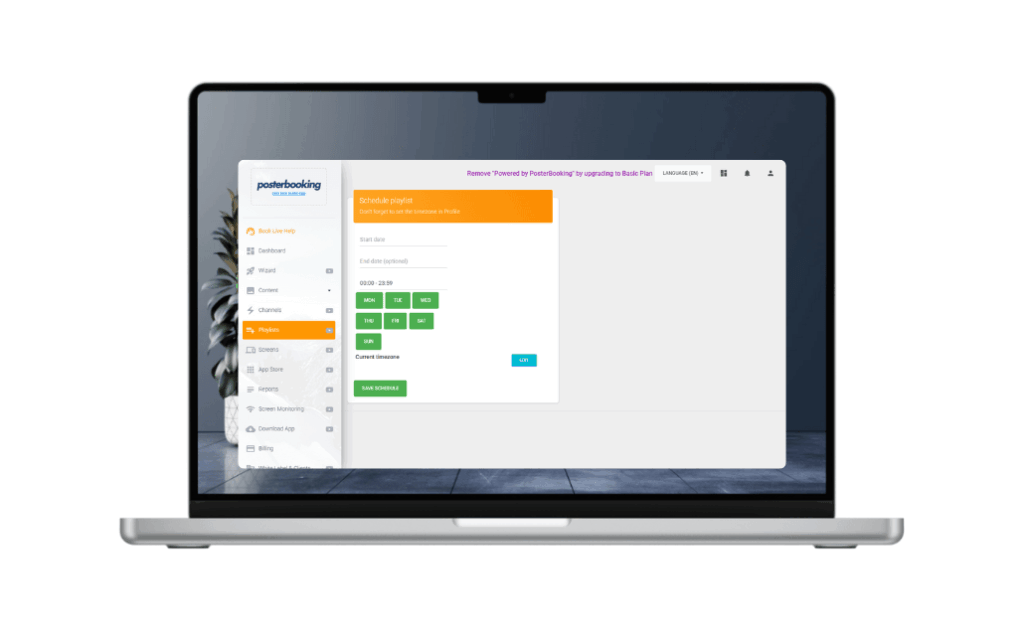
Scheduling ensures the right content plays at the right time of day.
How to Schedule Content in Digital Signage
The 5 steps include:
- Go to Screens → Assign Playlist.
- Select your screen.
- Choose the playlist.
- Assign start and end times.
- Save and sync.
Example Schedules
- Restaurants: Breakfast menu 7–11, Lunch specials 11–3.
- Schools: Morning announcements, afternoon updates.
- Retail: Seasonal campaigns, weekend promotions.
Step 10: Testing and Reviewing
Testing avoids mistakes before your signage goes live.
How to Test Digital Signage Content
The 4 things to check include:
- Readability – is text clear from a distance?
- Timing – do slides last long enough?
- Relevance – is the right playlist playing?
- Responsiveness – do live feeds and pages load?
Final Thoughts
You upload content to digital signage by preparing files, uploading them to your CMS, and assigning them to playlists or schedules. The process is simple but powerful, especially when you combine images, videos, live feeds, web pages, social media, and audio.
Among the many options, PosterBooking is the best free software in 2025 because it offers unlimited uploads, scheduling, and up to 10 free screens. It makes the process intuitive and professional whether you’re a school, church, hotel, or even an accounting firm.
By following the detailed steps in this guide, you can transform any screen into a professional digital signage display that informs, engages, and inspires.