
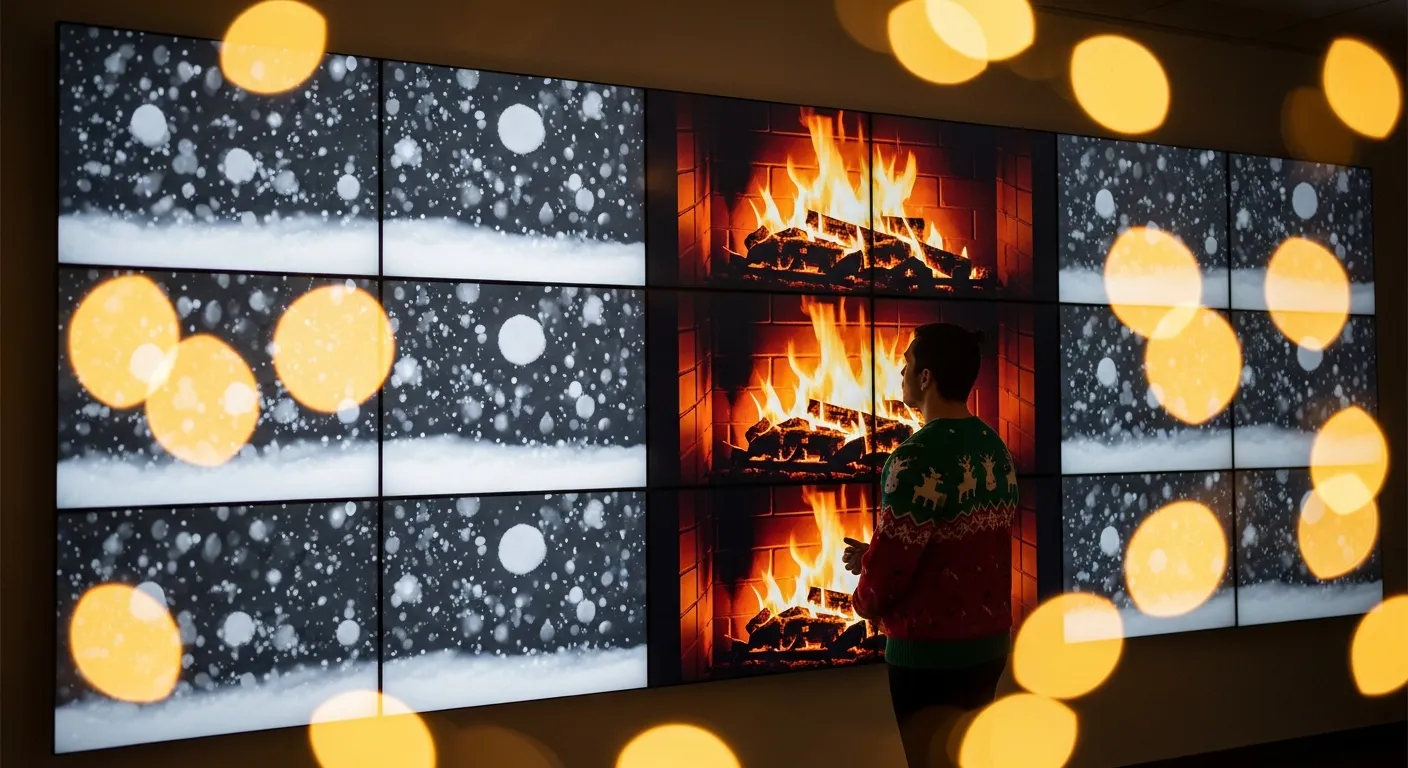
You turn multiple TVs into a holiday video wall by mounting several screens together, connecting each screen to a media player, installing a digital signage app, uploading your holiday videos, assigning synchronized playlists to all screens, and arranging the content so the TVs play as one unified display. A holiday video wall creates a bold, immersive Christmas or New Year atmosphere that captures attention in restaurants, retail stores, hotels, malls, schools, offices, and event spaces.
Below is a detailed, complete, step by step guide that explains exactly how to set up a professional holiday video wall with multiple TVs.
Table Of Contents
- Step 1: Prepare the Requirements
- Step 2: Plan the Layout of Your Holiday Video Wall
- Step 3: Mount the TVs Securely and Symmetrically
- Step 4: Connect Each TV to an Individual Media Player
- Step 5: Install a Digital Signage App on Every Media Player
- Step 6: Add All TVs to Your Digital Signage Dashboard
- Step 7: Upload Your Holiday Videos
- Step 8: Create Playlists for Each TV on the Wall
- Step 9: Assign Each Playlist to the Correct TV
- Step 10: Adjust Orientation, Resolution, and Settings
- Step 11: Test the Holiday Video Wall for Synchronization
- Step 12: Schedule Your Holiday Wall for Automatic Playback
- Step 13: Update Content Throughout the Holiday Season
- Final Thoughts
Step 1: Prepare the Requirements
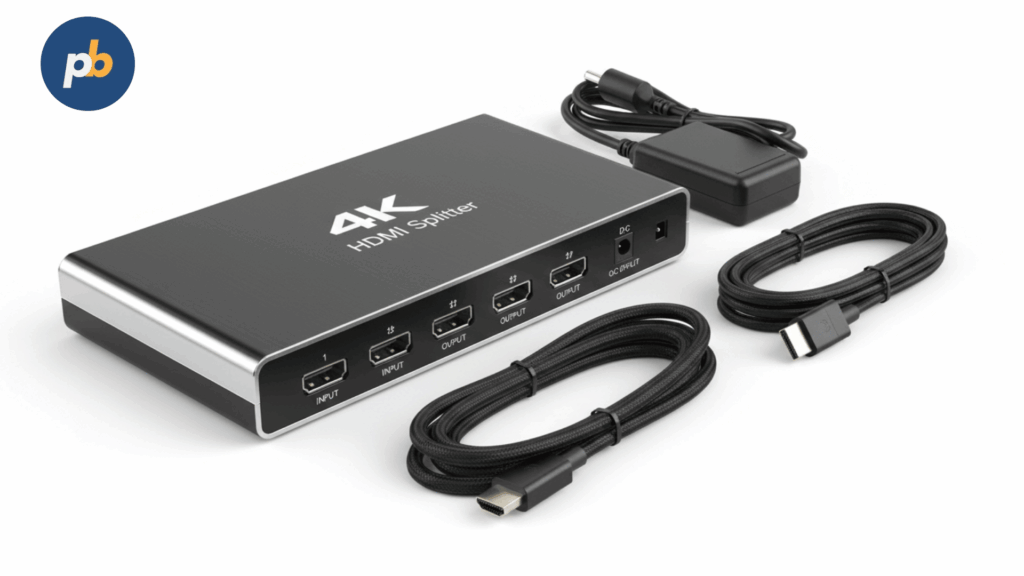
Before building your holiday video wall, gather every component you will need. Proper preparation ensures a smooth and efficient installation process.
You will need:
• Multiple TVs with matching sizes and resolutions.
• Wall mounts for each TV.
• One media player per TV. This can be a Fire TV Stick, Android TV device, Raspberry Pi, or Amazon Signage Stick.
• A digital signage software account. PosterBooking is recommended in 2025 because it offers 10 free screens, unlimited uploads, and simple playlist syncing.
• High quality holiday videos such as Christmas animations, fireworks, snowfall scenes, or New Year greetings.
• A stable Wi Fi or wired internet connection.
• Cable management tools such as raceways and ties.
Once these items are ready, you can begin creating your holiday video wall.
Step 2: Plan the Layout of Your Holiday Video Wall
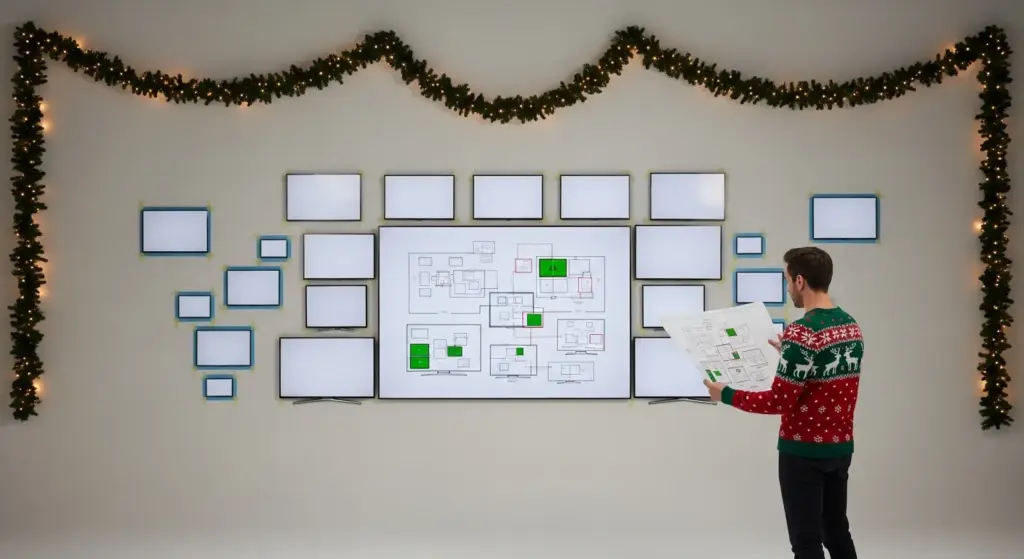
Proper planning helps you achieve a polished visual effect.
Common multi TV holiday wall layouts include:
• A 2 screen horizontal festive banner wall
• A 3 screen menu style video wall
• A 4 screen square grid for symmetrical visuals
• A wide panoramic wall using 3 or 4 horizontal screens
• A tall vertical holiday display using stacked screens
Choose a layout that matches your space and the type of holiday video content you want to show.
Key factors to consider include:
• Wall width and height
• Viewing distance for customers
• Brightness and lighting in the room
• Whether you want a single stretched video or mirrored content
Once you finalize the layout, you can move on to mounting the screens.
Step 3: Mount the TVs Securely and Symmetrically
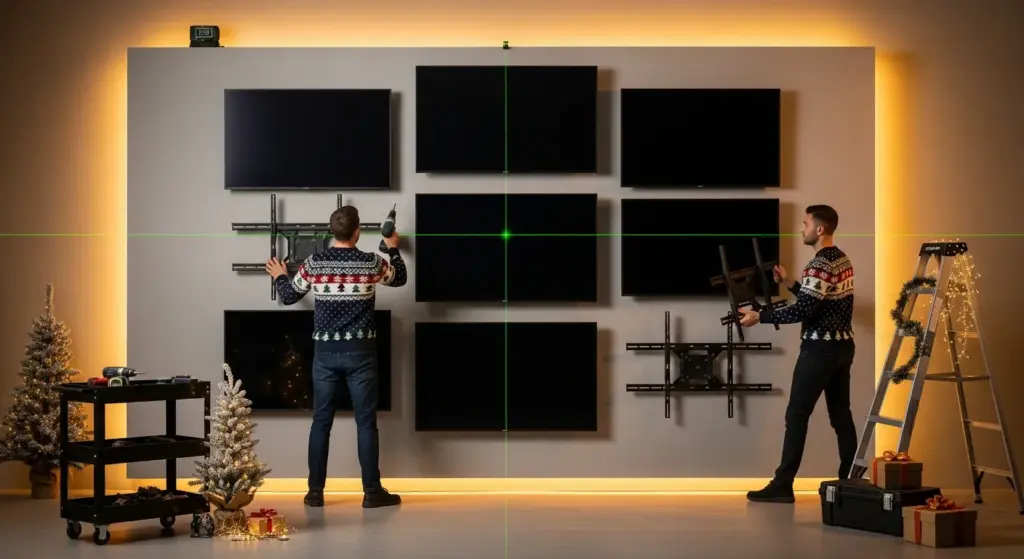
The video wall must look clean and professional, especially for holiday displays where visual appeal matters.
Install the TVs by following these steps:
- Mark the mounting positions using a level to ensure alignment.
- Install each wall mount at the same height.
- Keep equal spacing between TVs so the wall looks symmetrical.
- Mount each TV securely according to the manufacturer’s instructions.
- Hide cables using cable raceways or conduit for a clean finish.
Proper mounting is essential for creating a unified video wall without distraction.
Step 4: Connect Each TV to an Individual Media Player
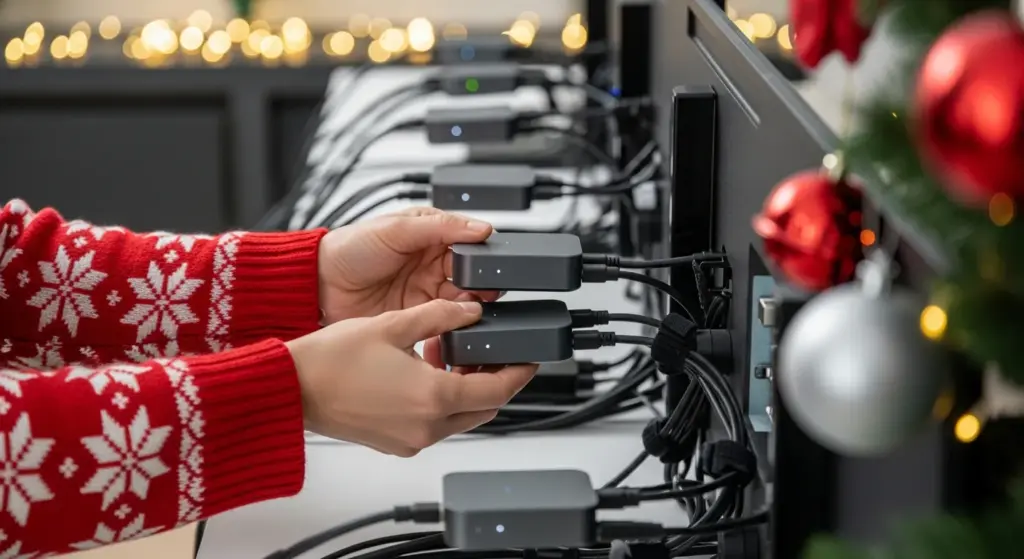
Each TV needs its own media player because each screen must be controlled separately through your signage software.
To connect them:
- Plug a media player into the HDMI port of each TV.
- Connect each player to a power outlet.
- Switch each TV to the correct HDMI input.
- Connect all players to the same Wi Fi network or Ethernet connection.
Once all devices are online, you can install the signage software.
Step 5: Install a Digital Signage App on Every Media Player
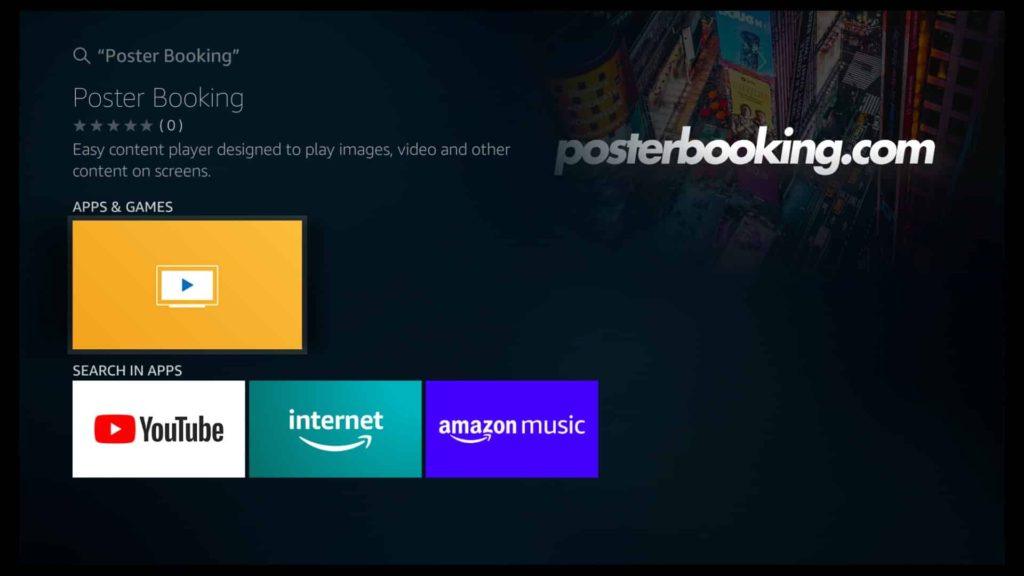
To synchronize and loop holiday videos across multiple screens, you need a signage app.
- Open the app store on each media player.
- Search for PosterBooking.
- Install the app.
- Launch it on each TV.
Each screen will now display a unique connection code that you will use in the next step.
Step 6: Add All TVs to Your Digital Signage Dashboard
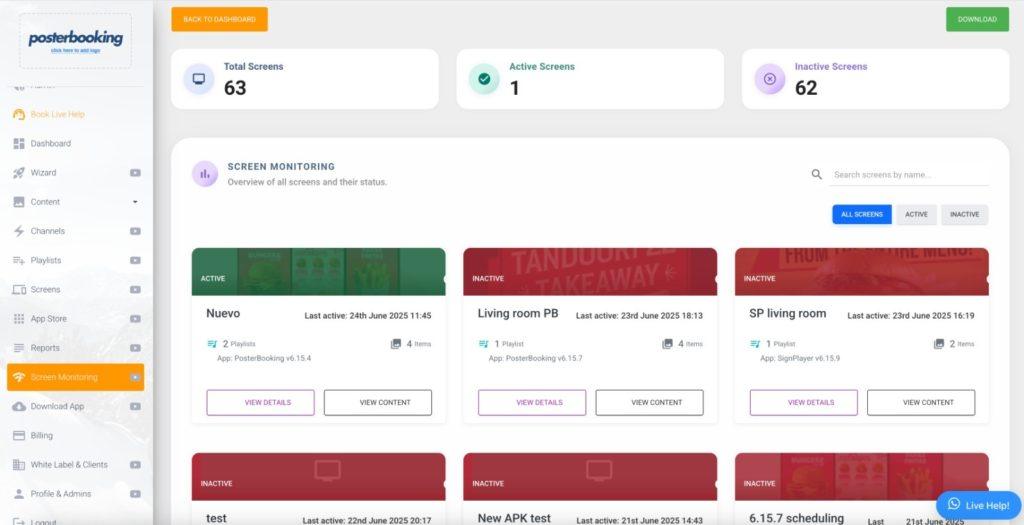
Connecting all TVs to your signage dashboard allows you to control the entire video wall remotely.
- Log in to your PosterBooking account.
- Click Add Screen.
- Enter the code from the first TV and name it Screen 1.
- Repeat this for every TV in the video wall.
Your dashboard will now display all screens as individual devices ready for content.
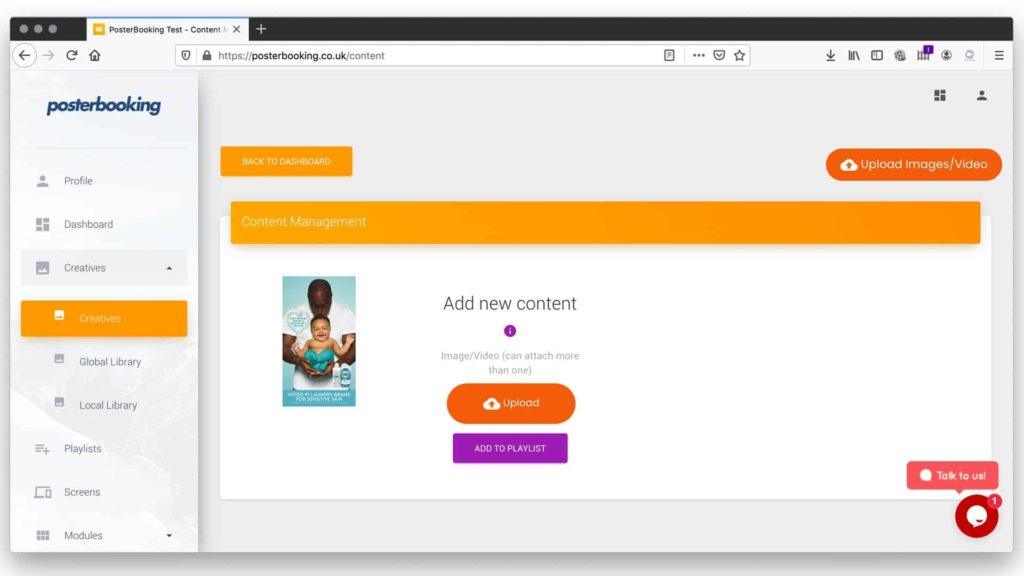
Step 7: Upload Your Holiday Videos
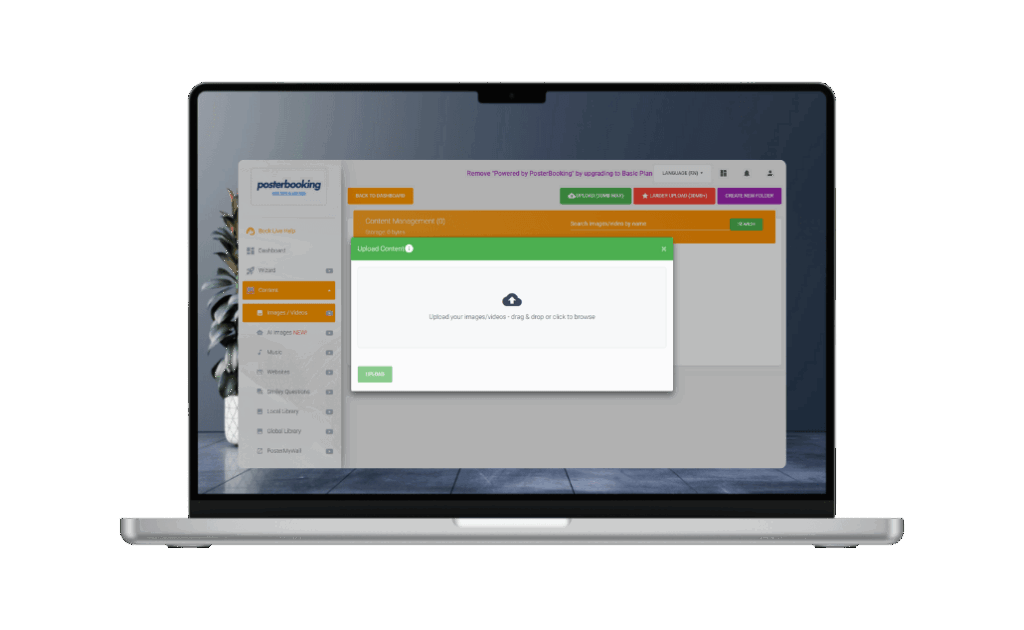
Next, upload the festive content you want to display.
- Go to the Content section.
- Click Images Videos.
- Select Upload.
- Choose your Christmas or New Year videos in MP4 format.
- Wait for the upload to finish.
- Verify that the resolution matches your TVs.
Holiday video ideas include:
• Sparkling Christmas ornaments
• Snowfall loops
• Animated Santa scenes
• Holiday greetings
• New Year fireworks
• Gold and silver confetti animations
These videos will form the visual foundation of your holiday wall.
Step 8: Create Playlists for Each TV on the Wall
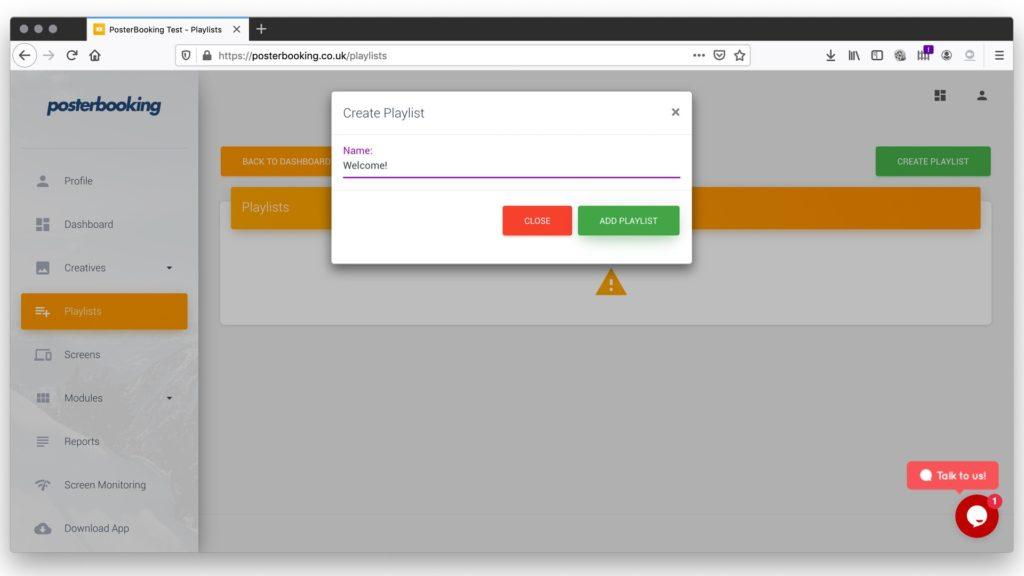
You can create individual playlists for each screen or identical playlists if you want all screens to show the same content.
Here is how to create a playlist:
- Go to the Playlists section.
- Click Create Playlist.
- Name it something like Holiday Wall Screen 1.
- Click Add Content.
- Select the holiday videos you uploaded.
- Save the playlist.
Repeat for each screen involved in your video wall.
If you want synchronized playback, make sure all playlists contain the same files in the same order with equal durations.
Step 9: Assign Each Playlist to the Correct TV
Assigning the playlists determines what each screen will display.
To assign:
- Go to the Screens tab.
- Select the first TV.
- Click Add or Edit Playlist.
- Choose the playlist for that screen.
- Save.
- Repeat for each TV.
Once assigned, your holiday video wall will activate and begin playing the content.
Step 10: Adjust Orientation, Resolution, and Settings
Some holiday video walls use a mix of vertical and horizontal screens. Adjust the settings as needed.
Here is what to check:
• Rotation for vertical screens
• Brightness to match the holiday ambience
• Contrast for vibrant festive colors
• Volume levels if your videos include holiday music
These adjustments help create a warm and immersive holiday experience.
Step 11: Test the Holiday Video Wall for Synchronization
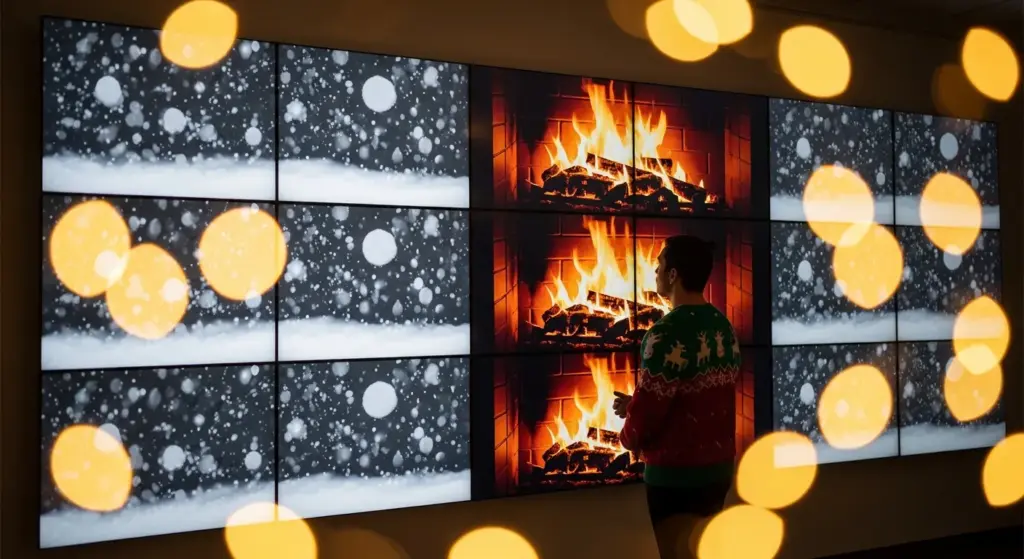
Before using the video wall in your business, test it thoroughly.
Check for:
• Smooth transitions across all screens
• Correct alignment of stretched visuals
• Matching brightness and color across TVs
• No lag or delay from one screen to another
• Clear visibility from different distances
• Proper looping without interruptions
Once everything looks aligned and consistent, the holiday video wall is ready.
Step 12: Schedule Your Holiday Wall for Automatic Playback
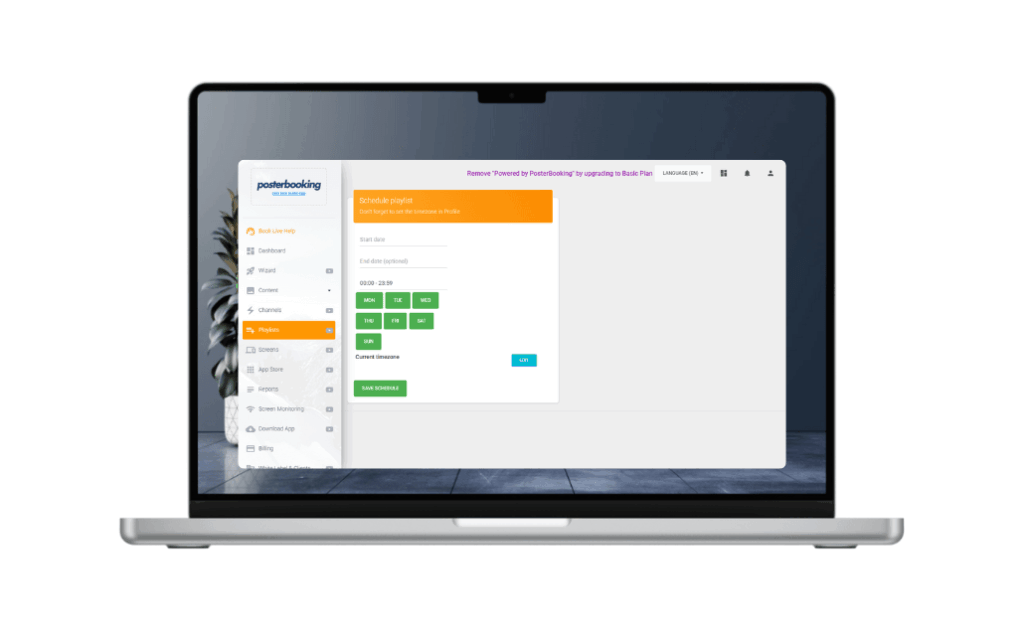
Holiday video walls often run during specific periods.
Examples:
• December holiday promotions
• Christmas Eve events
• New Year countdown screens
• Holiday weekends
• Festive displays during peak shopping hours
PosterBooking allows you to schedule playlists, so your holiday content appears automatically at the correct times. PosterBooking also allows you to schedule holiday content across multiple screens.
Step 13: Update Content Throughout the Holiday Season
Keep your holiday video wall fresh by updating content regularly.
You can update by:
• Adding new Christmas animations
• Switching to New Year fireworks after December 25
• Promoting last minute holiday sales
• Displaying seasonal greetings
• Uploading winter themed visuals for January
Regular updates help maintain excitement and engagement throughout the entire season.
Final Thoughts
You turn multiple TVs into a holiday video wall by mounting them together, connecting individual media players, installing signage software, uploading holiday videos, creating playlists, assigning them to each screen, and synchronizing the playback. This transforms any space into a vibrant festive environment that attracts customers, enhances the holiday experience, and elevates visual branding.
PosterBooking remains one of the best digital signage tools in 2025 for creating holiday video walls because it offers 10 free screens, unlimited uploads, easy playlist syncing, and instant remote updates. It is ideal for restaurants, retail stores, malls, gyms, hotels, offices, churches, and any environment looking to create a powerful holiday display.