
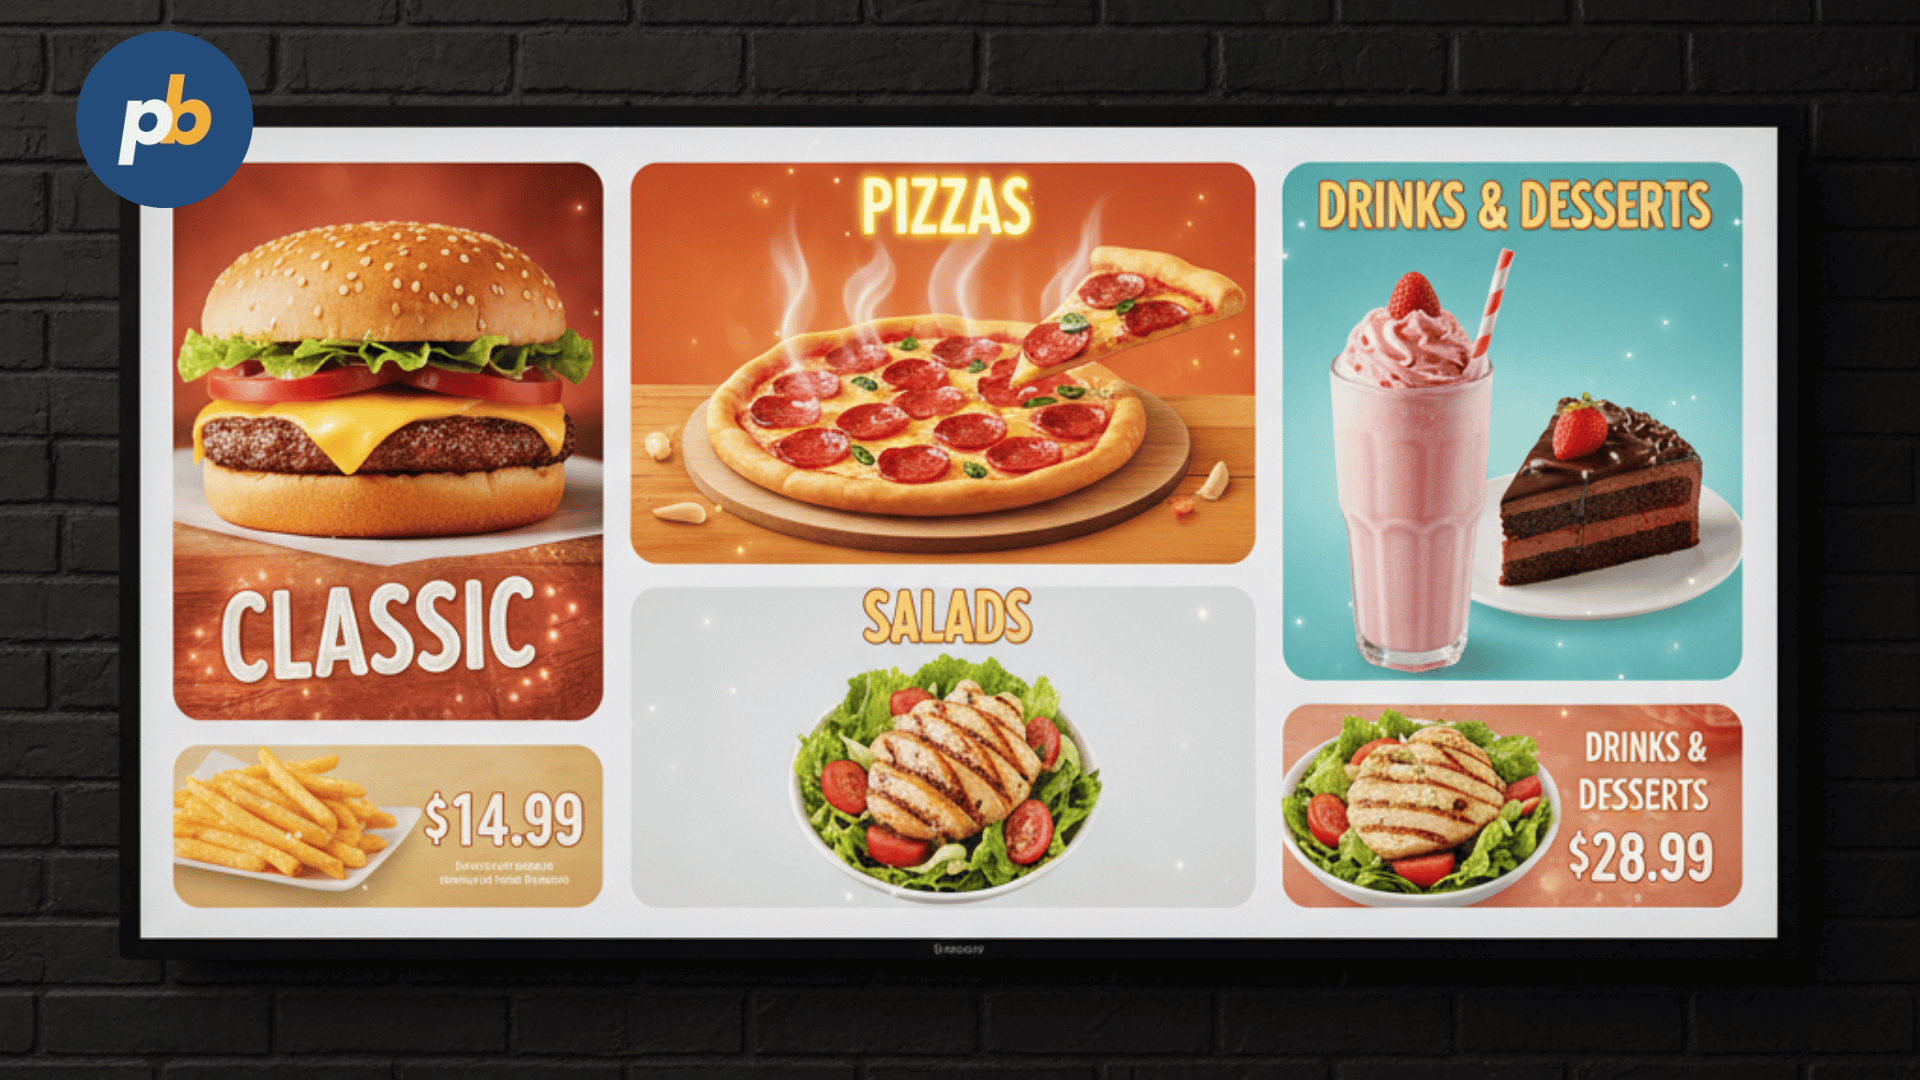
You turn a TV into a digital menu board by connecting a media player to your TV, installing a digital signage app, uploading your menu designs, building playlists, and publishing everything directly to the screen. Once set up, the TV behaves like a professional menu board used in restaurants, cafes, food trucks, bakeries, and other food businesses. This setup also lets you update menus instantly without printing, saving money and time.
This setup is a similar approach used by fast-food brands such as McDonald’s, Wendy’s, Taco Bell, and Domino’s, where a normal TV becomes a fully controlled digital signage screen through a Fire TV Stick or Android media player paired with a signage software platform. Using the same method gives you the ability to update menus, rotate promotions, and manage all your screens remotely.
Below is a detailed step by step guide explaining exactly how to turn any TV into a complete digital menu board system.
Table Of Contents
- Step 1. Prepare the Requirements
- Step 2. Connect the TV and the Media Player
- Step 3. Install a Digital Signage Application
- Step 4. Register Your TV Inside Your Dashboard
- Step 5. Upload Your Menu Content
- Step 6. Create Your Menu Playlist
- Step 7. Assign the Playlist to Your TV
- Step 8. Adjust Orientation and Alignment of the Menu Board
- Step 9. Position the TV Correctly for Viewing
- Step 10. Schedule Menus to Change Automatically
- Step 11. Update Your Menu Instantly as Needed
- Step 12. Maintain Your Digital Menu Board Regularly
- Final Thoughts
Step 1. Prepare the Requirements
Before you start transforming your TV, gather all the necessary equipment and files. Preparing everything in advance ensures a smooth and successful setup.
You will need the following:
• A TV with an HDMI port. This can be a regular TV, a smart TV, or even an older television as long as it includes HDMI.
• A media player such as a Fire TV Stick, an Android TV box, a Raspberry Pi, or the Amazon Signage Stick.
• A digital signage software account. PosterBooking is one of the easiest options to use in 2025 because it offers 10 free screens and unlimited uploads.
• High quality menu files. These can be image formats like JPG and PNG, or video formats like MP4 if you want motion based menus.
• A stable internet connection for your media player.
• A wall mount or stand that positions the TV at the correct height and angle for customers.
• Basic knowledge of your menu categories such as breakfast, lunch, dinner, desserts, or combo deals.
Once these items are ready, the process becomes straightforward.
Step 2. Connect the TV and the Media Player
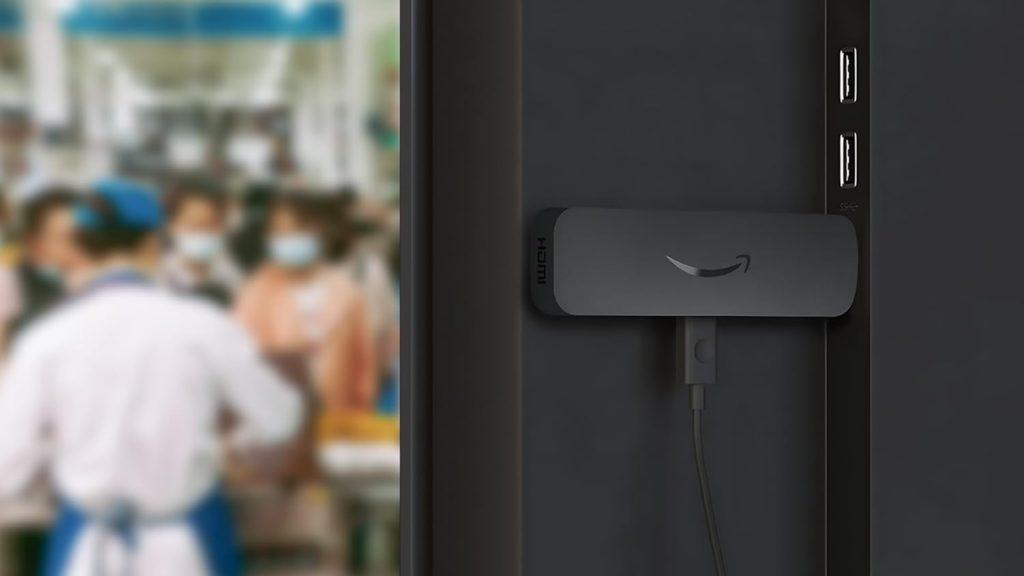
To turn your TV into a digital menu board, it needs a media player that runs your signage app.
Follow these steps:
- Plug your media player into the HDMI port on the TV.
- Connect the media player to a power outlet.
- Turn on the TV and switch the input to the correct HDMI channel.
- Connect the media player to your Wi Fi network or wired internet.
Once connected, the TV gains the ability to run digital signage software and display your menu content.
Step 3. Install a Digital Signage Application
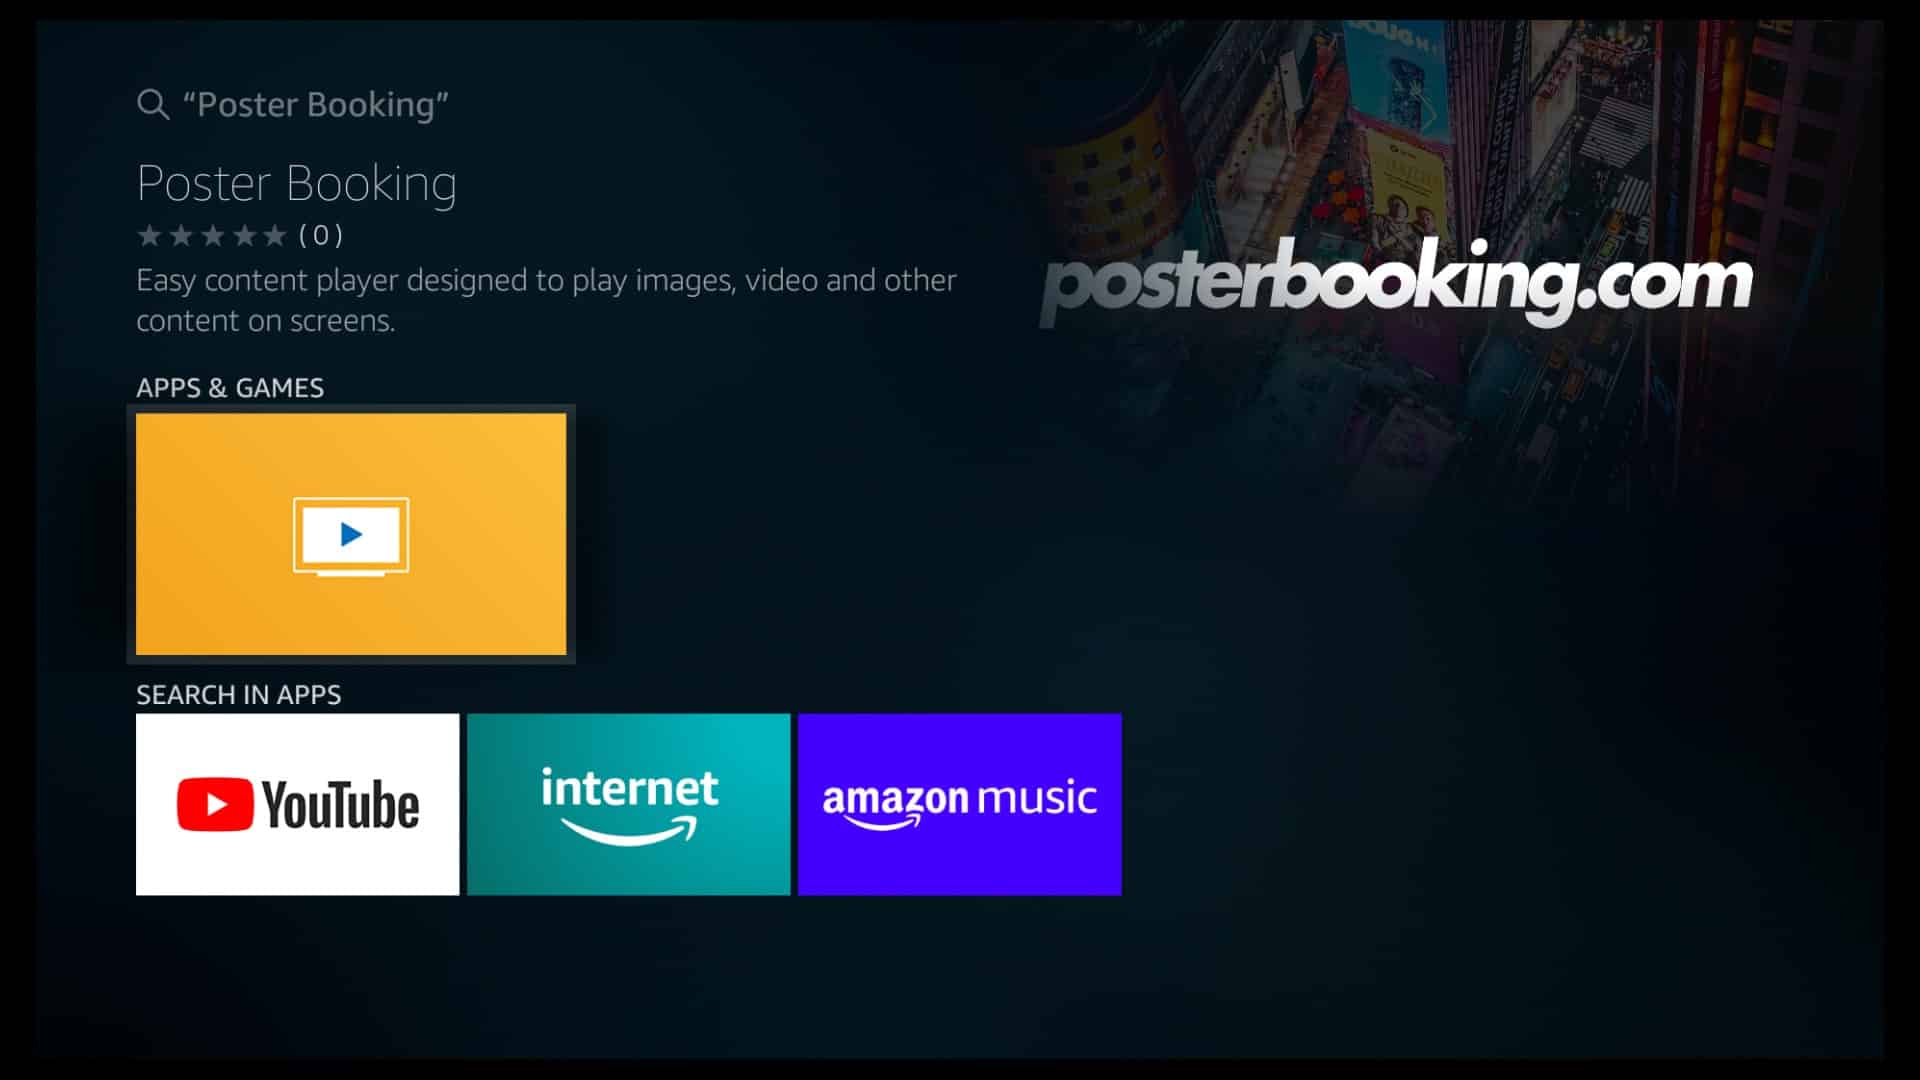
Your TV needs a signage app to display and control menu content.
Here is how to install it:
- Open the app store on the media player.
- Search for PosterBooking.
- Download and install the app.
- Open the app.
Step 4. Register Your TV Inside Your Dashboard
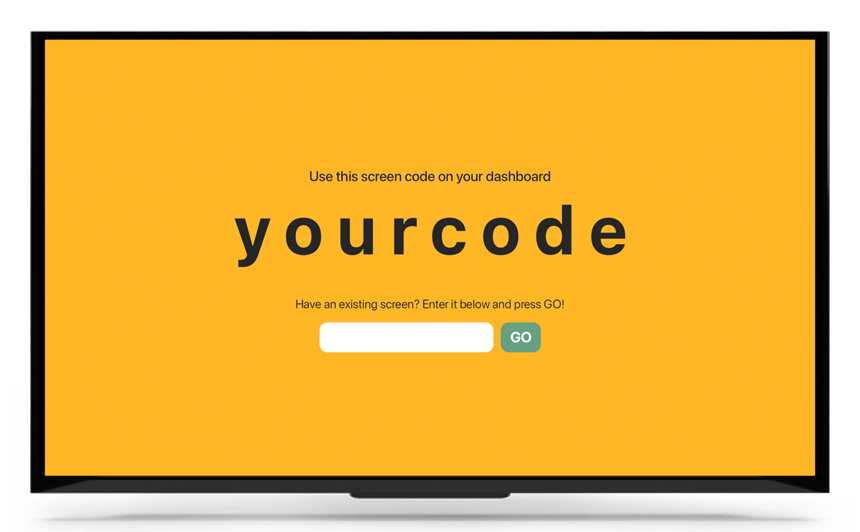
Now you must connect the TV to your signage account so you can update it.
- Go to your PosterBooking dashboard on a computer or mobile device.
- Click Add Screen.
- Enter the connection code on your TV.
- Name your screen. Examples include Counter Menu, Drive Through Menu, or Coffee Bar Menu.
- Save the screen.
Your TV is now recognized by the system and ready to display content.
Step 5. Upload Your Menu Content
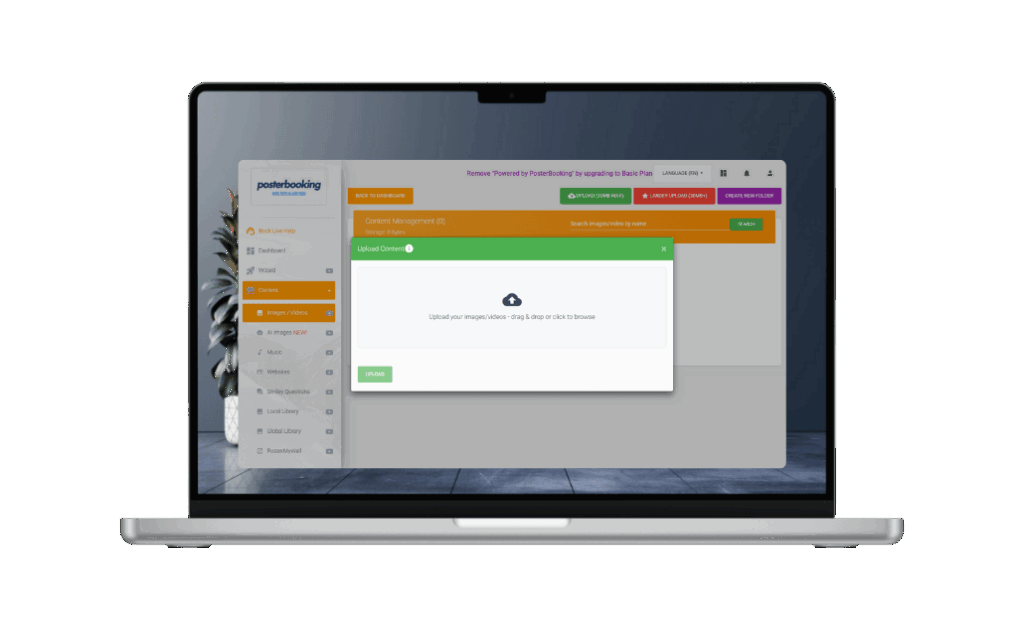
Uploading is the foundation of your digital menu board. Your TV can only display what you upload into the dashboard.
Follow these steps:
- Go to the Content section.
- Select Images and Videos.
- Click Upload.
- Choose your menu graphics or videos.
- Wait for the upload to finish completely.
- Review each file to ensure the resolution is correct.
Menu files should ideally be:
• 1920 x 1080 for full HD menu boards.
• 3840 x 2160 for 4 K menu boards.
• MP4 for motion graphics such as steam effects, drink pouring clips, or animated price transitions.
Higher resolution files make your menu look sharp, professional, and easy to read even from 10 to 15 feet away. Apart from uploading content, you can also upload templates.
Step 6. Create Your Menu Playlist
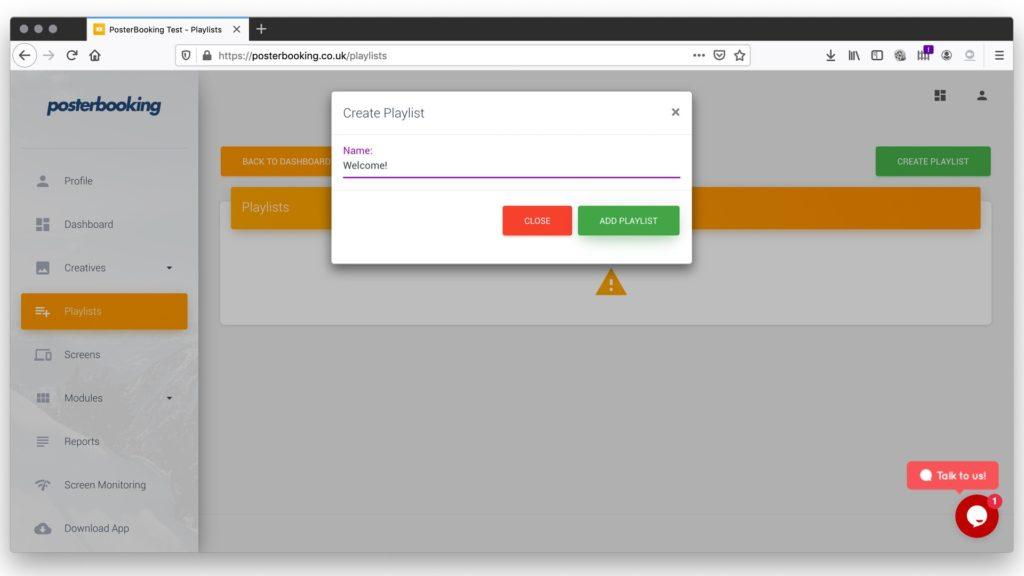
A playlist is a sequence of menu pages or animations that your TV will loop continuously.
Create a playlist by following these steps:
- Go to the Playlists section.
- Click Create Playlist.
- Name your playlist. Examples include Breakfast Menu, Combo Deals, or Main Menu.
- Click Add Content.
- Select the menu images or videos you uploaded.
- Arrange the items in the order you want them to appear.
- Set the duration for each slide. Most restaurants use 8 to 12 seconds per image.
- Save your playlist.
If you have multiple menus, create multiple playlists. For example:
• Breakfast menu for mornings.
• Lunch menu for midday.
• Dinner menu for evenings.
• Happy hour menu for late afternoons.
• Dessert menu for after dinner periods.
This structure lets you create a dynamic and flexible menu system.
Step 7. Assign the Playlist to Your TV
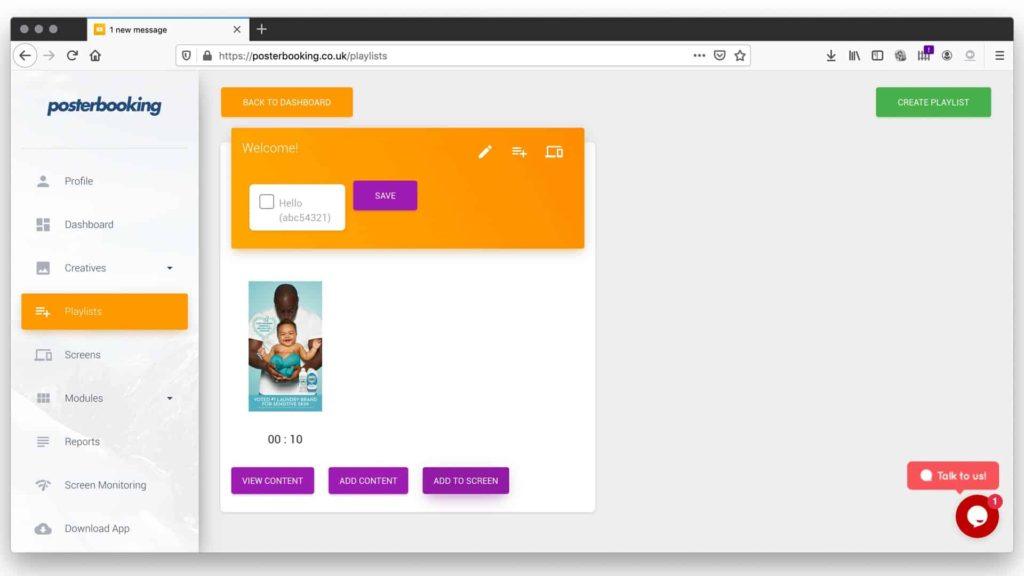
Now it is time to push your menu content to the screen.
To do this:
- Go to the Screens section.
- Click on the screen you registered earlier.
- Select Add or Edit Playlist.
- Choose the playlist you created.
- Save the changes.
Your TV updates instantly. You now have a functioning digital menu board running live.
Step 8. Adjust Orientation and Alignment of the Menu Board
Some menu boards look better vertically, especially in narrow spaces or for item lists.
To rotate your screen:
- Go to the Screens section.
- Click Edit on your screen.
- Choose the rotation option you need.
- Save the changes.
Vertical menus work well for coffee shops, bakeries, dessert spots, and bars.
Horizontal menus are excellent for fast food, food courts, and full restaurants with wide menu layouts. If you are struggling with rotating your screen orientation, this article on how to rotate signage screens should help.
Step 9. Position the TV Correctly for Viewing
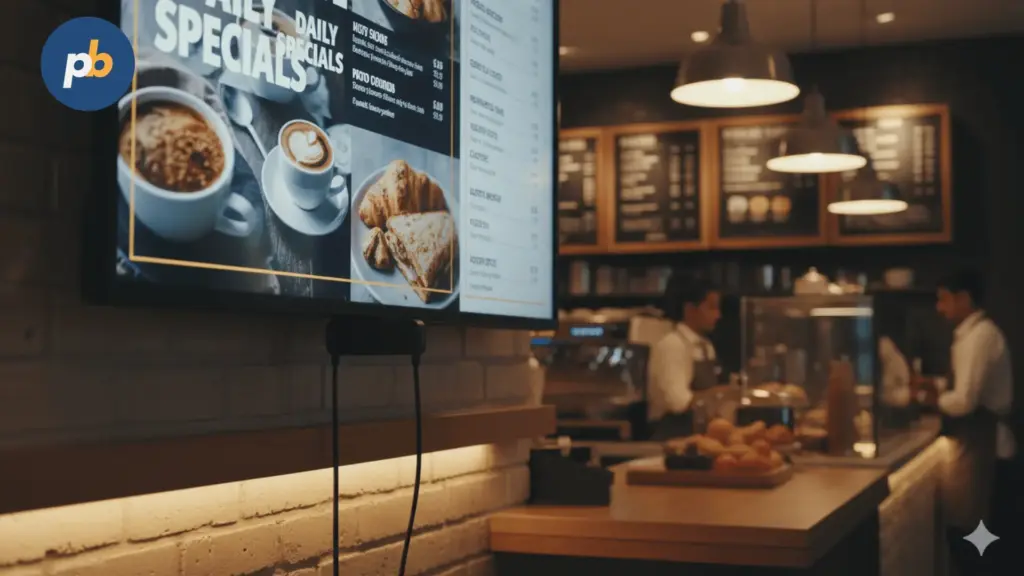
The position of your digital menu board affects readability, customer flow, and ordering efficiency.
Keep these guidelines in mind:
• Mount the TV at least 7 to 8 feet above the floor for visibility.
• Angle the screen slightly downward if it is high above the counter.
• Avoid bright lights or windows directly behind customers.
• Ensure the screen is visible from the entire queue.
• Place multiple screens if the line is long.
Correct digital signage placement strategy reduces wait time, eliminates ordering hesitation, and increases upsells.
Step 10. Schedule Menus to Change Automatically
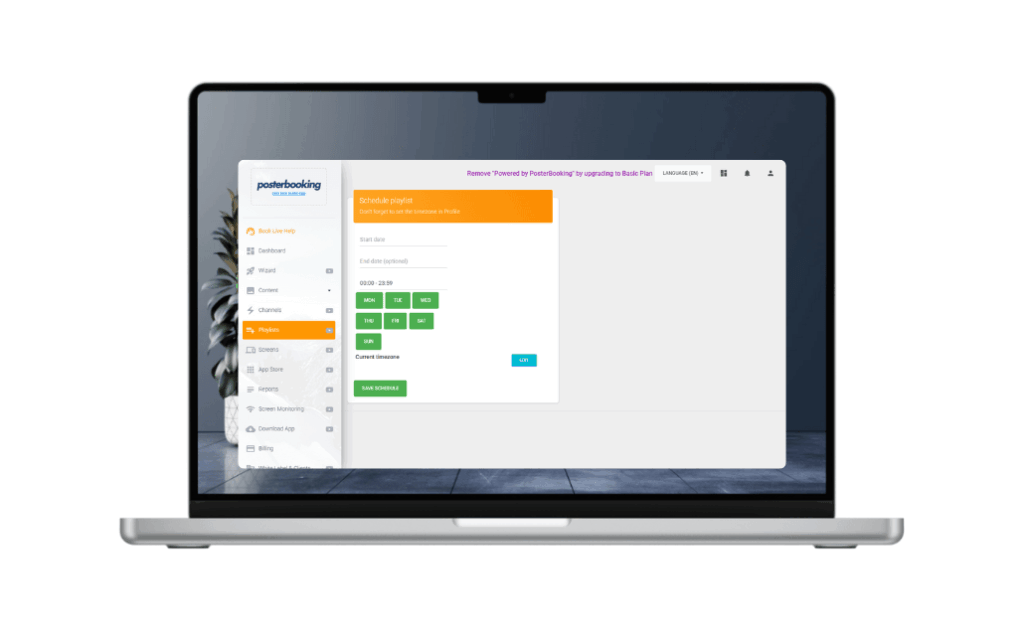
Scheduling is one of the strongest advantages of digital menu boards. You can set menus to update at specific times automatically.
For example:
• Breakfast menu from 6 AM to 11 AM.
• Lunch menu from 11 AM to 3 PM.
• Dinner menu from 3 PM to 10 PM.
• Late night menu from 10 PM to midnight.
• Happy hour promotions from 5 PM to 7 PM.
PosterBooking allows you to assign time based playlists so the entire menu system updates without any manual input.
Step 11. Update Your Menu Instantly as Needed
Digital menu boards are flexible. You can update content anytime.
Common updates include:
• Price changes
• New menu items
• Limited time promotions
• Seasonal products
• Sold out items
• Allergy notifications
• Ingredient changes
You can upload updated graphics in seconds, and they appear on the TV almost immediately.
This prevents customer confusion and avoids printing costs.
Step 12. Maintain Your Digital Menu Board Regularly
A digital menu board is not something you set once and forget. It is a living part of your restaurant.
Maintain it by:
• Updating images seasonally.
• Changing background colors during events or holidays.
• Refreshing food photography every 3 to 6 months.
• Checking screen brightness based on restaurant lighting.
• Adding new promotional offers weekly or monthly.
• Reviewing the layout for readability.
A well maintained menu board keeps customers engaged and increases both orders and upsells.
Final Thoughts
Turning a TV into a digital menu board involves connecting a media player, installing a signage app, uploading your menu content, creating playlists, assigning them to the TV, and scheduling updates. Digital menu boards give restaurants the ability to update prices instantly, rotate promotions, and display fresh, high resolution visuals that improve customer experience and drive sales.
In 2025, PosterBooking stands out as the best free platform for digital menu boards. You receive 10 free screens, easy playlist controls, and instant remote updates. This makes it ideal for small restaurants, large chains, cafes, bars, bakeries, and food trucks.