Table Of Contents
- How to Setup Raspberry Pi Digital Signage
- What Are the Requirements to Setup Raspberry Pi Digital Signage?
- Step One, Assemble and Connect the Hardware
- Step Two, Flash the Signage Image to the microSD Card
- Step Three, Insert the Card and Boot the Pi
- Step Four, Connect to Wi-Fi or Ethernet
- Step Five, Install and Launch the Signage Player
- Step Six, Pair the Device with Your CMS
- Step Seven, Upload and Schedule Your Content
- How to Setup Raspberry Pi Digital Signage for Different Scenarios
- How to Setup Raspberry Pi Digital Signage on a Budget
- How to Setup Raspberry Pi Digital Signage for Free
- How to Setup Raspberry Pi Digital Signage Offline
- How to Setup Raspberry Pi Digital Signage with Multiple Screens
- How to Setup Raspberry Pi Digital Signage for 24/7 Operation
- How to Setup Raspberry Pi Digital Signage with Remote Access
- How to Setup Raspberry Pi Digital Signage with Touch Interaction
- Best Practices to Setup Raspberry Pi Digital Signage
- Mistakes to Avoid When Setting Up Raspberry Pi Digital Signage
- How to Use Raspberry Pi Digital Signage
- How to Use Raspberry Pi Digital Signage for Displaying Product Videos
- How to Use Raspberry Pi Digital Signage for Showing Promotions and Sales Offers
- How to Use Raspberry Pi Digital Signage for Digital Menu Boards
- How to Use Raspberry Pi Digital Signage for Announcements and Notices
- How to Use Raspberry Pi Digital Signage for Wayfinding and Directional Screens
- How to Use Raspberry Pi Digital Signage for Timetables and Schedules
- Best Practices on Using Raspberry Pi Digital Signage
- Mistakes to Avoid When Using Raspberry Pi Digital Signage
- Troubleshooting Tips for Raspberry Pi Digital Signage
- Frequently Asked Questions
- Final Insight
Raspberry Pi digital signage allows you to convert a compact, budget-friendly PC into a powerful signage player for any HDMI-compatible screen. It offers a flexible and low-cost way to show advertisements, menus, announcements, or dashboards without needing expensive commercial hardware.
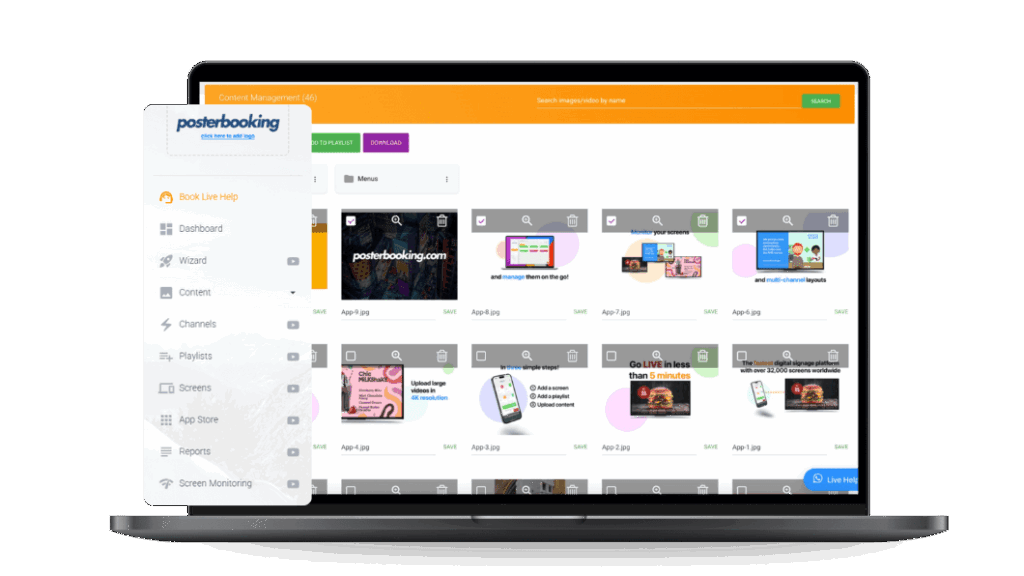
Using a Raspberry Pi for signage involves connecting the board to a monitor, installing a signage OS on a microSD card, linking to the web, and pairing with a CMS like PosterBooking. Once connected, you can upload, schedule, and control your on-screen content remotely from any computer.
The Raspberry Pi functions like a low-cost signage player. It runs lightweight software that automatically downloads and displays media from your CMS. Using PosterBooking, which provides 10 free screens, you can turn any Pi into a professional display that loops videos, shows menus, or rotates announcements, all managed from a single dashboard.
How to Setup Raspberry Pi Digital Signage
Setting up a Raspberry Pi signage system requires hardware assembly, software flashing, booting the device, and connecting it to both the internet and your CMS.
What Are the Requirements to Setup Raspberry Pi Digital Signage?
For a successful Raspberry Pi signage install, you will need the following hardware and software:
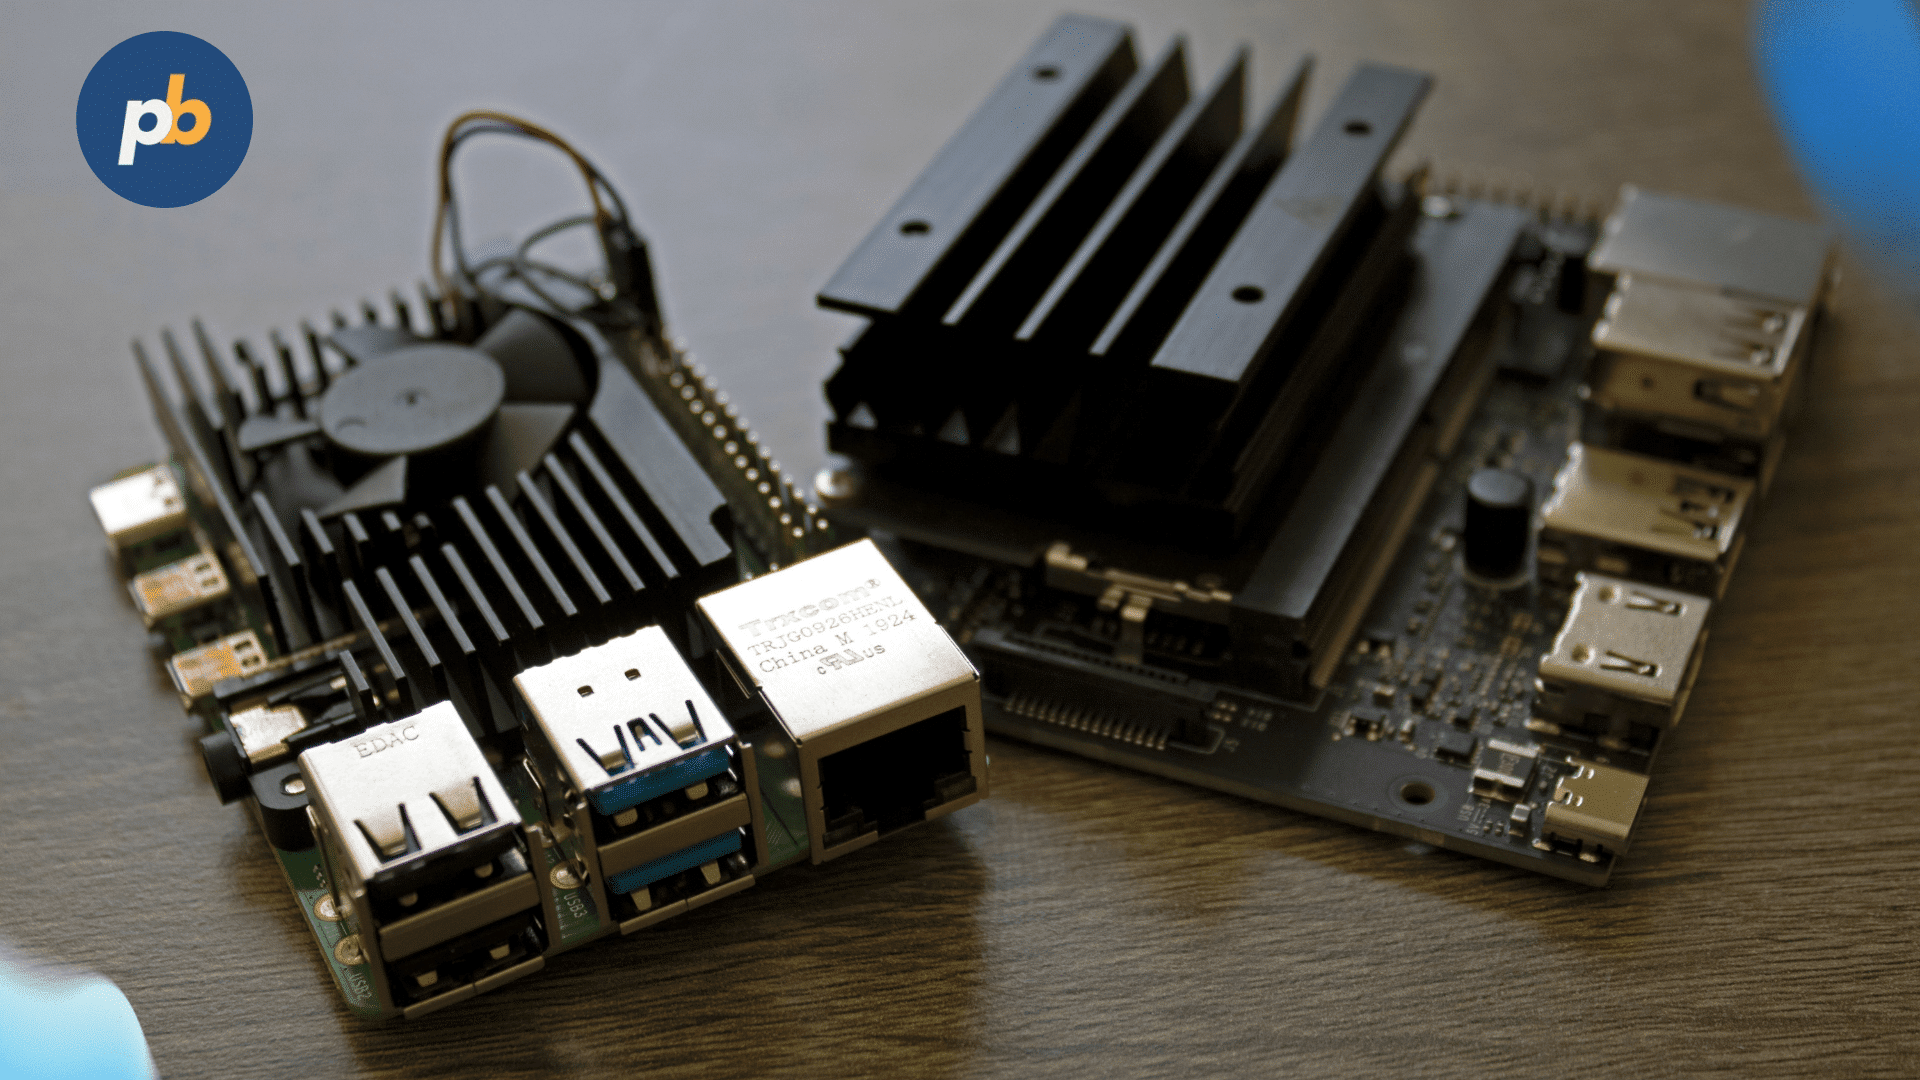
- Raspberry Pi board (Model 4 or 5 recommended for 4 K output)
- microSD card (Class 10, 16 GB minimum capacity)
- Power supply (official 5 V 3 A adapter for Pi 4, 5 V 5 A for Pi 5)
- HDMI display or TV
- Digital signage software image (PosterBooking OS, Yodeck OS, Screenly OSE, etc.)
- Keyboard and mouse (for initial setup)
- Internet connection (Wi-Fi or Ethernet)
- Optional: case, cooling fan, and mounting bracket for continuous operation
Having these items prepared ensures a seamless installation process and long-term stability.
Step One, Assemble and Connect the Hardware
Begin your Pi signage project by putting together all the necessary hardware pieces.
Step-by-step process to set up hardware:
- Step One: Unbox the Raspberry Pi board and place it inside a protective case to avoid static damage.
- Step Two: Insert the microSD card slot-side down into the board.
- Step Three: Connect an HDMI cable from the Pi to your display.
- Step Four: Plug in the keyboard and mouse if needed for setup.
- Step Five: Attach the power supply but do not turn it on yet until the software image is ready.
Proper assembly ensures your Pi stays stable and ventilated during prolonged usage.
Step Two, Flash the Signage Image to the microSD Card
Ready your Raspberry Pi by installing the signage OS image onto your microSD card.
Step-by-step process to flash the signage image:
- Step One: Download the signage image (for example, PosterBooking OS or Yodeck OS) from the official site.
- Step Two: Install the Raspberry Pi Imager or Balena Etcher on your computer.
- Step Three: Insert the microSD card into your computer and select the downloaded image file.
- Step Four: Click “Flash” and wait until the process completes (typically 5, 10 minutes).
- Step Five: Safely eject the card once flashing is finished.
Flashing installs the operating system and signage player environment that runs your digital content automatically.
Step Three, Insert the Card and Boot the Pi
Insert your prepared microSD card and power up the board to begin the Pi signage process.
Step-by-step process to boot the Pi:
- Step One: Insert the flashed microSD card into the Pi’s slot.
- Step Two: Connect the power supply to turn on the device.
- Step Three: Wait for the boot sequence to finish (you’ll see a setup screen on your display).
- Step Four: Follow any onscreen instructions to complete initial configuration.
The Pi will now load its signage OS and prepare for network connection.
Step Four, Connect to Wi-Fi or Ethernet
Getting your Pi online is necessary to facilitate communication between the hardware and your CMS.
Step-by-step process to connect to network:
- Step One: From the OS menu, select “Network” or “Wi-Fi Settings.”
- Step Two: Choose your Wi-Fi network and enter the password. Alternatively, plug in an Ethernet cable for wired connection.
- Step Three: Test the connection by opening a browser or pinging a website.
- Step Four: If the network fails to connect, reboot and retry with the correct credentials.
For 24/7 setups, Ethernet is preferred because it eliminates Wi-Fi signal fluctuations.
Step Five, Install and Launch the Signage Player
Install the signage player app or use a web player to start broadcasting your content on the screen.
Step-by-step process to install the signage player:
- Step One: If you flashed PosterBooking OS, it launches automatically. Otherwise, download the PosterBooking app from the browser.
- Step Two: Run the installer or open the web player URL.
- Step Three: When the PosterBooking screen appears, note the pairing code displayed.
- Step Four: Keep the screen on while you complete the pairing process in your CMS.
PosterBooking’s lightweight player runs smoothly even on Raspberry Pi 5 hardware and automatically updates content from the cloud.
Step Six, Pair the Device with Your CMS
Linking your Pi to your CMS is done by entering the provided pairing code into your account dashboard.
Step-by-step process to pair with CMS:
- Step One: Open a browser on your computer or phone and log in to your PosterBooking account.
- Step Two: Navigate to “Add Display” and type the pairing code shown on the Pi’s screen.
- Step Three: Name the display (e.g., “Front Lobby Screen”) for easy organization.
- Step Four: Click “Save” or “Pair Device.”
- Step Five: Wait a few seconds for the CMS to synchronize with the Pi.
Once paired, your Pi automatically downloads assigned playlists and starts playback.
Step Seven, Upload and Schedule Your Content
Complete your configuration by uploading media files and organizing them into automated playlists.
Step-by-step process to upload and schedule content:
- Step One: Log into PosterBooking and select “Content Library.”
- Step Two: Upload videos, images, or social feeds you want to show.
- Step Three: Create a playlist by dragging media into a timeline.
- Step Four: Assign the playlist to your Raspberry Pi display.
- Step Five: Set schedule intervals for specific days or hours.
- Step Six: Save and verify that the Pi downloads and plays your content.
PosterBooking offers real-time screen preview and uptime monitoring, making it simple to manage even for first-time users.
How to Setup Raspberry Pi Digital Signage for Different Scenarios
Adjusting your network and software settings will allow you to set up Raspberry Pi signage for various specific use cases, whether budget, offline operation, or multi-screen synchronization.
How to Setup Raspberry Pi Digital Signage on a Budget
To set up Raspberry Pi digital signage on a budget, use a Pi 4 with a 16 GB card and free PosterBooking software.
Step-by-step process to set up budget signage:
- Step One: Use existing HDMI TVs or monitors instead of commercial screens.
- Step Two: Install PosterBooking OS to avoid license fees.
- Step Three: Pair up to 10 screens under the free plan.
- Step Four: Schedule ads and menus remotely without additional hardware.
This approach keeps hardware cost below $70 per screen while delivering professional results.
How to Setup Raspberry Pi Digital Signage for Free
To set up Raspberry Pi digital signage for free, combine open-source software with PosterBooking’s free tier.
Step-by-step process to set up free signage:
- Step One: Install Screenly OSE or PosterBooking on your Pi.
- Step Two: Pair the screen with PosterBooking to manage content.
- Step Three: Upload media through the browser interface.
- Step Four: Schedule playlists without any subscription cost.
This setup delivers zero-license-fee digital signage with cloud control and automated updates.
How to Setup Raspberry Pi Digital Signage Offline
To set up Raspberry Pi digital signage offline, preload content to the Pi before deployment.
Step-by-step process to set up offline signage:
- Step One: Connect your Pi to Wi-Fi temporarily and download all media files.
- Step Two: Enable local caching in PosterBooking settings.
- Step Three: Disconnect from the network once content is fully downloaded.
- Step Four: Reboot to verify continuous offline playback.
Offline mode is ideal for remote locations such as construction sites or warehouses.
How to Setup Raspberry Pi Digital Signage with Multiple Screens
To set up Raspberry Pi digital signage with multiple screens, assign a separate Pi to each display and group them inside your CMS.
Step-by-step process to set up multi-screen signage:
- Step One: Prepare one Pi per screen with identical software images.
- Step Two: Pair each device to the same PosterBooking account.
- Step Three: Use “Group Displays” to organize by location.
- Step Four: Assign a shared playlist to all screens for synchronized playback.
This setup scales easily across retail chains or educational campuses.
How to Setup Raspberry Pi Digital Signage for 24/7 Operation
To set up Raspberry Pi digital signage for 24/7 operation, optimize power and thermal management.
Step-by-step process to set up 24/7 operation:
- Step One: Use a cooling fan or heatsink to prevent overheating.
- Step Two: Enable auto-reboot scripts every 24 hours to clear cache.
- Step Three: Activate auto-start on boot within PosterBooking settings.
- Step Four: Monitor device uptime using the PosterBooking dashboard.
Following these steps ensures continuous playback and long device lifespan.
How to Setup Raspberry Pi Digital Signage with Remote Access
To set up Raspberry Pi digital signage with remote access, enable SSH or VNC in the Raspberry Pi Configuration menu.
Step-by-step process to set up remote access:
- Step One: From the main menu, open “Raspberry Pi Configuration.”
- Step Two: Enable SSH (for command-line control) or VNC (for graphical access).
- Step Three: Note the Pi’s IP address from the network settings.
- Step Four: Use a remote terminal or VNC viewer to connect from your PC.
- Step Five: You can now update software or reboot the Pi without physical access.
This method is particularly useful for managing screens spread across different buildings.
How to Setup Raspberry Pi Digital Signage with Touch Interaction
To set up Raspberry Pi digital signage with touch interaction, connect a touchscreen display and enable touch input drivers.
Step-by-step process to set up touch interaction:
- Step One: Connect a touch-enabled HDMI display or USB touchscreen to the Pi.
- Step Two: Boot the Pi and check that touch input is detected automatically.
- Step Three: Install any additional touchscreen drivers if needed.
- Step Four: Enable “Touch Mode” in your signage software.
- Step Five: Create interactive layouts with buttons or navigation menus in PosterBooking.
Touch signage works well for wayfinding kiosks, product directories, or self-service terminals.
Best Practices to Setup Raspberry Pi Digital Signage
Applying these best practices during setup will ensure your Raspberry Pi signage performs reliably and lasts longer:
- Use high-endurance microSD cards to prevent data corruption.
- Keep devices in ventilated enclosures with cooling fans.
- Enable automatic reboots during low-traffic hours (e.g., midnight).
- Backup content libraries in the CMS weekly.
- Label each Pi physically to match its screen name in the CMS for easy maintenance.
Mistakes to Avoid When Setting Up Raspberry Pi Digital Signage
You can save time and ensure consistent playback by staying away from common installation errors.
Common mistakes include:
- Using low-quality power adapters that cause under-voltage warnings.
- Forgetting to enable automatic login or startup scripts.
- Overlooking firmware updates that fix performance issues.
- Blocking ventilation by enclosing the Pi behind sealed panels.
These issues often cause black screens, random reboots, or network disconnections, all of which can be prevented with careful preparation.
How to Use Raspberry Pi Digital Signage
Utilizing Raspberry Pi signage involves linking the device to a monitor, adding software like PosterBooking OS, and syncing with your CMS. Once connected, the Pi automatically downloads, caches, and plays scheduled content, including videos, promotions, menus, and live dashboards.
Raspberry Pi digital signage provides the same output quality as commercial players but at a fraction of the cost. According to ScreenMedia Today (2026), organizations that replace traditional players with Raspberry Pi units save 60, 75 % on hardware expenses while maintaining reliable 1080p or 4K performance.
How to Use Raspberry Pi Digital Signage for Displaying Product Videos
Product videos can be shown on Pi signage by uploading clips to your CMS and assigning the resulting playlists to your hardware.
Step-by-step process to display product videos:
- Step One: Connect the Raspberry Pi to your HDMI display and ensure it’s paired with PosterBooking.
- Step Two: Upload your product videos into the CMS content library.
- Step Three: Create a playlist titled “Product Demos” or “New Arrivals.”
- Step Four: Set playback order and looping preferences.
- Step Five: Assign the playlist to your display and test playback.
This setup works effectively for retail stores, showrooms, or exhibitions that need to highlight products continuously.
How to Use Raspberry Pi Digital Signage for Showing Promotions and Sales Offers
To use Raspberry Pi digital signage for showing promotions, create and schedule content that displays sales, discount percentages, or limited-time deals.
Step-by-step process to display promotions:
- Step One: Log into PosterBooking and create slides or upload promotional images (e.g., “20 % Off Today!”).
- Step Two: Insert videos or static banners into your playlist.
- Step Three: Schedule them for specific days or hours to align with campaigns.
- Step Four: Assign the playlist to your Raspberry Pi screen.
- Step Five: Verify playback timing and refresh regularly with new offers.
Consistent promotions improve engagement and drive more in-store sales, according to Retail Display Analytics (2026), which reported a 22 % increase in impulse purchases when digital signage featured limited-time offers.
How to Use Raspberry Pi Digital Signage for Digital Menu Boards
To use Raspberry Pi digital signage for digital menu boards, connect the Pi to your restaurant’s display and sync it with your CMS to update menus automatically.
Step-by-step process to display digital menus:
- Step One: Pair the Pi with your PosterBooking CMS.
- Step Two: Upload menu templates (JPEG, PNG, or video loops).
- Step Three: Add prices and descriptions through your CMS editor.
- Step Four: Schedule breakfast, lunch, and dinner menus for different time slots.
- Step Five: Preview the live screen to confirm accuracy.
PosterBooking’s drag-and-drop scheduler makes it simple for staff to adjust menu pricing or availability without technical help.
How to Use Raspberry Pi Digital Signage for Announcements and Notices
To use Raspberry Pi digital signage for announcements, design clear message slides that communicate policies, instructions, or updates to staff and visitors.
Common announcement examples include:
- Employee onboarding or safety instructions
- HR policy updates
- Queue management messages (“Next counter available”)
- Check-in and visitor information
This type of signage is particularly effective in hospitals, schools, and offices where internal communication needs to remain clear and current.
How to Use Raspberry Pi Digital Signage for Wayfinding and Directional Screens
To use Raspberry Pi digital signage for wayfinding, design a map layout or location guide and display it on touchscreen or static screens to assist navigation.
Step-by-step process to display wayfinding screens:
- Step One: Upload floor plans or area maps into your CMS.
- Step Two: Add labels and directional arrows using your layout editor.
- Step Three: Assign content to displays positioned at key junctions.
- Step Four: If using a touchscreen, enable “Touch Mode” for interactive navigation.
Retail malls, event halls, and airports use this method to enhance visitor experience and reduce congestion.
How to Use Raspberry Pi Digital Signage for Timetables and Schedules
To use Raspberry Pi digital signage for timetables, integrate your CMS with a data source like Google Sheets or a booking calendar. The Pi then updates the screen automatically whenever new entries are added.
Step-by-step process to display schedules:
- Step One: Connect your Raspberry Pi signage player to the network and pair it with PosterBooking.
- Step Two: Add your scheduling data source (API, calendar, or spreadsheet).
- Step Three: Design a template showing times, events, and rooms.
- Step Four: Assign it to your signage screen for live updates.
This setup is perfect for airports, schools, and offices displaying meeting or event schedules.
Best Practices on Using Raspberry Pi Digital Signage
To ensure reliable operation and professional presentation, follow these key usage best practices:
- Use high-quality HDMI cables to avoid screen flicker or signal loss.
- Keep content files below 100 MB for smoother playback.
- Separate playlists by campaign or location for easier updates.
- Use short loops (under 90 seconds) to maintain viewer attention.
- Regularly check CMS analytics for playback errors or downtime alerts.
PosterBooking simplifies these tasks by automatically caching files and sending email alerts if a screen goes offline.
Mistakes to Avoid When Using Raspberry Pi Digital Signage
To maintain consistent performance, avoid common operational errors:
- Streaming-only setup: Always enable caching for offline continuity.
- Ignoring system temperature: Overheating can throttle performance; use a cooling fan.
- Overloading playlists: Too many large videos can cause lag.
- Skipping updates: Neglecting OS or CMS updates can break playback compatibility.
According to IoT Hardware Journal (2026), users who followed a preventive maintenance schedule reduced failure rates by 49 % compared to those who ignored firmware updates.
Troubleshooting Tips for Raspberry Pi Digital Signage
To troubleshoot Raspberry Pi digital signage effectively, diagnose whether the issue originates from power, display, network, or software configuration.
Common problems and solutions:
| Issue | Likely Cause | Recommended Fix |
|---|---|---|
| Black screen | Loose HDMI connection | Reseat cable, check HDMI source setting |
| “No signal” message | Wrong input or SD card error | Verify input source, re-flash signage OS |
| Content not updating | Network or CMS sync issue | Restart Pi, reconnect Wi-Fi, force CMS resync |
| Overheating | Poor ventilation | Add cooling fan or heatsink |
| Stuck on boot logo | Corrupt SD card | Reflash image and replace damaged card |
| Audio missing | Disabled output or codec issue | Enable audio in system settings, re-encode video |
| Pairing failure | Time or date mismatch | Set correct system time manually before pairing |
If using PosterBooking OS, the system auto-reports online/offline status, making it easier to identify unresponsive devices remotely.
Frequently Asked Questions
Q1: Can Raspberry Pi handle 4K digital signage?
Yes, Raspberry Pi 4 and Pi 5 support 4K output when using high-speed HDMI cables and optimized signage software like PosterBooking.
Q2: Which model of Raspberry Pi is best for signage?
The Raspberry Pi 4 (4 GB or 8 GB) provides the best balance of cost and performance. Pi 5 offers higher processing power for complex content but at a higher price.
Q3: How many screens can I control for free?
PosterBooking allows up to 10 free screens, making it ideal for small networks or pilot projects.
Q4: Can Raspberry Pi signage run without internet?
Yes. After caching content locally, it can display media offline. Just ensure all content has downloaded before disconnecting from Wi-Fi.
Q5: What’s the best software for beginners?
PosterBooking OS is the easiest option for non-technical users, it auto-installs, provides a free CMS, and pairs instantly using an on-screen code.
Q6: Why does my screen keep rebooting?
Frequent reboots usually indicate insufficient power. Use an official 5V 3A adapter or a powered USB hub for accessories.
Q7: How do I update content remotely?
Log into your CMS, upload new media, and assign it to the display. The Raspberry Pi downloads and updates automatically within minutes.
Q8: How can I prevent overheating?
Use a ventilated case with a small cooling fan, avoid enclosing the Pi behind displays, and monitor CPU temperature via the CMS or command line.
Final Insight
Raspberry Pi digital signage provides a cost-effective way to manage professional digital displays without investing in expensive hardware. By following structured setup and usage steps, assembling the device, flashing signage OS, pairing it with a CMS like PosterBooking, and optimizing for stability, businesses can achieve enterprise-grade performance at a fraction of the cost.
According to AV Network Insights (2026), organizations that switched to Raspberry Pi, based digital signage saw a 57 % reduction in total ownership cost while maintaining similar uptime and reliability to traditional commercial players. With careful setup, proper cooling, and reliable CMS integration, Raspberry Pi signage can run 24/7, anywhere, from local cafés to global corporate offices.