
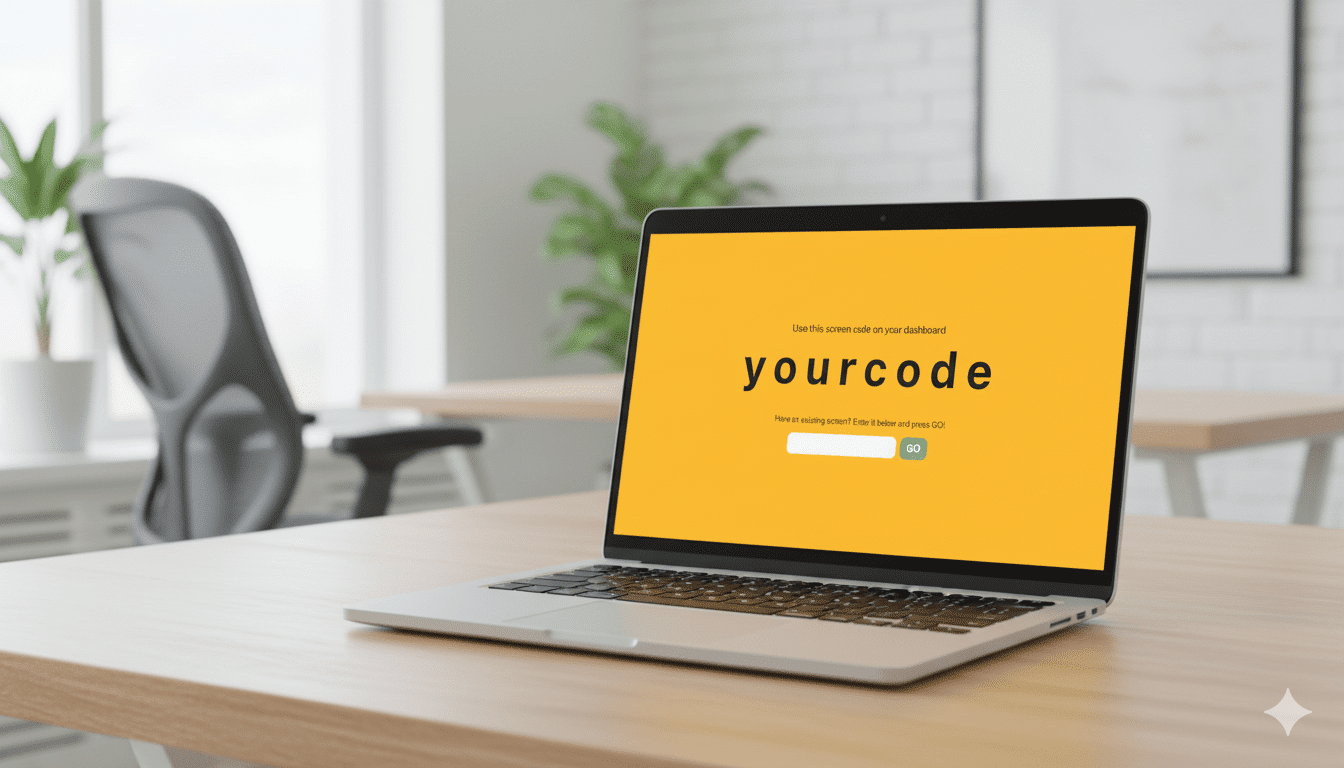
Digital signage software is the core system that connects your display hardware to a content management platform, enabling centralized control of multiple screens from a single dashboard.
To use digital signage software, connect your display hardware to the internet, install the compatible signage player app, and pair it with a CMS account such as PosterBooking. Once linked, you can upload videos, images, or live data feeds and control when and where they appear.
Digital signage software bridges your content management system and your display devices. For example, a café using PosterBooking can upload promotional images to its CMS dashboard, assign them to the connected Android TV screens, and automate display changes throughout the day - all without touching the physical device.
Using digital signage software involves installing a compatible player application on your preferred device (Android, iOS, Windows, Linux, or Raspberry Pi), connecting it to the internet, pairing it with your CMS dashboard, and managing your screen content remotely from any browser or mobile device.
Table Of Contents
- How to Setup Digital Signage Software
- What Are the Requirements to Setup Digital Signage Software
- Step One - Choose the Compatible Device and OS
- Step Two - Install the Digital Signage Player or App
- Step Three - Connect the Device to the Display and Internet
- Step Four - Pair the Device with Your CMS Account
- Step Five - Upload and Schedule Your Content
- Step Six - Optimize Resolution and Playback Settings
- How to Setup Digital Signage Software for Different Scenarios
- How to Setup Digital Signage Software on Android Devices
- How to Setup Digital Signage Software on iOS Devices
- How to Setup Digital Signage Software on Windows PCs
- How to Setup Digital Signage Software on Linux Systems
- How to Setup Digital Signage Software on Raspberry Pi
- Best Practices to Setup Digital Signage Software
- Mistakes to Avoid When Setting Up Digital Signage Software
- Using Digital Signage Software
- How to Use Digital Signage Software for Advertising Campaigns
- How to Use Digital Signage Software for Menu Boards
- How to Use Digital Signage Software for Announcements and Notices
- How to Use Digital Signage Software for Real-Time Dashboards
- How to Use Digital Signage Software for Multi-Screen Displays
- Best Practices on Using Digital Signage Software
- Mistakes to Avoid When Using Digital Signage Software
- Troubleshooting Tips for Digital Signage Software
- Frequently Asked Questions
- Final Takeaway
How to Setup Digital Signage Software
To set up digital signage software, select your target device and operating system, install the appropriate signage player or app, connect the device to both your display and the internet, link it to your CMS account, and then upload and schedule your media content.
This process enables centralized control, automatic updates, and remote screen management - essential for modern retail, education, and enterprise environments.
What Are the Requirements to Setup Digital Signage Software
Before setup, ensure you have the following:
- Compatible device such as Android TV, iPad, Windows PC, Linux mini-PC, or Raspberry Pi
- Display with HDMI input or built-in Smart OS
- Internet connection (Wi-Fi or Ethernet recommended for stability)
- Digital signage CMS account (PosterBooking, Yodeck, Xibo, etc.)
- Power adapter and cables for reliable operation
- Optional accessories such as wall mounts, keyboard/mouse, or Ethernet adapters for easier configuration
Having these ready ensures the setup process proceeds smoothly without interruptions or compatibility issues.
Step One - Choose the Compatible Device and OS
To set up digital signage software, start by choosing the device and operating system that best fit your budget and requirements. Android and Fire TV devices are affordable and simple; Windows and Linux systems offer enterprise reliability; Raspberry Pi suits educational or DIY projects.
According to Digital Display Trends (2024), Android-based setups now represent 52% of global signage installations due to their low cost and ease of use. Choose the hardware that balances performance, price, and operating stability for your application.
Step Two - Install the Digital Signage Player or App
Next, download and install the signage player or software agent that will connect your display to the CMS.
Step-by-step process to install the digital signage player or app:
- Step One: Open your device’s app store (Google Play, App Store, Microsoft Store, or package repository).
- Step Two: Search for the signage app that matches your CMS (e.g., “PosterBooking Player”).
- Step Three: Download and install the app on your chosen device.
- Step Four: Launch the app after installation to display a pairing code or connection link.
PosterBooking’s installation process takes less than two minutes and works on nearly all operating systems, making it a go-to option for non-technical users.
Step Three - Connect the Device to the Display and Internet
After installing the signage player, connect the device to your display and ensure it has network access.
Step-by-step process to connect your device to the display and internet:
- Step One: Connect the device to your screen using an HDMI cable (or directly, if using a smart TV).
- Step Two: Plug in the power adapter and turn on both the device and display.
- Step Three: Access the network settings and connect to Wi-Fi or Ethernet.
- Step Four: Confirm the internet connection by testing the device’s browser or app connectivity.
For commercial environments, use wired Ethernet to avoid Wi-Fi interruptions during video playback.
Step Four - Pair the Device with Your CMS Account
Once the player app is running and online, pair the device with your CMS to link it to your dashboard.
Step-by-step process to pair the device with your CMS account:
- Step One: Log in to your CMS dashboard (e.g., PosterBooking.com).
- Step Two: Select “Add Display” or “Pair Device.”
- Step Three: Enter the pairing code shown on your signage device.
- Step Four: Name your display (for example, “Reception Screen” or “Window Display”).
- Step Five: Save and verify the pairing connection.
After pairing, your display becomes fully controllable through the CMS dashboard - allowing instant uploads, content updates, and schedule adjustments.
Step Five - Upload and Schedule Your Content
Once the device is paired, upload your content library to the CMS and schedule playback.
Step-by-step process to upload and schedule your content:
- Step One: Log in to your CMS and open the “Media Library.”
- Step Two: Upload videos, images, slides, or social feeds.
- Step Three: Create playlists or campaigns based on category or time.
- Step Four: Drag and drop media into desired time slots.
- Step Five: Assign the playlist to your screen or group of displays.
- Step Six: Save and preview the schedule for accuracy.
PosterBooking’s drag-and-drop timeline makes this process visual and intuitive - ideal for beginners and non-technical users managing multiple screens.
Step Six - Optimize Resolution and Playback Settings
Finally, fine-tune the resolution, orientation, and playback options to match your screen setup.
Step-by-step process to optimize resolution and playback settings:
- Step One: Open your player app settings and check the screen resolution (1080p or 4K).
- Step Two: Match the display orientation (landscape or portrait) to your screen’s mounting position.
- Step Three: Enable “auto-start” or “kiosk mode” so the player launches automatically at boot.
- Step Four: Adjust brightness, playback speed, and looping preferences.
- Step Five: Reboot the device once to confirm stable startup and continuous playback.
According to TechVisual Reports (2024), setting proper resolution alignment improves perceived content quality by 35%, especially on commercial LED or OLED screens.
How to Setup Digital Signage Software for Different Scenarios
To set up digital signage software for different scenarios, follow installation procedures specific to each operating system or device type. Each platform offers unique benefits and use cases - from low-cost retail signage to enterprise-grade control.
How to Setup Digital Signage Software on Android Devices
To set up digital signage software on Android devices, use an Android TV, TV box, or media stick, install your signage app from the Google Play Store, and pair it with your CMS for remote scheduling.
Step-by-step process to setup digital signage software on Android devices:
- Step One: Plug your Android TV or device into your display via HDMI.
- Step Two: Connect the device to Wi-Fi or Ethernet.
- Step Three: Open Google Play and search for “PosterBooking Player.”
- Step Four: Install the app and open it to reveal your pairing code.
- Step Five: Log in to your CMS (PosterBooking) and add the screen using the pairing code.
- Step Six: Assign your desired playlist and test playback.
Android devices are affordable (typically under $100) and ideal for small businesses, cafés, or schools that need a cost-effective signage solution.
How to Setup Digital Signage Software on iOS Devices
To set up digital signage software on iOS devices, use an iPad or Apple TV with AirPlay, install the signage player from the App Store, and sync with your CMS.
Step-by-step process to setup digital signage software on iOS devices:
- Step One: Turn on your iPad or Apple TV and connect it to the internet.
- Step Two: Go to the App Store and download the signage player (PosterBooking or Yodeck).
- Step Three: Launch the app and sign in or note the pairing code.
- Step Four: Pair it with your CMS using the dashboard link.
- Step Five: Upload and assign content playlists.
- Step Six: Enable AirPlay or iCloud Drive integration for synced media storage.
This setup is perfect for luxury or boutique environments - salons, hotels, or offices - where visual aesthetics and seamless performance are key.
How to Setup Digital Signage Software on Windows PCs
To set up digital signage software on Windows PCs, install the signage player or use a web-based CMS, then configure the PC to auto-launch the app and stay awake.
Step-by-step process to setup digital signage software on Windows PCs:
- Step One: Install the signage player (PosterBooking or Xibo for Windows).
- Step Two: Pair your PC with the CMS dashboard.
- Step Three: Configure Windows Task Scheduler to auto-launch the player app on startup.
- Step Four: Disable sleep and screensaver modes in Power Settings.
- Step Five: Upload and schedule your content through the CMS.
- Step Six: Restart to confirm automatic playback on boot.
Windows setups are excellent for corporate dashboards or control centers requiring multiple displays and local data integration.
How to Setup Digital Signage Software on Linux Systems
To set up digital signage software on Linux systems, install a signage player package such as Xibo, Screenly, Yodeck, or PosterBooking for Linux, then configure the system for kiosk mode and auto-start.
Step-by-step process to setup digital signage software on Linux systems:
- Step One: Download the signage player package compatible with your Linux distribution.
- Step Two: Install dependencies using terminal commands (e.g., Python, Chromium).
- Step Three: Run the installation script and open the player.
- Step Four: Pair it with your CMS using the displayed code.
- Step Five: Enable “kiosk mode” using systemd for automatic boot playback.
- Step Six: Test reboot behavior to confirm continuous operation.
Linux is ideal for IT professionals or developers seeking open-source flexibility and advanced system control.
How to Setup Digital Signage Software on Raspberry Pi
To set up digital signage software on Raspberry Pi, flash a signage OS image to the SD card, connect the device to your display and Wi-Fi, and link it to your CMS account.
Step-by-step process to setup digital signage software on Raspberry Pi:
- Step One: Download a signage-ready OS (PosterBooking OS or Screenly OSE).
- Step Two: Flash the image onto an SD card using Balena Etcher.
- Step Three: Insert the SD card into the Raspberry Pi and power it on.
- Step Four: Connect the device to Wi-Fi or Ethernet.
- Step Five: The player app will auto-load and show a pairing code.
- Step Six: Pair it with your CMS and assign content for playback.
Raspberry Pi setups are cost-effective (under $60) and ideal for DIY signage, classrooms, or local offline environments.
Best Practices to Setup Digital Signage Software
To set up digital signage software effectively, follow structured best practices that ensure stability, security, and smooth playback across all screens. These practices minimize downtime and optimize display performance.
Best practices for setting up digital signage software include:
- Match software to hardware specifications. Use Android apps for budget devices, Linux software for industrial systems, and Windows players for office dashboards.
- Use static IPs for reliable remote control. Static addressing prevents devices from dropping off your CMS due to IP changes.
- Test playback before deployment. Always verify that videos, transitions, and layouts work on-screen before rollout.
- Enable automatic restarts and caching. This ensures screens recover automatically from power or network interruptions.
- Monitor screens remotely via your CMS. Platforms like PosterBooking offer “online/offline” indicators, so you can track player health at a glance.
According to ScreenMedia Today (2024), signage systems configured with remote monitoring and auto-restart features achieve 42% higher uptime over 12 months than unmanaged systems.
Mistakes to Avoid When Setting Up Digital Signage Software
Avoiding common setup errors saves time and prevents operational headaches later.
Frequent setup mistakes to avoid include:
- Installing software incompatible with your device OS. Always verify that the signage app supports your operating system before installation.
- Ignoring power management or auto-start settings. Without auto-launch enabled, your screen will not resume playback after restarts.
- Using unstable Wi-Fi instead of Ethernet. Wireless networks may fail during heavy data loads or interference, causing screen downtime.
- Failing to disable system sleep or screensavers. These interrupt continuous playback on Windows or macOS systems.
By eliminating these errors early, businesses can save an average of 22 hours per year per device in maintenance time (Display Analytics, 2023).
Using Digital Signage Software
To use digital signage software, upload and schedule your media content in your CMS dashboard, assign it to connected screens, and monitor playback through remote analytics. The CMS automates updates, playback order, and content delivery.
Digital signage software allows businesses to display advertisements, menus, dashboards, and real-time data - all controlled remotely from a single account. PosterBooking’s web interface, for instance, lets users drag and drop images, set times, and preview content without any technical expertise.
How to Use Digital Signage Software for Advertising Campaigns
To use digital signage software for advertising campaigns, upload promotional content to your CMS, organize it into time-based playlists, and schedule it for specific hours, days, or screen groups.
Step-by-step process to use digital signage software for advertising campaigns:
- Step One: Log in to your CMS (e.g., PosterBooking) and open the Media Library.
- Step Two: Upload promotional images, banners, and videos.
- Step Three: Create a new playlist titled “Weekly Campaign” or similar.
- Step Four: Set schedule blocks (for example, morning offers from 8–11 a.m., afternoon promos from 12–4 p.m.).
- Step Five: Assign the playlist to selected screens or locations.
- Step Six: Use analytics to track impressions or playback times.
Retailers often rotate ads weekly or seasonally. PosterBooking’s scheduling calendar makes it simple to automate content for weeks ahead.
How to Use Digital Signage Software for Menu Boards
To use digital signage software for digital menu boards, design menu layouts in your CMS using templates, upload updated pricing and images, and link screens to automatically reflect new data.
Step-by-step process to use digital signage software for menu boards:
- Step One: Log in to your CMS and navigate to “Layouts” or “Templates.”
- Step Two: Choose a menu board template (e.g., for breakfast, lunch, dinner).
- Step Three: Upload your menu items, prices, and photos.
- Step Four: Assign the layout to restaurant screens connected via player apps.
- Step Five: Set time schedules to switch menus automatically throughout the day.
- Step Six: Preview the output on your screen to confirm proper scaling and visibility.
Digital menus powered by PosterBooking can update instantly - saving restaurants both printing costs and manual work while ensuring consistency across all branches.
How to Use Digital Signage Software for Announcements and Notices
To use digital signage software for announcements, upload internal messages, alerts, or event notices to your CMS and assign them to relevant screens or departments.
Step-by-step process to use digital signage software for announcements:
- Step One: Open your CMS and create a new playlist called “Announcements.”
- Step Two: Add image slides or text cards containing the messages.
- Step Three: Set display duration (for example, 10 seconds per message).
- Step Four: Assign the playlist to office, school, or campus screens.
- Step Five: Enable automatic expiration for time-sensitive notices.
This approach is common in universities, transportation hubs, and corporate environments, where instant updates improve internal communication efficiency.
How to Use Digital Signage Software for Real-Time Dashboards
To use digital signage software for real-time dashboards, integrate your CMS with external data sources like Power BI, Grafana, or Google Sheets, and configure automatic refresh intervals.
Step-by-step process to use digital signage software for real-time dashboards:
- Step One: Prepare your dashboard URL or embed code from Power BI or another analytics tool.
- Step Two: Log in to your CMS and select “Add Web Widget” or “Add URL.”
- Step Three: Paste the dashboard link into the designated field.
- Step Four: Set refresh intervals (e.g., every 60 seconds).
- Step Five: Assign the layout to your digital signage screen.
- Step Six: Verify that data updates dynamically during playback.
This method keeps teams informed in real time with accurate performance metrics, production data, or financial KPIs.
How to Use Digital Signage Software for Multi-Screen Displays
To use digital signage software for multi-screen displays, connect multiple players to your CMS, assign each to a group, and deploy synchronized playlists across all screens.
Step-by-step process to use digital signage software for multi-screen displays:
- Step One: Connect all your player devices (Android, Windows, etc.) to the same CMS account.
- Step Two: Create a group (e.g., “Storefront Displays”).
- Step Three: Upload and organize your media library.
- Step Four: Assign the same playlist to all screens in the group.
- Step Five: Enable synchronization or “sync playback” mode if your CMS supports it.
- Step Six: Monitor live previews from the CMS dashboard.
This configuration is ideal for retail chains or airports where multiple screens must display coordinated visual content simultaneously.
Best Practices on Using Digital Signage Software
To maintain screen performance and reliability, adopt the following operational best practices:
- Use content caching for offline continuity. Ensure each player downloads content before playback.
- Automate daily restarts. Scheduled restarts clear temporary cache and maintain app stability.
- Compress large video files. Smaller media sizes reduce buffering and CPU load.
- Use playlists by time or event. Targeted scheduling ensures content relevance.
- Audit screen health weekly. Use CMS analytics to confirm uptime and playback accuracy.
PosterBooking provides automatic caching, compression support, and status indicators - ensuring each display performs reliably even under network fluctuations.
Mistakes to Avoid When Using Digital Signage Software
To ensure consistency and reliability, avoid these common operational mistakes:
- Uploading oversized 4K files to low-memory devices. Compress video files to reduce lag.
- Ignoring orientation settings. Ensure content matches the display’s portrait or landscape position.
- Not setting update intervals for remote screens. Without periodic sync, content may become outdated.
- Using animations with heavy CPU demand. Lightweight transitions perform better on basic players.
Keeping file sizes moderate and using compatible templates ensures optimal screen performance across all hardware levels.
Troubleshooting Tips for Digital Signage Software
To troubleshoot digital signage software effectively, identify whether the problem lies in the software, the network, or the display hardware.
Common issues and their quick fixes:
| Problem | Cause | Solution |
|---|---|---|
| App not syncing | Incorrect pairing or expired API key | Re-pair the device in your CMS dashboard |
| Black screen | Player app not auto-launching | Enable auto-start or kiosk mode in settings |
| Slow playback | High-resolution files overloading CPU | Compress video files and increase cache memory |
| Offline display | Lost network or no cached content | Reconnect to internet or enable offline playback |
| Audio not playing | Muted or unsupported codec | Check volume and re-encode audio track |
| Image distortion | Wrong resolution scaling | Match player output to display’s native resolution |
PosterBooking’s device dashboard displays status logs that help identify offline screens or missing media instantly.
Frequently Asked Questions
Q1: Can I use digital signage software without internet access? Yes, but you must first preload content and enable offline playback in your CMS. PosterBooking and Screenly both support this mode for remote sites.
Q2: What’s the best software for beginners? PosterBooking is ideal for beginners. It offers up to 10 free screens, a simple dashboard, and compatibility with most devices.
Q3: Can I control multiple locations from one account? Yes. Most CMS platforms, including PosterBooking and Yodeck, support multi-location grouping and centralized management.
Q4: How much bandwidth does digital signage use? It depends on content size and frequency. A typical 1080p video setup uses around 2–4 GB per month per screen when caching is enabled.
Q5: How often should I restart or update my devices? Schedule daily restarts and check for app or firmware updates monthly for optimal performance.
Q6: Can I schedule content changes automatically? Yes. Use the CMS’s built-in scheduling tool to assign specific content by date, time, or event trigger.
Q7: Is cloud-based signage secure? Yes, provided you use HTTPS connections and unique device pairing codes. PosterBooking and other major CMSs encrypt traffic to prevent unauthorized access.
Final Takeaway
Setting up and using digital signage software is about connecting devices intelligently and managing them efficiently through a reliable CMS. Whether running an Android stick in a café or an enterprise Linux network across 100 locations, the key is preparation and automation.
By following proper setup procedures, avoiding configuration mistakes, and leveraging CMS automation features, businesses can deliver high-quality, always-on digital content. PosterBooking simplifies this process with an intuitive dashboard, auto-sync capability, and a free tier perfect for newcomers.
As Display Futures (2024) notes, organizations using centralized signage management report a 45% improvement in screen uptime and 32% faster content updates, proving that success in digital signage begins with proper software setup and disciplined operation.