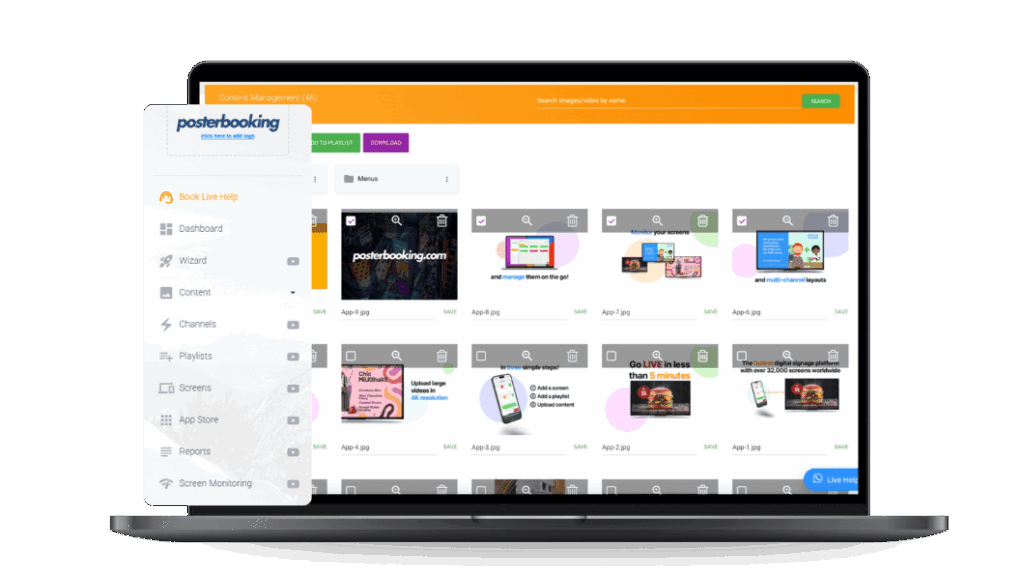
You turn a TV into digital signage by connecting it to a media player like an Amazon Fire Stick, Android TV, or Raspberry Pi, installing signage software such as PosterBooking, and uploading content to display. This process transforms an ordinary television into a dynamic advertising or information display for your hotel, school, church, restaurant, or organization.
Most people assume digital signage requires expensive commercial-grade screens, but in reality, any TV with an HDMI port can serve as a signage display with the right setup. Let’s go step by step through the process, from gathering equipment to scheduling your content.
Table Of Contents
- Step 1: Gather Your Requirements
- Step 2: Set Up the TV and Media Player
- For Smart TVs
- For Regular TVs
- Step 3: Install the PosterBooking App
- Step 4: Connect Your TV to PosterBooking Dashboard
- Step 5: Upload Your Content
- Step 6: Create Playlists
- Step 7: Assign Playlist to Your TV
- Step 8: Add a Schedule (Optional)
- Step 9: Test and Confirm
- Step 10: Maintain and Scale
- Why Turning a TV into Digital Signage Works
- Final Thoughts
Step 1: Gather Your Requirements
Before you begin, collect the tools you’ll need:
- A TV or monitor Any modern television with an HDMI port will work, whether it’s a smart TV or a regular flat-screen.
- A media player device To run signage software, your TV needs a signage player connected to it. Options include:
- Amazon Fire Stick (low cost and widely used)
- Amazon Signage Stick (purpose-built for signage, comes with 12 months of PosterBooking Business Pro)
- Android TV or Android TV Box
- Raspberry Pi (a low-cost mini-computer)
- Android tablet (for small-scale setups)
- A PosterBooking account Sign up free at posterbooking.co.uk/login. The free plan supports up to 10 screens and unlimited content uploads.
- Internet connection Required to connect your TV and update content remotely.
- Content files Prepare the images, videos, or URLs (such as menus, promotions, or dashboards) you want displayed.
Step 2: Set Up the TV and Media Player
For Smart TVs
If your TV runs on Android (like Sony Bravia or TCL smart TVs), you can install PosterBooking directly from the Google Play Store without extra hardware.
For Regular TVs
If your TV isn’t smart:
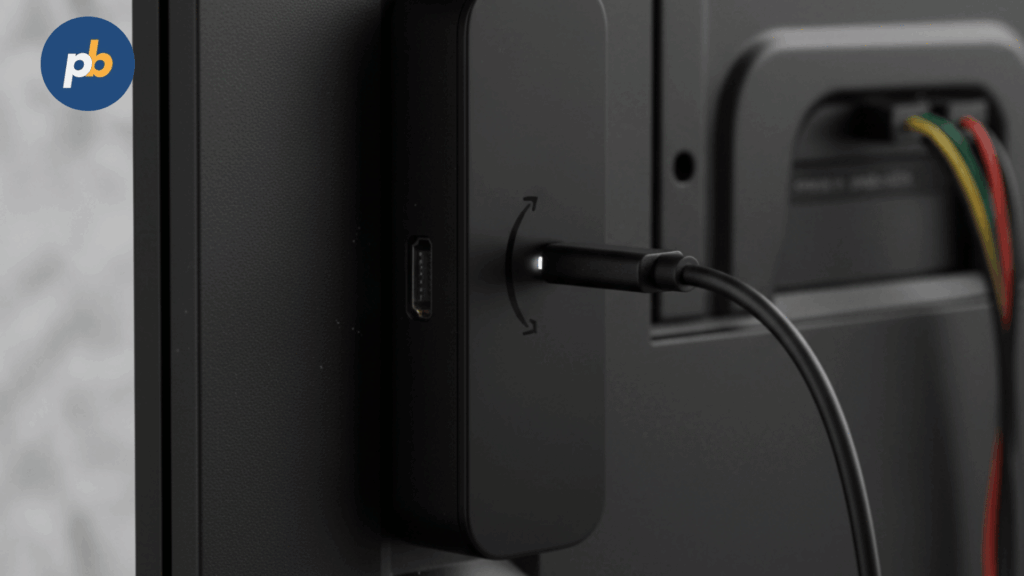
- Plug a Fire Stick, Android TV Box, or Raspberry Pi into its HDMI port.
- Connect the device to power (USB or adapter).
- Switch your TV to the correct HDMI input.
Your TV is now acting as a display for your signage media player.
Step 3: Install the PosterBooking App
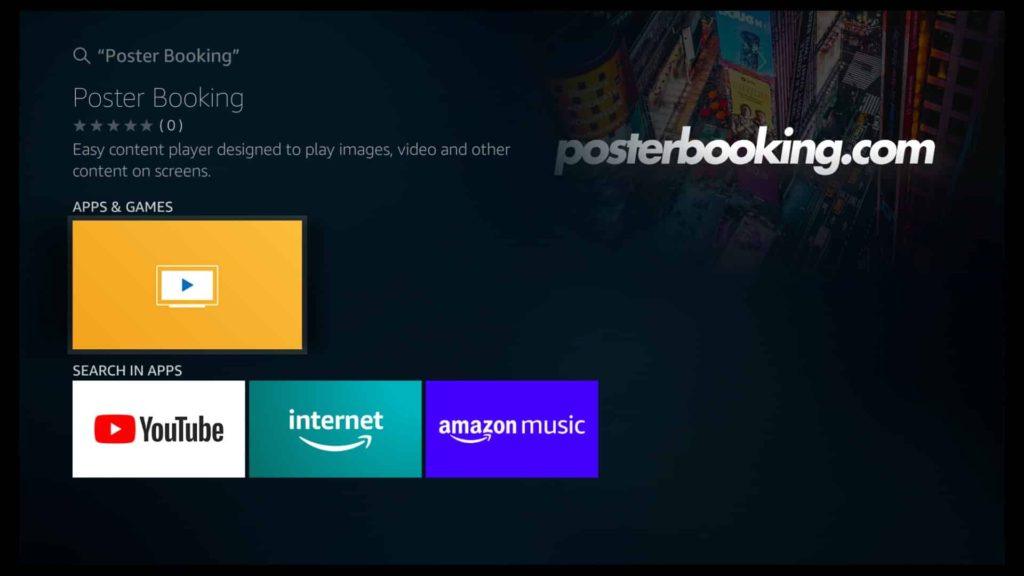
To turn the TV into digital signage, install software that can manage and display content. PosterBooking is the easiest free option.
- On your Fire Stick or Android TV, open the App Store.
- Search for PosterBooking.
- Download and install the app.
- Launch it - a unique pairing code will appear on your TV screen.
For Raspberry Pi setups, download PosterBooking OS from the official site, flash it to an SD card, and boot the Pi.
Step 4: Connect Your TV to PosterBooking Dashboard
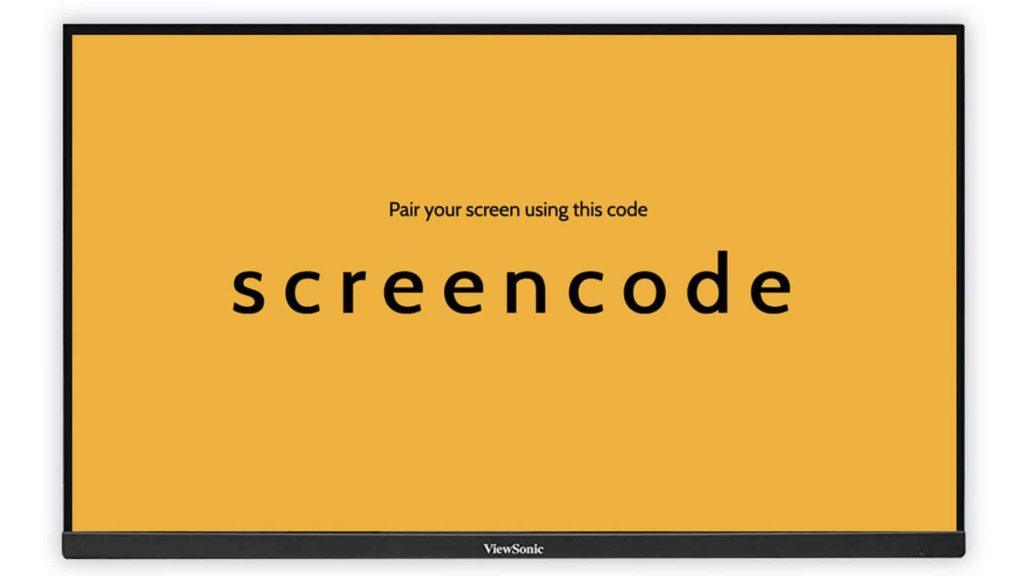
- On your computer or smartphone, log in at posterbooking.co.uk/login.
- Go to the Screens section.
- Click Add Screen.
- Enter the pairing code shown on your TV.
- Give the screen a clear name (e.g., “Lobby TV” or “Menu Display”).
- Click Save.
Your TV is now linked to your PosterBooking account and ready to receive content.
Step 5: Upload Your Content
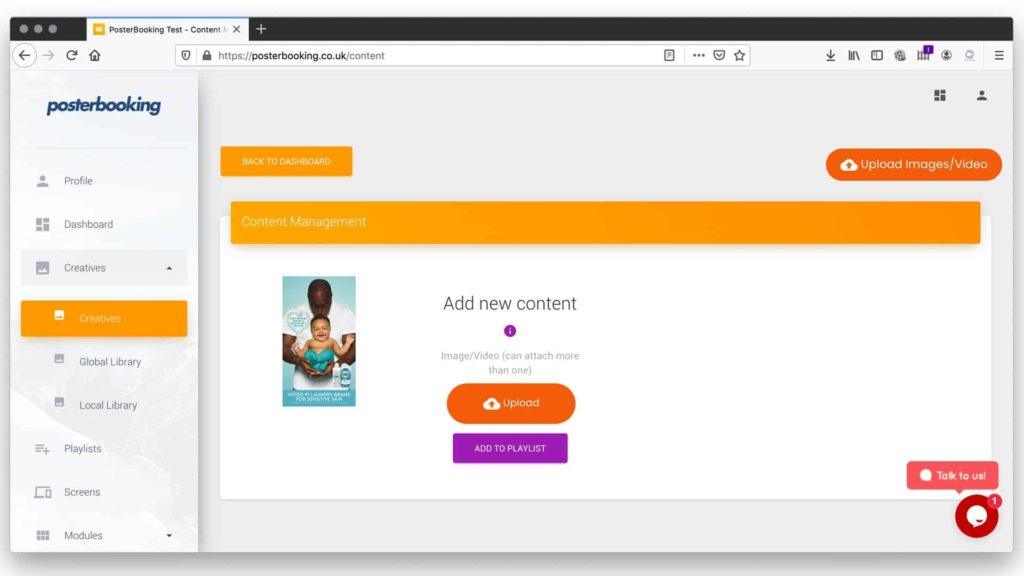
Your TV can only display what you upload. To prepare content:
- In the dashboard, click Content.
- Upload images and videos you want displayed (JPG, PNG, MP4 supported).
- For live web content, paste URLs in the Websites section (great for Google Slides, YouTube live streams, or dashboards).
- Organize your uploads in folders (menus, promos, events).
Your media library is now ready to power playlists.
Step 6: Create Playlists
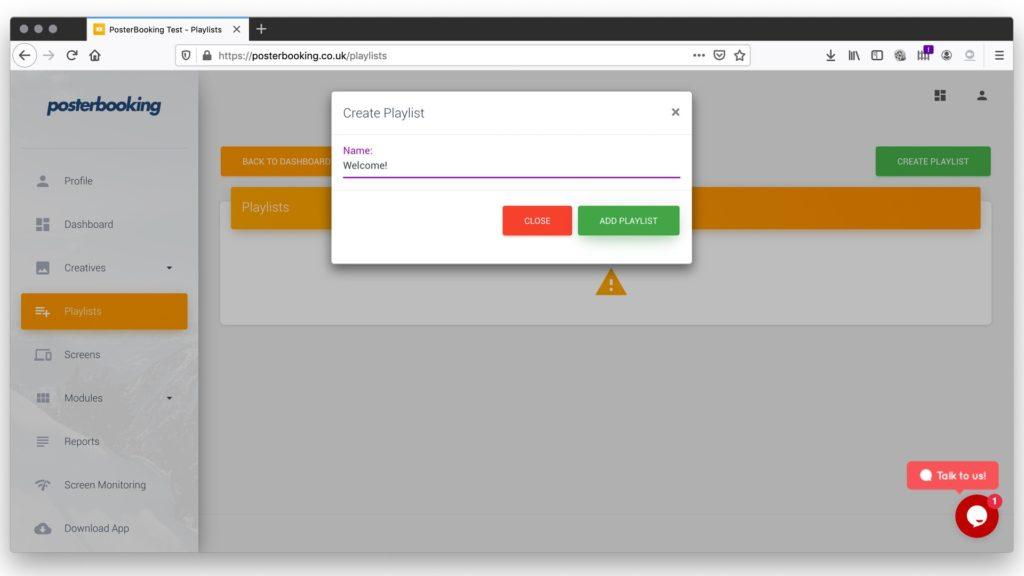
Playlists define what plays on your TV and in what order.
- Navigate to the Playlists tab.
- Click Create Playlist and name it (e.g., “Lunch Specials”).
- Add content from your library.
- Set display durations - for instance, show menu slides for 15 seconds, and play videos in full.
- Save the playlist.
You can create multiple playlists for different times of day or campaigns.
Step 7: Assign Playlist to Your TV
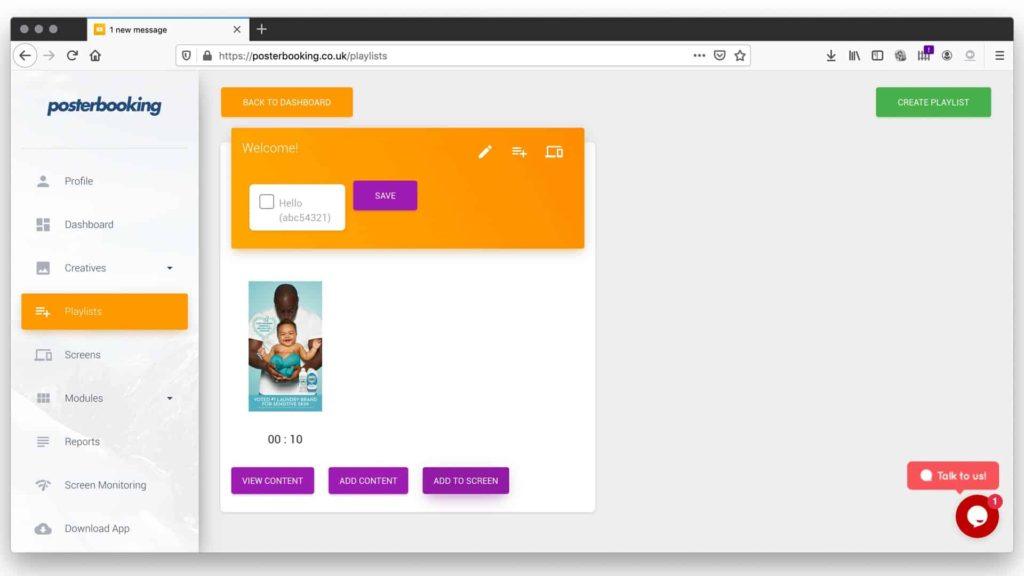
To display the playlist on your TV:
- Go to the Screens tab.
- Select your TV (the device you connected earlier).
- Click Add/Edit Playlist.
- Assign the playlist you created.
- Save.
Your TV will update instantly and start displaying your content.
Step 8: Add a Schedule (Optional)
Scheduling is useful if you want different content to run at different times.
- In the Screens tab, select your TV.
- Click Schedule.
- Assign playlists to specific times and days.
- Breakfast menu: 7 AM – 11 AM
- Lunch specials: 11 AM – 3 PM
- Happy hour: 4 PM – 7 PM
- Save the schedule.
Your TV will automatically switch content based on your schedule.
Step 9: Test and Confirm
Before finalizing:
- Check that content is playing in the right order.
- Verify scheduled playlists switch at the correct times.
- Adjust volume if your content includes music or narration.
- Ensure your account time zone matches your local time - otherwise, scheduling will be off.
- Test Wi-Fi strength; weak internet may cause delays in content updates.
Step 10: Maintain and Scale
Now that your TV is digital signage:
- Refresh content regularly: Customers notice outdated promotions quickly.
- Add more screens: PosterBooking’s free plan includes 10 TVs; upgrade for unlimited.
- Use analytics: Incorporate QR codes to measure engagement.
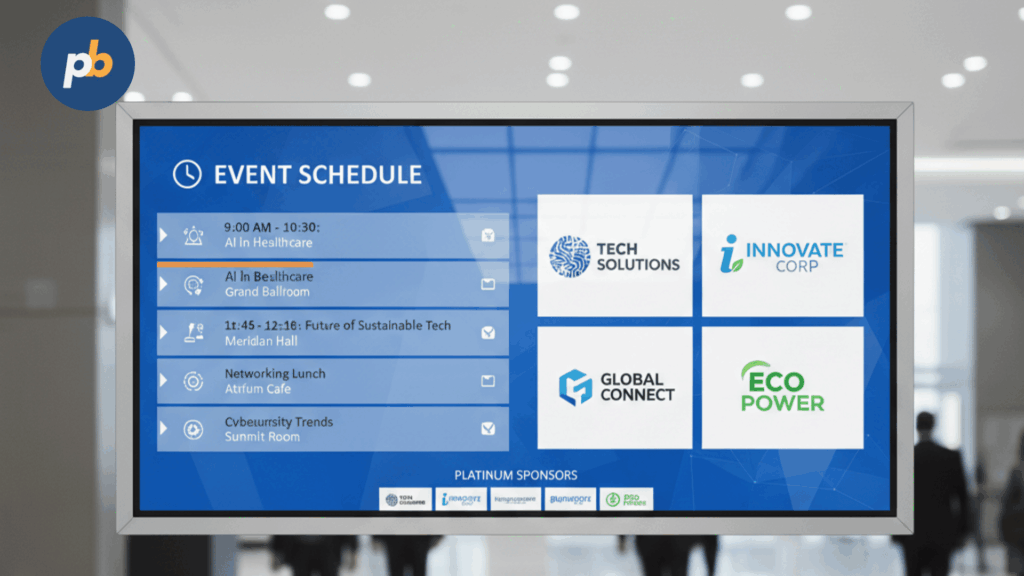
- Experiment with layouts: PosterBooking’s “Channels” feature lets you split-screen content (e.g., menu on one side, promotions on the other).
Scaling is as simple as plugging Fire Sticks into more TVs and linking them through your dashboard.
Why Turning a TV into Digital Signage Works
Businesses once needed expensive signage displays costing thousands of dollars. Now, with a regular TV and a $40 Fire Stick, you can achieve the same professional results.
If you’re setting up a screen for the first time, this guide on How to Setup and use digital signage for TV gives a clear walkthrough that helps you get your display running quickly.
Key advantages:
- Low cost: Use existing TVs with inexpensive devices.
- Remote management: Control screens from anywhere with PosterBooking.
- Flexibility: Display images, videos, websites, or live feeds.
- Scalability: Start with one TV, expand to dozens across multiple locations.
Industries that benefit most include:
- Restaurants: Menus that update by time of day.
- Schools: Announcements, schedules, and live event feeds.
- Gyms: Class timetables, promotions, and motivational videos.
- Retail: Seasonal promotions and product advertisements.
- Churches: Sermon slides, scripture, and community announcements.
Final Thoughts
You turn a TV into digital signage by connecting it to a media player like a Fire Stick, installing PosterBooking, linking the device to your account, uploading content, creating playlists, and assigning them to your TV. This process takes less than 20 minutes and allows you to display professional-quality signage without the need for costly hardware.
The real power comes from scheduling, organizing playlists, and refreshing your content regularly. Once set up, your TV transforms into a powerful tool for communication and engagement, whether you’re running a single screen in a café or dozens of displays across retail stores.
With PosterBooking offering 10 free screens, you can experiment with digital signage risk-free and scale as your needs grow.