Table Of Contents
Setting up PosterBooking on your Android TV is a simple process that turns your screen into a powerful Android digital signage player. Whether you are managing a restaurant menu, retail promotion, or office communication, Android TV gives you a cost-effective and scalable signage solution. This guide walks you through every step to get PosterBooking running smoothly on your Android TV.
What You Need Before You Start
Before diving in, make sure you have the following:
- An Android TV or an Android TV box connected to a screen
- Internet access via Wi-Fi or Ethernet
- A Google account to access the Play Store
- A free digital signage software account with PosterBooking
Step 1: Register a Free Account on PosterBooking
- Open your browser on a laptop or mobile device.
- Go to the official PosterBooking website.
- Click on “Sign Up” and create a free account using your email address.
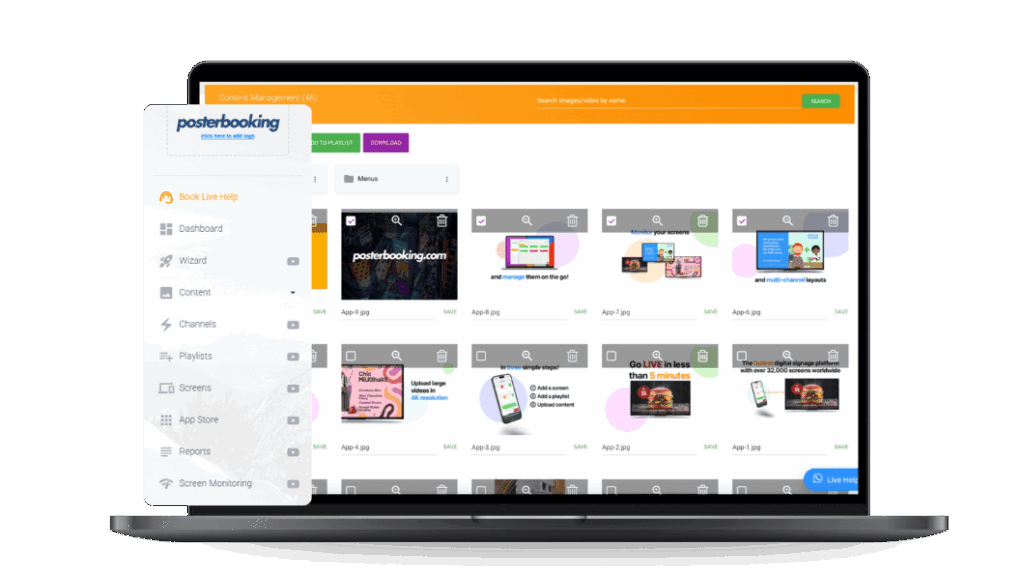
- Once logged in, you will land in the PosterBooking dashboard. This is where you manage your screens and upload content.
Step 2: Install the PosterBooking App on Your Android TV
- Turn on your Android TV and make sure it is connected to the internet.
- Navigate to the Google Play Store from your home screen.
- Search for “PosterBooking” using the voice search or remote.
- Select the PosterBooking app and click “Install.”
- Wait for the installation to complete, then open the app.
Step 3: Pair Your Android TV with PosterBooking
- When you open the PosterBooking app for the first time, a unique screen code will be displayed.
- Go back to your PosterBooking dashboard on your computer or mobile device.
- Click on “Screens” in the navigation menu.
- Select “Add Screen” and enter the screen code displayed on your TV.
- Give your screen a name that helps you identify its location, like “Lobby Display” or “Menu Board.”
- Click “Save.” Your Android TV is now paired and ready to receive content.
Step 4: Upload and Schedule Your Content
- In the dashboard, go to the “Content” section.
- Click “Upload” to add images, videos, or PDF files.
- Organize content into playlists. This helps if you want to rotate between multiple media files.
- Assign the playlist to the screen you just added.
- You can also schedule digital signage playlists to play different content at different times of day or week.
Step 5: Configure Display Settings (Optional)
PosterBooking allows you to adjust playback and display options:
- Set auto-play loops
- Enable or disable screen refresh intervals
- Choose screen orientation (landscape or portrait) based on how your TV is mounted
All of this can be managed from the PosterBooking dashboard features.
Final Step
Once your screen is paired and content is assigned, your Android TV will begin displaying your digital signage. The device checks for updates automatically and keeps your screen content up to date.
To make sure your screen always displays the latest version, keep the PosterBooking app running and your TV connected to the internet. You can manage multiple screens remotely from the dashboard.