
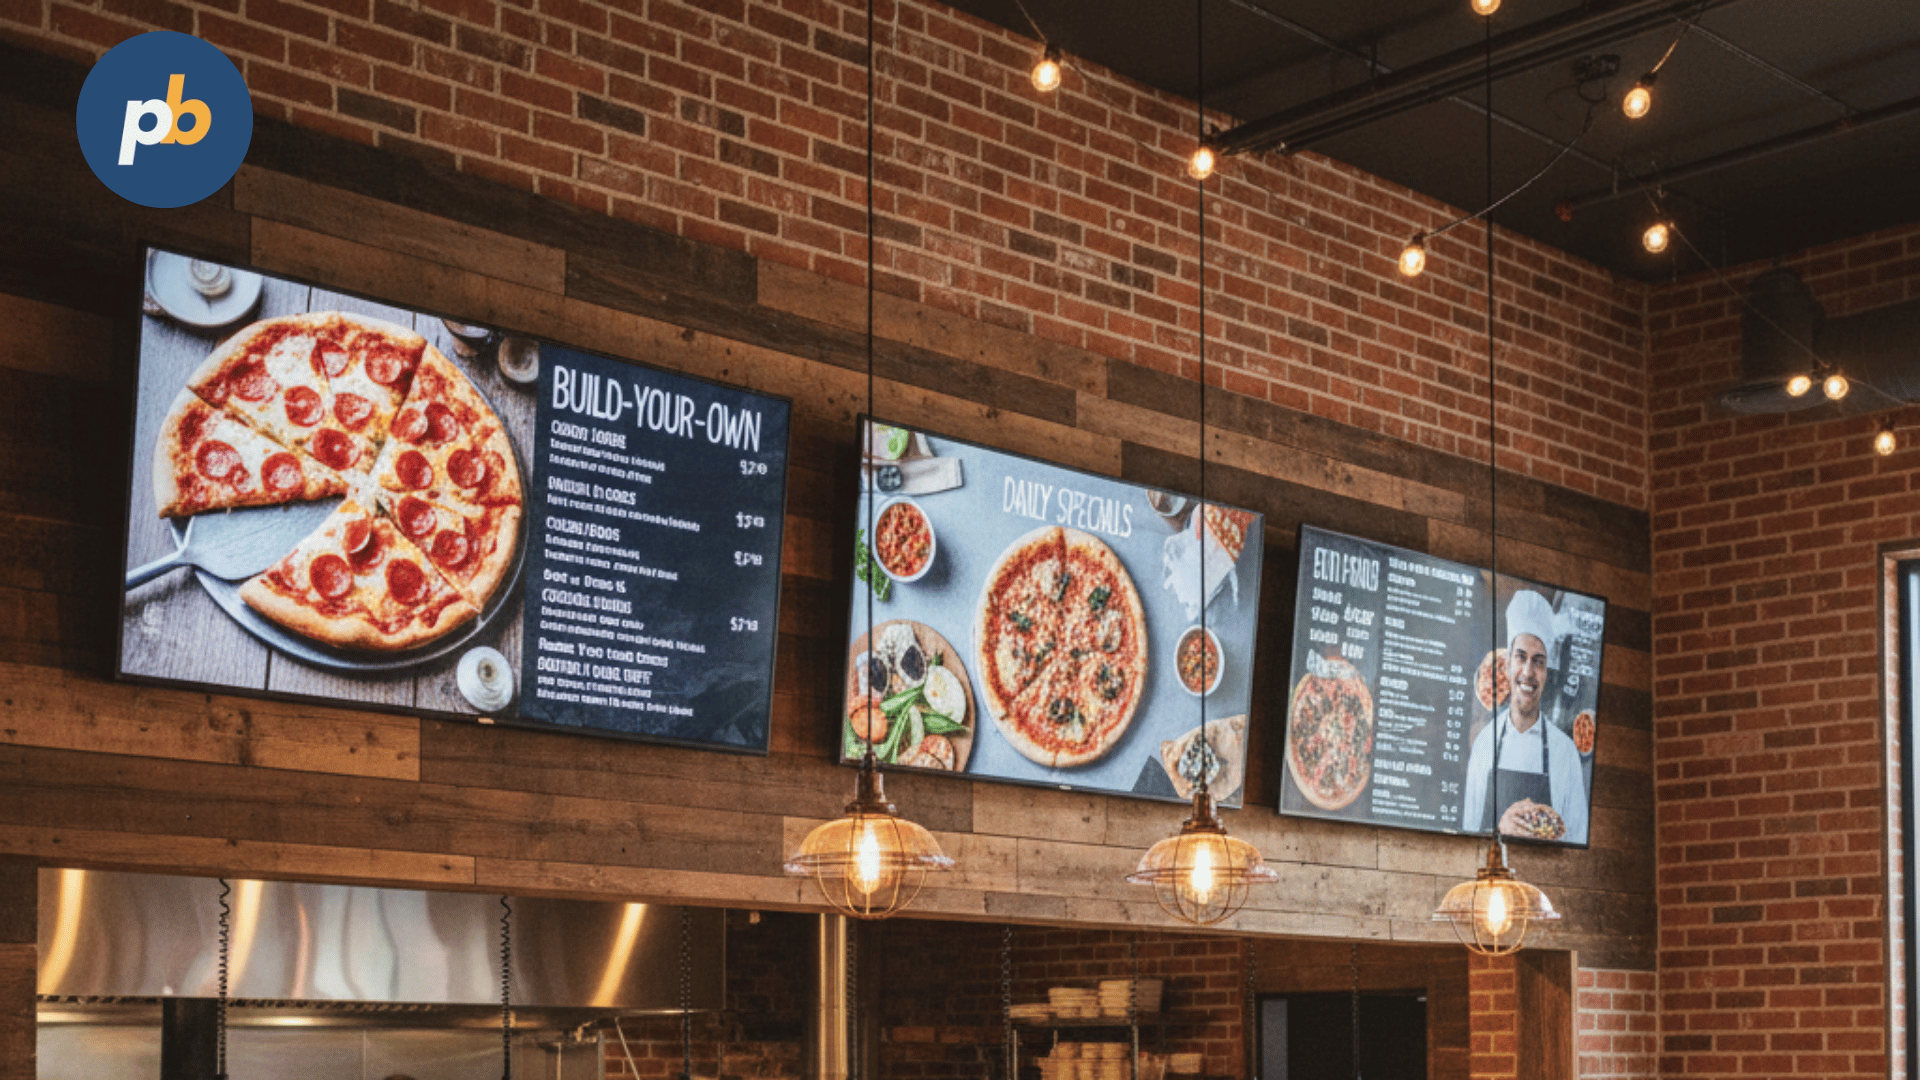
You set up multiple TVs for a menu wall by mounting several screens side by side, connecting each screen to an individual media player, installing a digital signage app on each device, uploading your menu designs to a central dashboard, creating playlists for each screen, and assigning those playlists to the correct TVs. When everything is arranged properly, the TVs form a large, cohesive menu board that looks clean, professional, and easy for customers to read.
The steps below explain exactly how to perform this process from beginning to end in a clear and detailed way.
Table Of Contents
- Step 1. Prepare the Requirements
- Step 2. Decide the Layout of Your Menu Wall
- Step 3: Mount the TVs Securely on the Wall
- Step 4: Connect Each TV to a Media Player
- Step 5: Install the Digital Signage App on Each Device
- Step 6: Register Each TV Inside Your Digital Signage Dashboard
- Step 7: Upload Your Menu Content
- Step 8: Create Playlists for Each TV in the Menu Wall
- Step 9: Assign the Correct Playlist to Each TV
- Step 10: Adjust Screen Orientation and Settings
- Step 11: Test the Menu Wall for Readability and Alignment
- Step 12: Schedule Menu Changes Throughout the Day
- Step 13: Maintain and Update Your Menu Wall Regularly
- Final Thoughts
Step 1. Prepare the Requirements
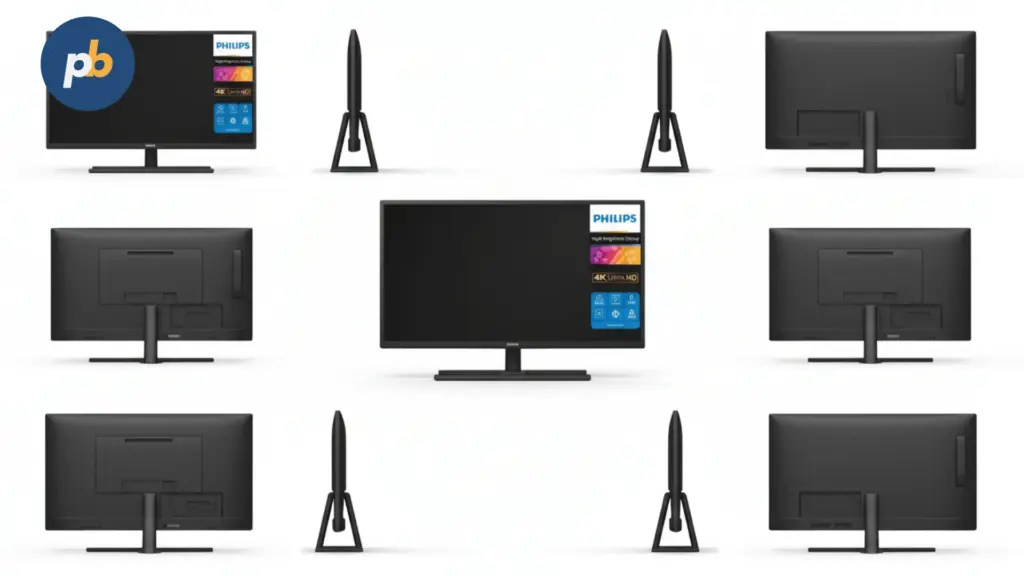
Before starting the installation, gather all necessary equipment and files. Preparing everything upfront prevents unnecessary delays later in the process.
You will need:
• Multiple TVs of the same size to ensure a consistent appearance.
• Wall mounts for each TV.
• One media player per TV. This can be a Fire TV Stick, an Android TV box, a Raspberry Pi, or an Amazon Signage Stick.
• A digital signage software account. PosterBooking is recommended because it offers 10 free screens and unlimited uploads in 2025.
• High resolution menu graphics for each section of your menu wall.
• A strong and reliable internet connection.
• Cable management accessories such as raceways and ties to keep the installation clean.
Once everything is collected, you can begin setting up the menu wall.
Step 2. Decide the Layout of Your Menu Wall
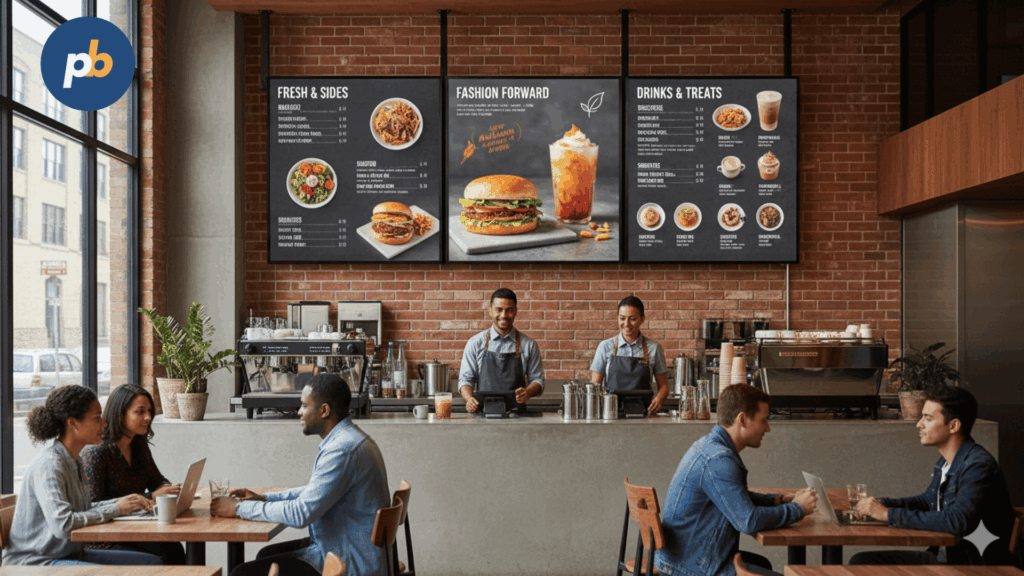
A well planned layout is essential for a polished menu wall. Decide how many TVs will be included and how you want them arranged. Most restaurants choose a horizontal row of 2, 3, or 4 screens placed side by side above the ordering counter.
Consider the following when planning the layout:
• The available wall space.
• The distance between customers and the menu wall.
• The amount of menu information you must display.
• The need for symmetry to achieve a professional appearance.
Once you have a layout in mind, you can move forward with installation.
Step 3: Mount the TVs Securely on the Wall
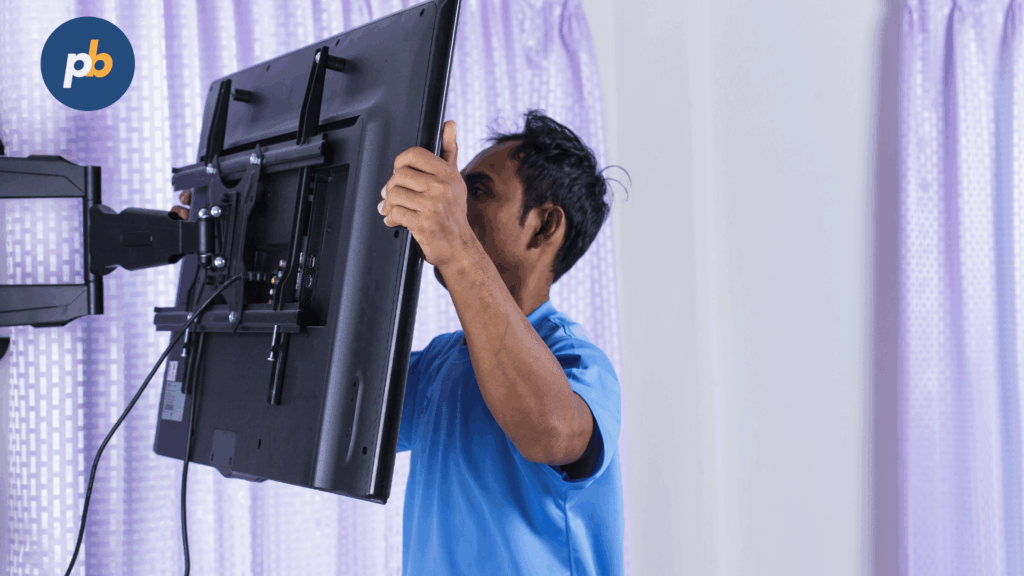
Mounting the TVs correctly creates a clean, modern menu wall that customers can read easily.
Follow these guidelines:
- Measure the wall space and mark where each mount will go.
- Ensure that all mounting points are level so the screens align perfectly.
- Install each mounting bracket according to the instructions provided by the manufacturer.
- Hang each TV securely on its mount and confirm that it is stable.
- Use cable management tools to hide wires for a professional look.
A properly mounted menu wall enhances the visual appeal of your restaurant and ensures customer comfort.
Step 4: Connect Each TV to a Media Player
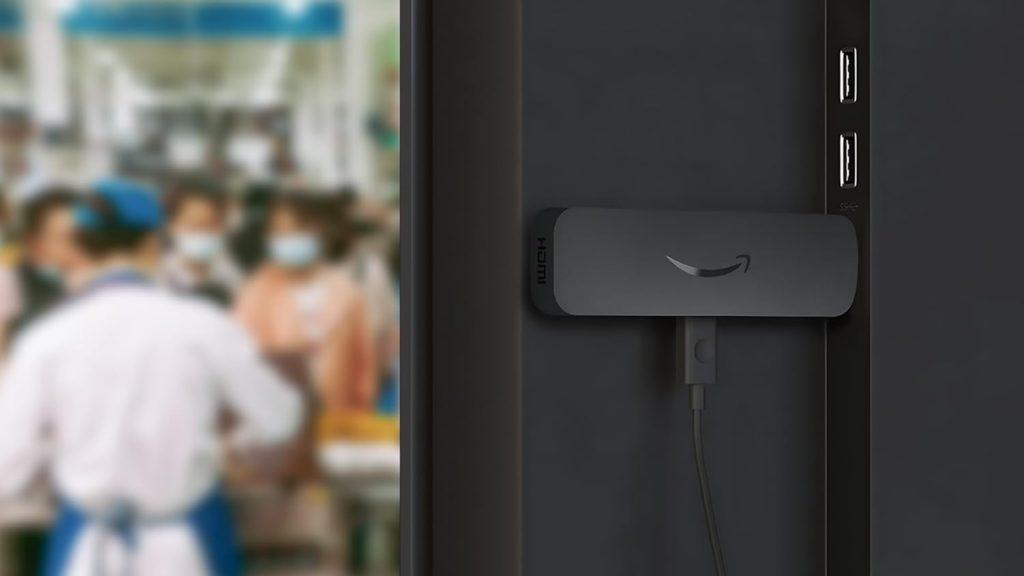
Every TV requires its own media player because each screen will display a specific menu section. Connecting the players individually provides full control over each part of the menu wall.
To connect each device:
- Plug a media player into the HDMI port of each TV.
- Attach the power supply for each player.
- Turn on the TVs and switch them to the correct HDMI input.
- Connect all media players to your Wi Fi network or wired internet.
Once connected, each device will be ready for the signage app.
Step 5: Install the Digital Signage App on Each Device
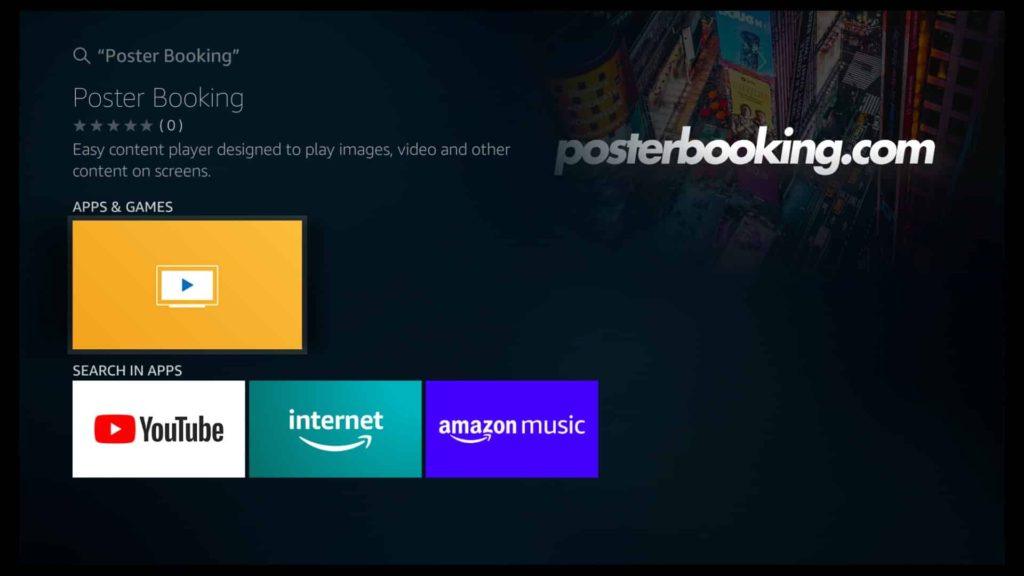
A digital signage app allows your TVs to display menu content from your dashboard.
Here is how to install it:
- Open the app store on each media player.
- Search for the PosterBooking application.
- Install the app and open it.
- When the app launches, it will display a unique pairing code on each TV.
These codes are required to link your screens to your account.
Step 6: Register Each TV Inside Your Digital Signage Dashboard
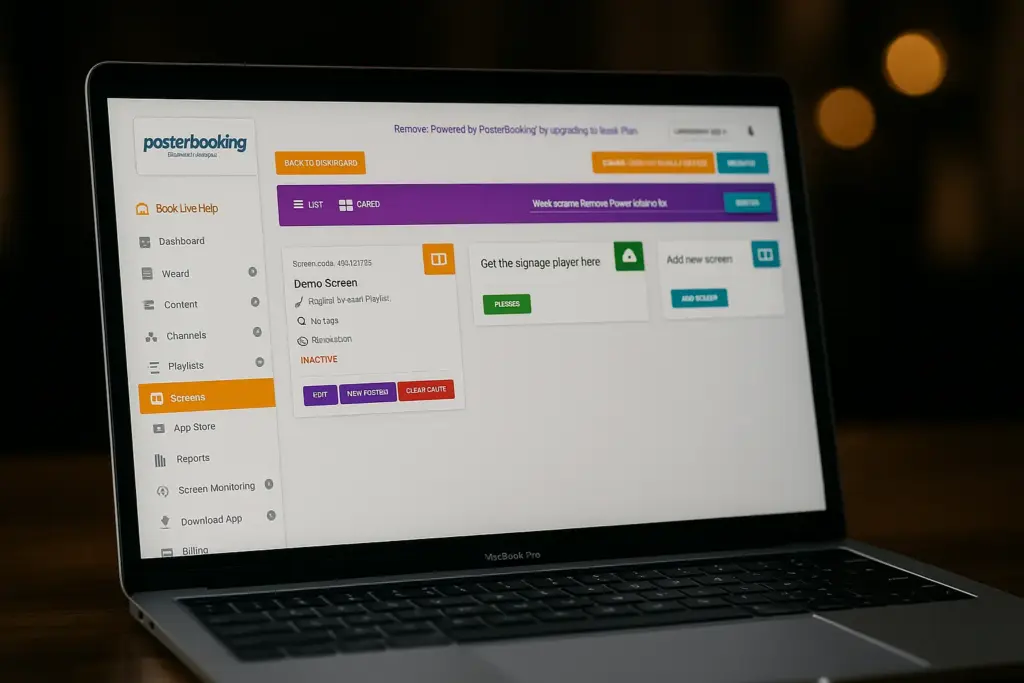
To control content remotely, you must link each TV to your digital signage account.
- Log in to your PosterBooking dashboard.
- Select the option to add a new screen.
- Enter the code from the first TV and name it, such as Menu Left.
- Repeat this process for all remaining screens.
Once complete, your dashboard will show all TVs as separate screens ready for menu assignments.
Step 7: Upload Your Menu Content
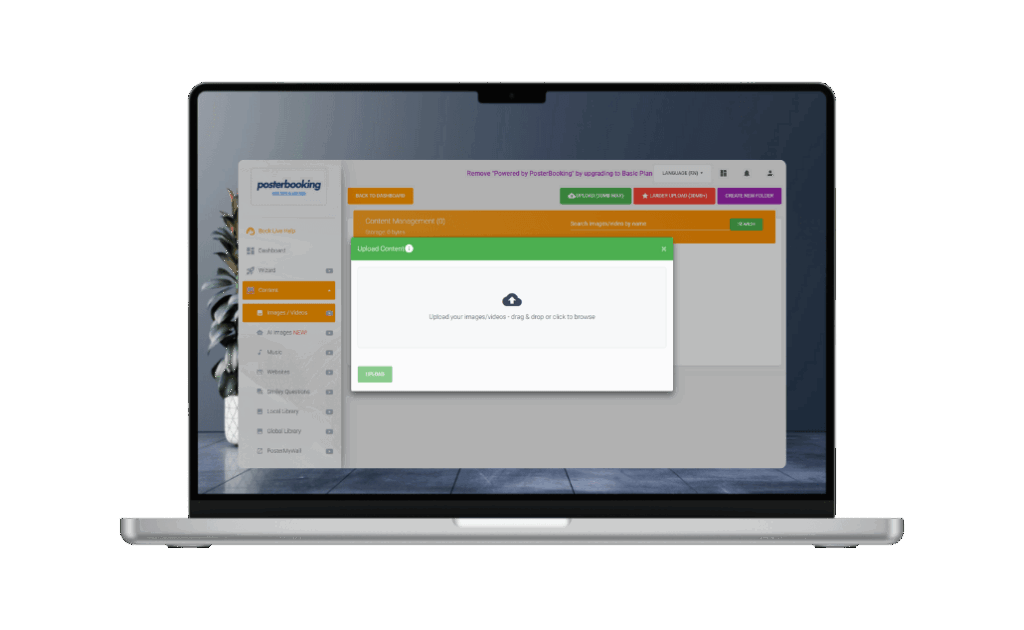
Upload all menu pages or graphics that will appear on the menu wall.
To upload content:
- Go to the Content section of your dashboard.
- Select Images Videos.
- Choose your high resolution menu files and upload them.
- Wait for the upload to finish.
- Confirm that each file looks clear and sharp.
Use full HD or 4 K resolution so text and images appear crisp from a distance.
If you want a multi screen design that stretches across several screens, divide the design into separate files so each TV displays its section. You can also upload templates, if you prefer that.
Step 8: Create Playlists for Each TV in the Menu Wall
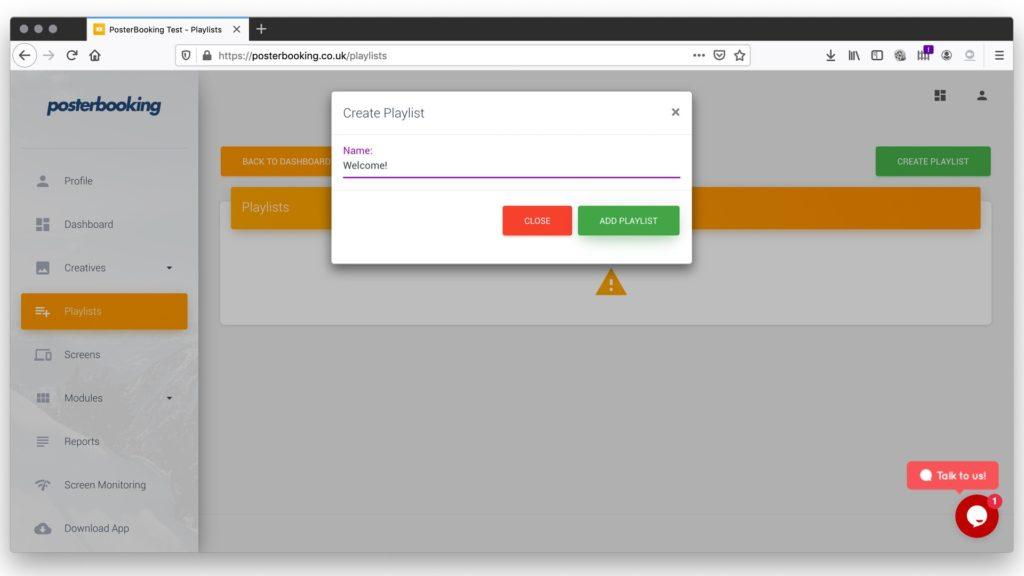
A playlist controls what each TV displays and in what order. Multi-screen menu walls often require individual playlists for each TV.
To create playlists:
- Click on the Playlists section in your dashboard.
- Create a playlist for the first TV and name it, such as Menu Panel 1.
- Add the appropriate menu files for that screen.
- Save the playlist.
- Repeat this for each screen.
If you want synchronized transitions across all screens, make sure each playlist contains the same number of items with identical timing. You can also display multiple playlists for your menu wall, if you want to.
Step 9: Assign the Correct Playlist to Each TV
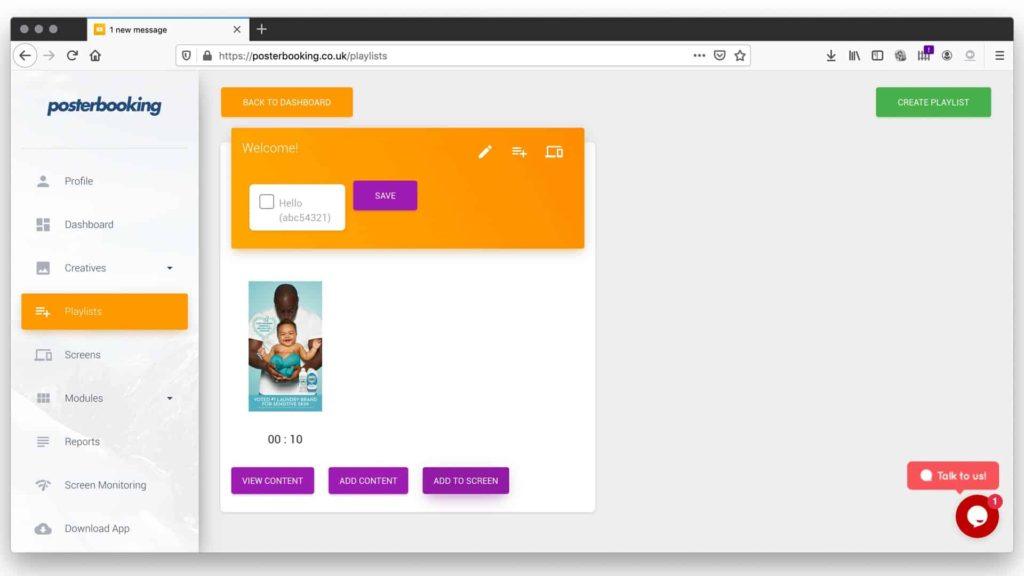
Assigning playlists ensures each TV displays the correct part of the menu wall.
To assign a playlist:
- Go to the Screens section.
- Select a specific screen.
- Choose Add or Edit Playlist.
- Assign the playlist created for that screen.
- Save your changes.
Repeat this process for every TV.
Once finished, your menu wall will update automatically. You can also sync multiple screens to show the same content across various screens.
Step 10: Adjust Screen Orientation and Settings
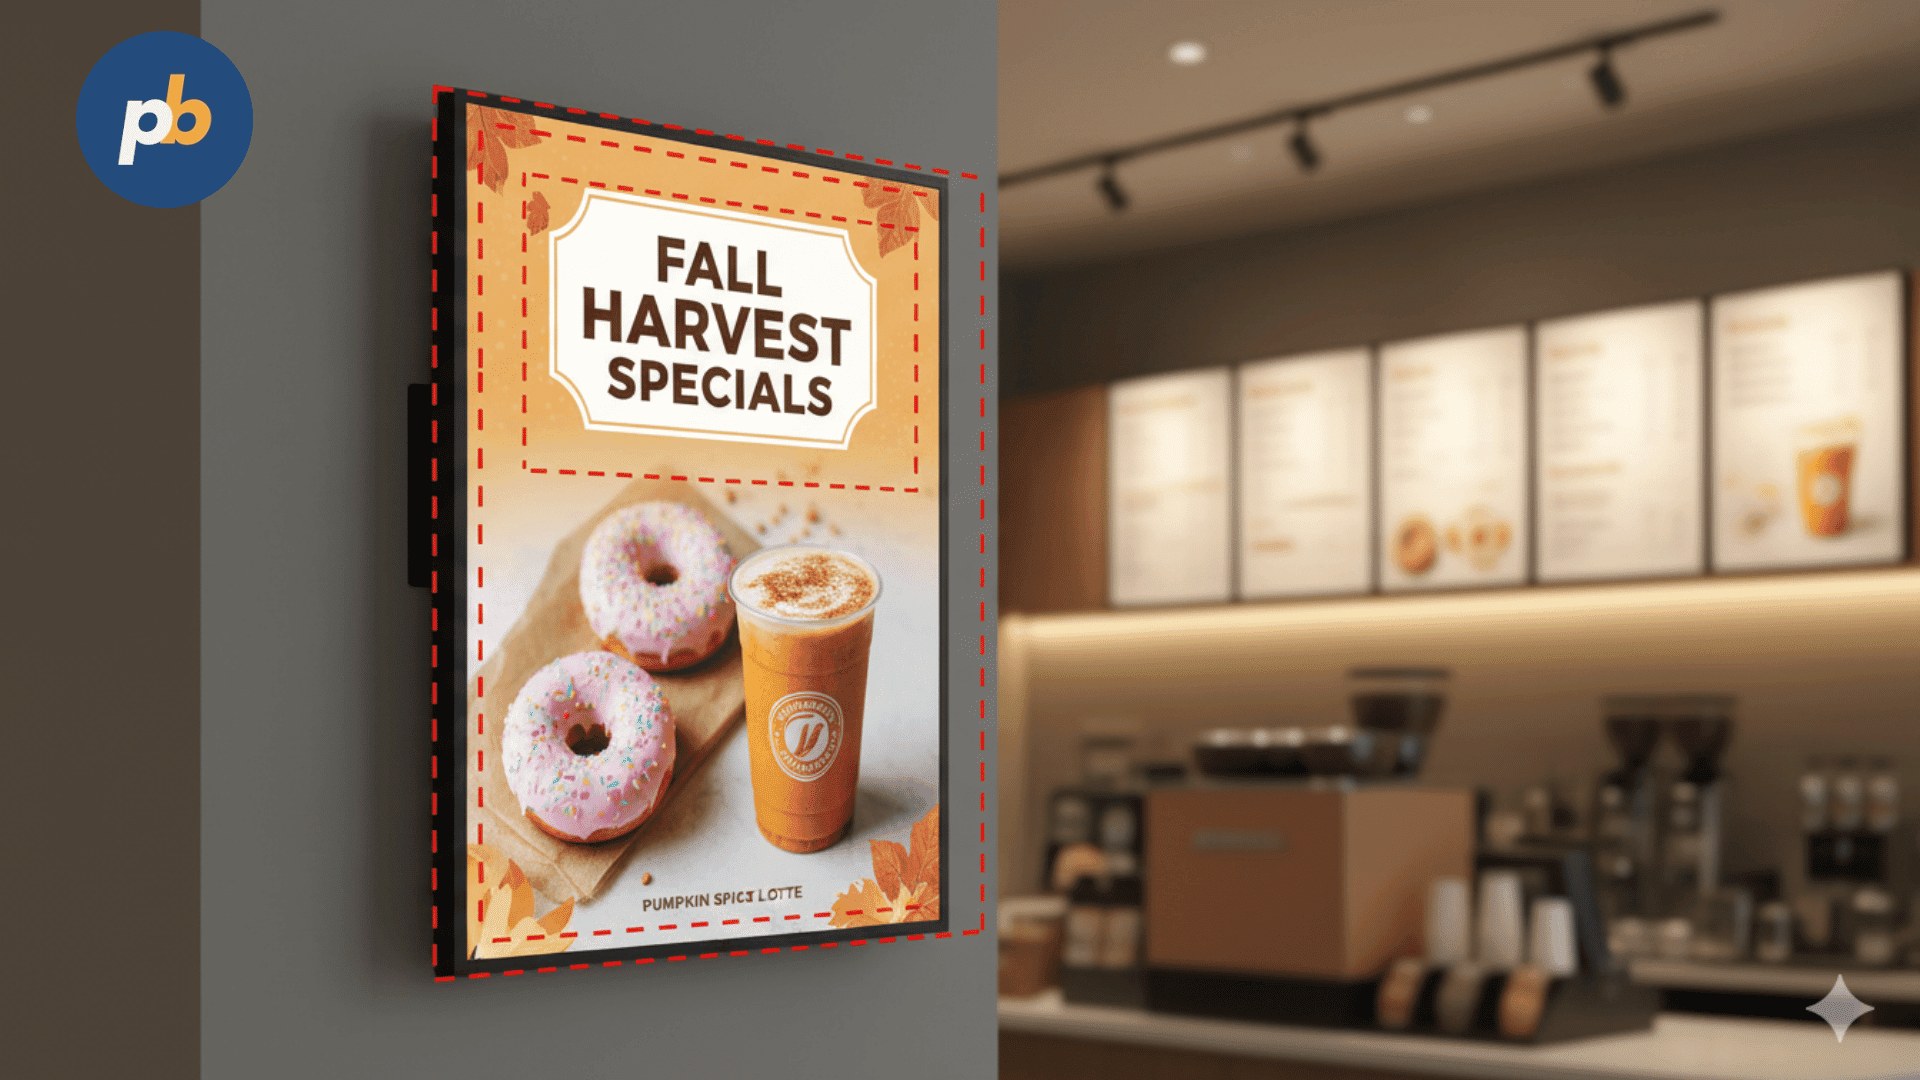
Some menu walls include a combination of horizontal and vertical screens. If you need to rotate a screen:
- Open the Screens section.
- Select a screen.
- Choose Edit.
- Select the rotation you want.
- Save your settings.
Adjust brightness and contrast so all screens match visually.
Step 11: Test the Menu Wall for Readability and Alignment
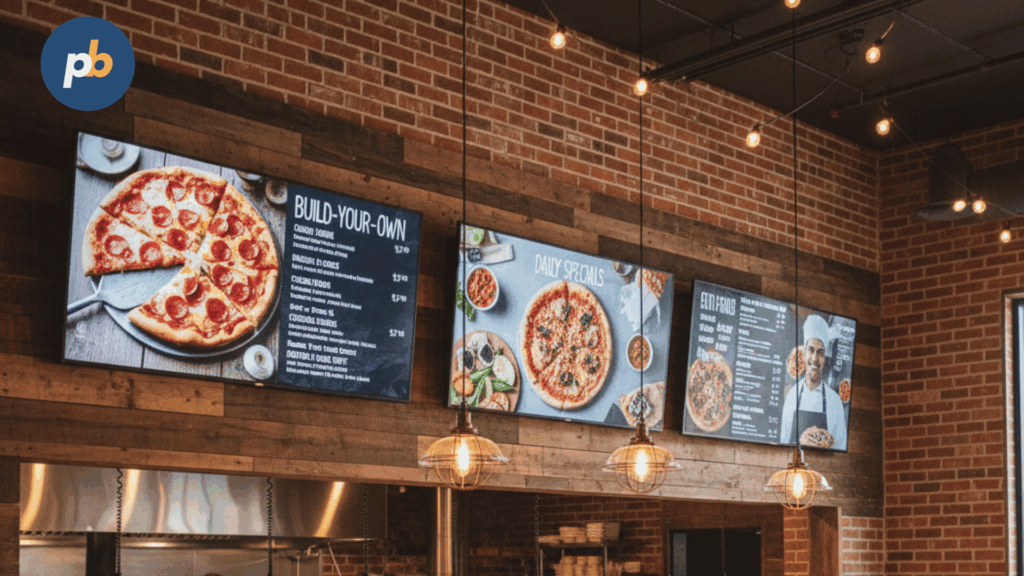
Testing the final installation is essential.
Check the screens from different distances such as 3 feet, 6 feet, 10 feet, and 15 feet. Ensure that:
• The text is readable.
• Images are clear and not stretched.
• Colors match across all TVs.
• Transitions are smooth if you are running synchronized playlists.
• All screens are level and evenly spaced.
Correct any issues before opening the menu wall to customers.
Step 12: Schedule Menu Changes Throughout the Day
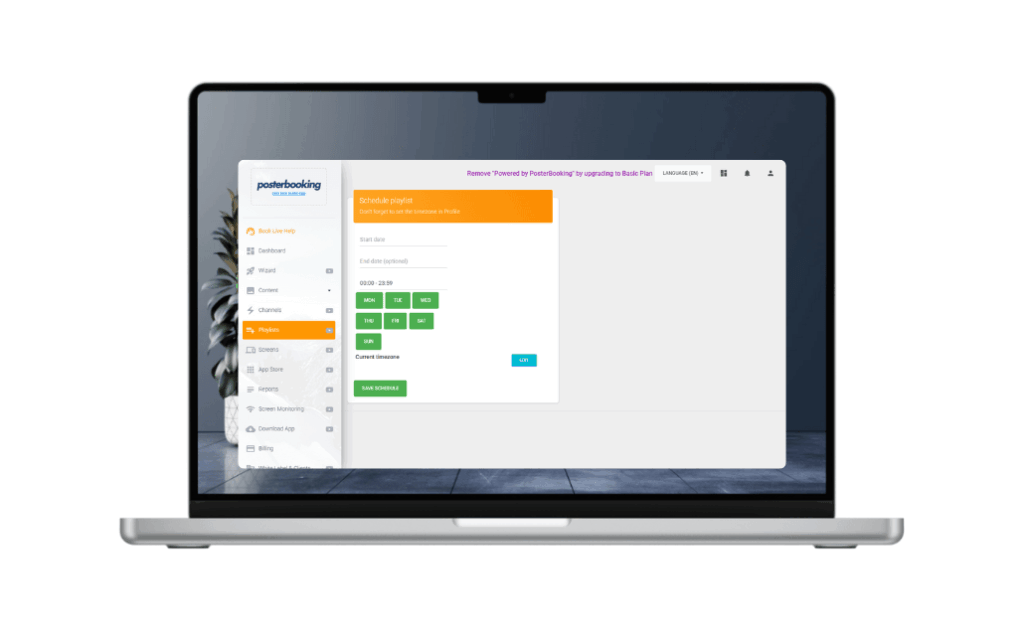
Digital menu walls allow you to display different menus depending on the time of day. This is especially helpful for restaurants with breakfast, lunch, and dinner menus.
You can schedule playlists so that:
• Breakfast appears from 6 AM to 11 AM.
• Lunch appears from 11 AM to 4 PM.
• Dinner appears from 4 PM to 10 PM.
• Promotions appear during specific hours.
PosterBooking makes scheduling simple by allowing automated time based playlists.
Step 13: Maintain and Update Your Menu Wall Regularly
A menu wall performs best when it is regularly updated. Maintain it by:
• Updating prices immediately when needed.
• Uploading new items as they become available.
• Refreshing food photos every 3 to 6 months.
• Removing sold out or discontinued items.
• Adjusting brightness depending on the lighting in your restaurant.
• Reviewing your designs every month to keep them modern and appealing.
Consistent maintenance ensures your menu wall always looks fresh and stays effective.
Final Thoughts
You set up multiple TVs for a menu wall by mounting the screens, connecting individual media players, installing a signage app, uploading your menu files, building playlists, assigning each playlist to its corresponding TV, and scheduling updates as needed. A multi screen menu wall creates a professional and engaging visual experience that improves ordering speed and boosts customer satisfaction.
PosterBooking remains one of the most effective free digital signage tools in 2025 because it provides 10 free screens, easy scheduling, and instant updates. This makes it ideal for both small restaurants and large multi screen installations.