
You set up digital signage with a Chromebook by installing a signage app like PosterBooking, connecting your Chromebook to a display, and assigning playlists or content to run on the screen. Chromebooks are inexpensive, portable, and easy to manage, which makes them excellent devices for powering digital signage in schools, retail stores, restaurants, gyms, and offices.
In this guide, you’ll learn step by step how to turn a Chromebook into a fully functional signage player, what you need to get started, and best practices to make your setup reliable and professional.
Table Of Contents
- Step 1: Gather Your Requirements
- Step 2: Connect Your Chromebook to a Screen
- Step 3: Install the PosterBooking App on Your Chromebook
- Step 4: Add Your Chromebook as a Screen in PosterBooking
- Step 5: Upload Your Content
- Step 6: Create a Playlist
- Step 7: Assign the Playlist to Your Chromebook
- Step 8: Schedule Content (Optional but Powerful)
- Step 9: Test Your Setup
- Step 10: Maintain and Scale
- Best Practices for Using Chromebooks as Signage Players
- Why Use a Chromebook for Digital Signage?
- Final Thoughts
Step 1: Gather Your Requirements
Before starting, prepare everything you’ll need to avoid interruptions.
- A Chromebook Any recent Chromebook works, but choose one with HDMI output or USB-C to HDMI adapter support so it can connect to an external display.
- A display screen This can be a TV, monitor, or projector with an HDMI input.
- A PosterBooking account Sign up at posterbooking.co.uk/login. The free plan allows up to 10 screens with unlimited uploads, which is ideal for small setups.
- An internet connection A stable Wi-Fi connection ensures your Chromebook can fetch updates, stream live content, and sync playlists.
- Content files Collect the images, videos, or URLs you plan to display, such as:
- Restaurant menus
- Event schedules
- Gym class timetables
- School announcements
- Marketing promotions
With these requirements ready, you’ll move through the setup without delays.
Step 2: Connect Your Chromebook to a Screen
For a Chromebook to act as a signage player, it needs to be connected to a display.
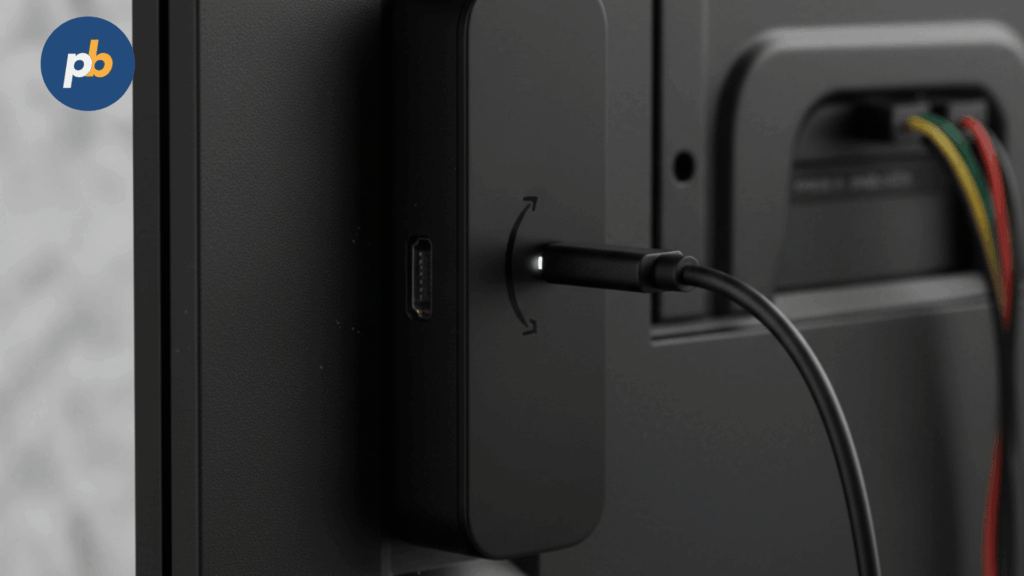
- Plug an HDMI cable into your Chromebook’s HDMI port.
- If your Chromebook uses USB-C, connect a USB-C to HDMI adapter.
- Connect the other end of the cable to your TV, monitor, or projector.
- Turn on the display and select the appropriate HDMI input.
Your Chromebook screen should now mirror or extend onto the external display.
Step 3: Install the PosterBooking App on Your Chromebook
Chromebooks run on ChromeOS, which supports Android apps from the Google Play Store.
- Open the Google Play Store on your Chromebook.
- Search for PosterBooking.
- Click Install.
- Open the app once installed.
When the PosterBooking app launches, it will display a unique screen code. Keep this visible - you’ll use it in the next step to link the Chromebook to your PosterBooking dashboard.
Step 4: Add Your Chromebook as a Screen in PosterBooking
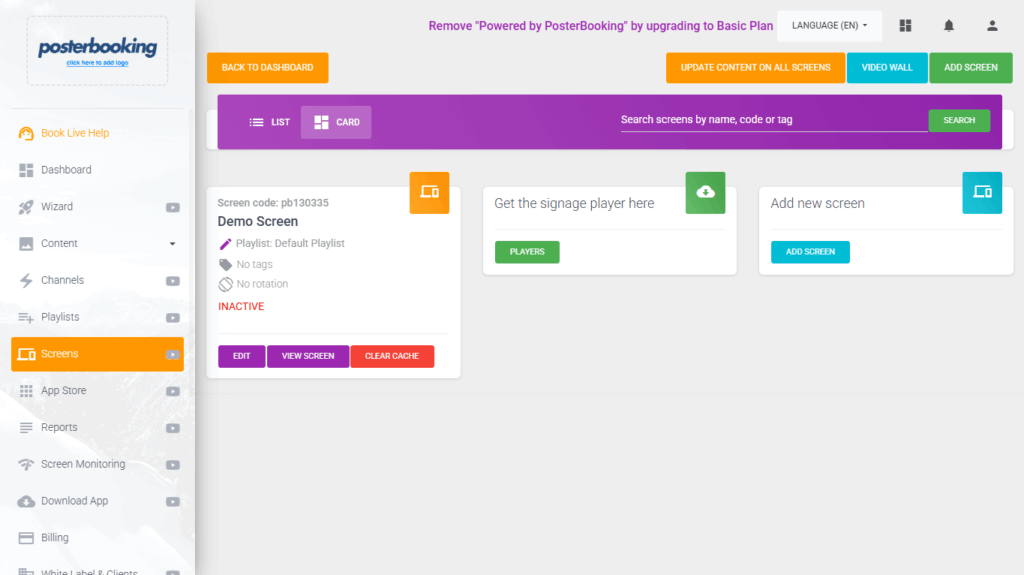
Now it’s time to connect your Chromebook to your signage account:
- On a separate device (desktop or smartphone), log in to posterbooking.co.uk/login.
- In the dashboard, go to Screens.
- Click Add Screen.
- Enter the screen code from your Chromebook.
- Assign a descriptive name, like “Lobby Chromebook Display” or “Café Menu Board.”
- Click Save.
Your Chromebook is now officially added as a signage player in PosterBooking.
Step 5: Upload Your Content
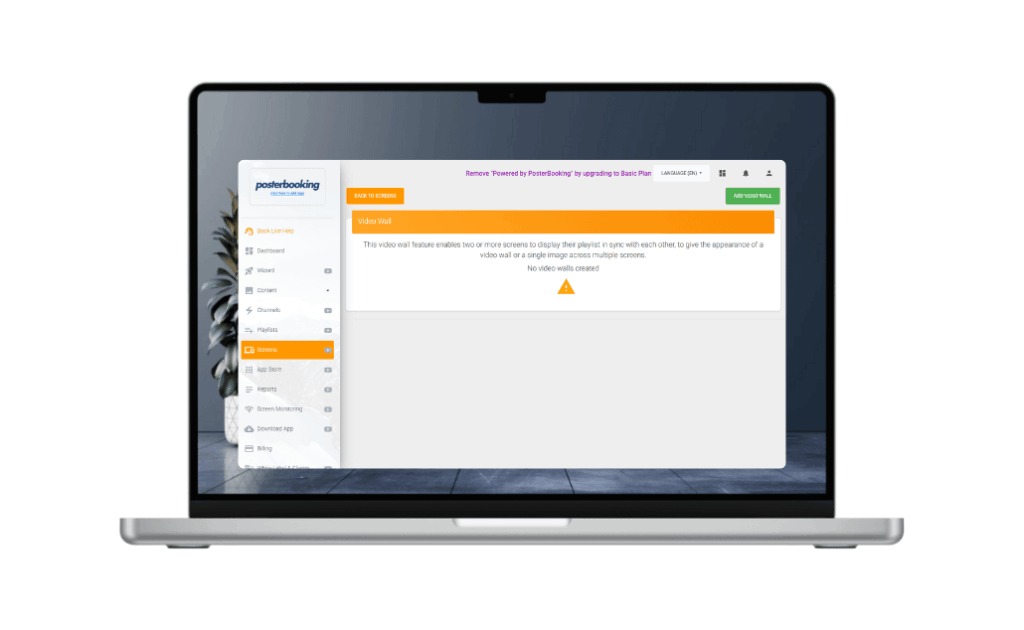
With your device connected, you need to prepare the content that will play on your screen.
- In the dashboard, go to Content → Images/Videos.
- Upload your media files (JPG, PNG, MP4).
- To display live feeds or websites, go to Content → Websites and paste the URL. Examples include Google Slides presentations, dashboards, or even YouTube live streams.
All uploaded content will now appear in your library, ready to use in playlists.
Step 6: Create a Playlist
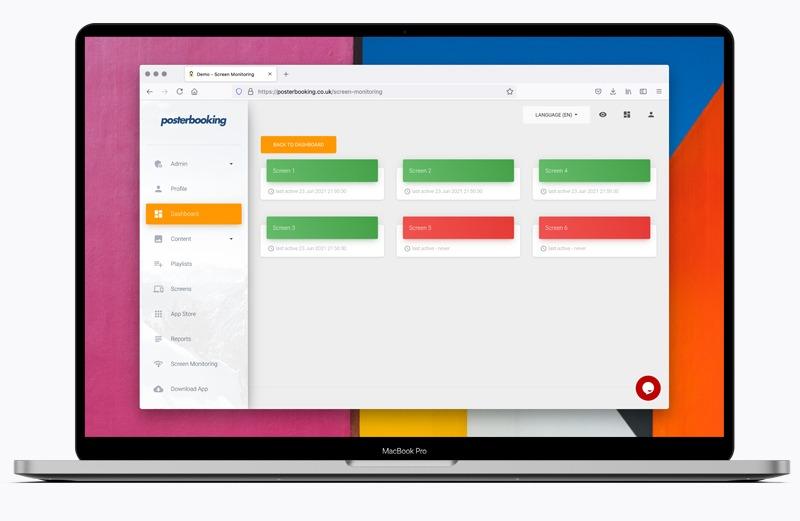
Playlists determine what plays on your Chromebook screen and in what sequence.
- Go to the Playlists tab.
- Click Create Playlist and give it a name (e.g., “Morning Menu” or “Event Announcements”).
- Add the uploaded content from your library.
- Configure the duration for each piece - e.g., 20 seconds for images, full length for videos.
- Save the playlist.
You can create multiple playlists for different times of the day or special events.
Step 7: Assign the Playlist to Your Chromebook
With your playlist ready, assign it to your Chromebook screen:
- Return to the Screens tab.
- Locate your Chromebook in the list of connected screens.
- Click Add/Edit Playlist.
- Select the playlist you created earlier.
- Click Save.
The content will instantly appear on your Chromebook-connected display.
Step 8: Schedule Content (Optional but Powerful)
One of the advantages of digital signage is scheduling. Instead of showing the same content all day, you can program different playlists for different times.
For example:
- 7:00 AM – 11:00 AM → Breakfast Menu
- 11:00 AM – 3:00 PM → Lunch Specials
- 3:00 PM – 7:00 PM → Happy Hour Promotions
To schedule:
- In the dashboard, go to Screens → Schedule.
- Add a playlist and define start and end times.
- Repeat for other playlists.
- Save.
Your Chromebook will automatically switch content throughout the day.
Step 9: Test Your Setup
Testing ensures everything runs smoothly:
- Check playback: Confirm your content appears correctly on the external display.
- Verify transitions: Make sure playlists switch seamlessly.
- Review time zone settings: Go to Profile & Admins in the dashboard and ensure your account time zone matches your local one - otherwise, schedules may play at the wrong times.
- Monitor network stability: Since Chromebooks rely on Wi-Fi, confirm the connection is stable.
Step 10: Maintain and Scale
Once your Chromebook is running as a signage player, maintain and expand your setup:
- Update content regularly: Fresh content keeps your screens engaging.
- Add more screens: PosterBooking’s free plan supports up to 10 devices, so you can add Chromebooks in multiple locations.
- Use channels for split-screen displays: PosterBooking’s Channels feature allows you to show two playlists side by side (e.g., a menu on the left, weather on the right).
- Upgrade when needed: If you expand beyond 10 screens, upgrade to the Business Pro plan for unlimited devices and white-label features.
Best Practices for Using Chromebooks as Signage Players
- Keep Chromebooks plugged in Digital signage requires continuous operation. Always keep your Chromebook connected to power.
- Disable sleep mode In your Chromebook settings, prevent the device from sleeping when the lid is closed. This ensures the signage runs uninterrupted.
- Use high-quality HDMI cables A poor cable connection can cause flickering or resolution issues on your display.
- Pair visuals with useful info Combine menus or promotions with live data like weather, news tickers, or Google Slides updates for maximum engagement.
- Check display resolution Ensure your Chromebook output matches your screen’s resolution (e.g., 1080p or 4K) for crisp visuals.
Why Use a Chromebook for Digital Signage?
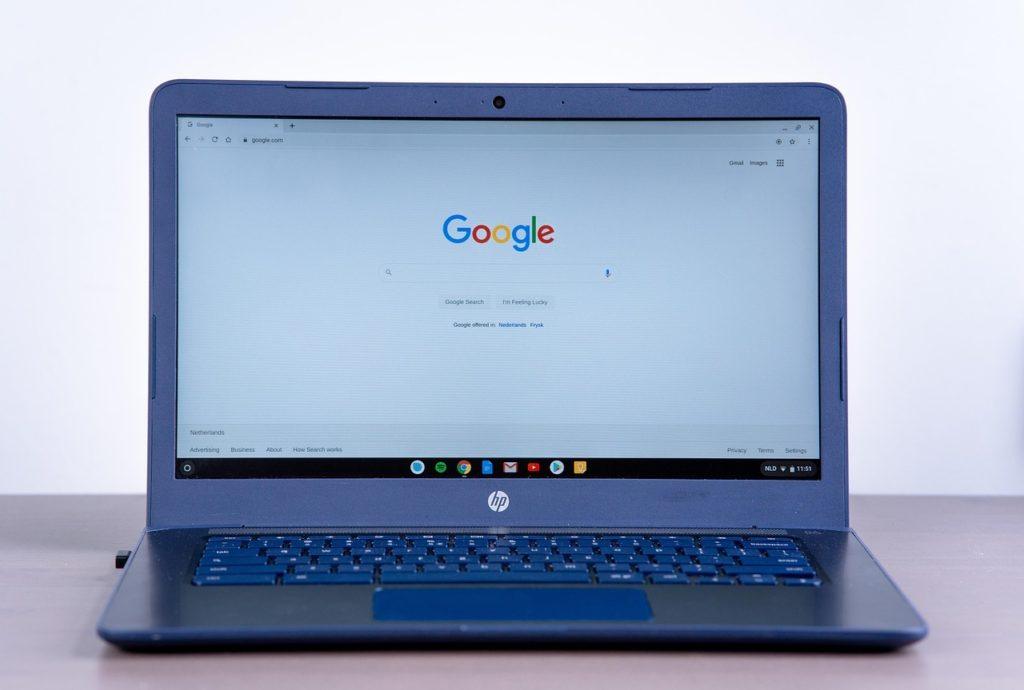
Chromebooks offer unique advantages compared to other players:
- Low cost: Often cheaper than dedicated media players.
- Easy management: Simple to set up, update, and maintain.
- Portability: Lightweight and easy to relocate if you need to move signage.
- Compatibility: Runs the PosterBooking app smoothly with access to Android apps and web content.
- Scalability: Perfect for small setups that can expand later.
For schools, Chromebooks are especially attractive because many institutions already own them - repurposing a spare Chromebook as a signage player saves money.
Final Thoughts
You set up digital signage with a Chromebook by connecting it to a display, installing the PosterBooking app, linking it to your account, uploading content, creating playlists, and assigning them to the screen. In less than 20 minutes, you can turn an ordinary Chromebook into a fully functional signage player.
The key steps are preparation (content and requirements), proper connection (HDMI or USB-C to HDMI), and thoughtful scheduling. Once running, a Chromebook is a reliable, affordable way to power digital signage for restaurants, schools, gyms, retail stores, and offices.
With PosterBooking’s free plan, you can test up to 10 Chromebook-powered screens without cost, making it one of the easiest entry points into digital signage in 2025.