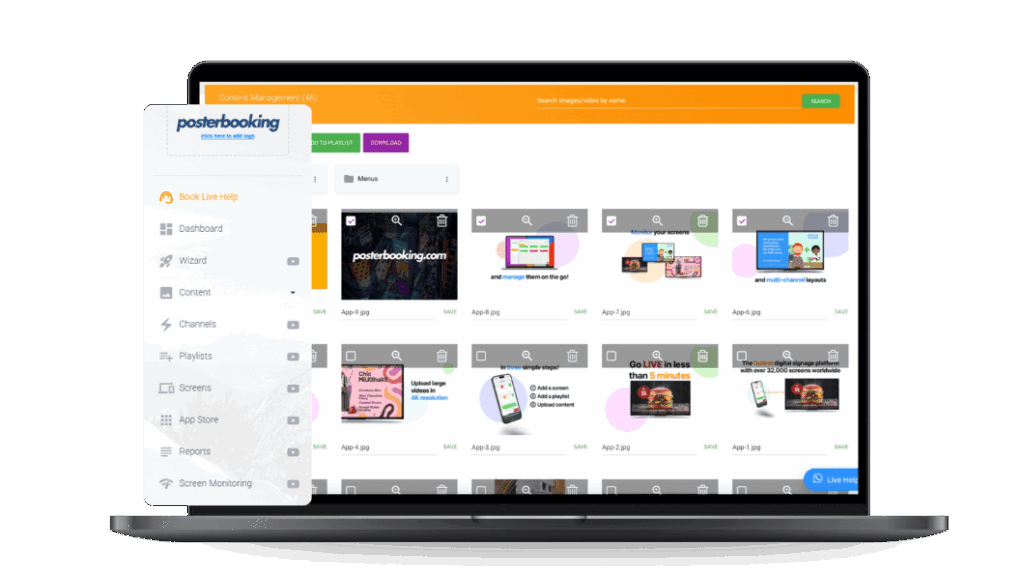
You set up an Amazon Fire TV Stick or Amazon Signage Stick for digital signage by plugging the device into your screen’s HDMI port, connecting it to Wi-Fi, downloading a digital signage app such as PosterBooking, and linking the device to your signage account. Once connected, your screen becomes a fully functional digital signage display, capable of showing images, videos, live feeds, and scheduled playlists.
Here’s a complete step-by-step guide to setting up both devices.
Table Of Contents
- Step 1: Gather Your Requirements
- Step 2: Plug in the Device
- Step 3: Connect to Wi-Fi
- Step 4: Register the Device
- Step 5: Download a Digital Signage App
- Step 6: Link the Screen to Your Digital Signage Account
- Step 7: Upload and Assign Content
- Step 8: Test and Optimize
- Step 9: Schedule Content (Optional but Powerful)
- Amazon Fire TV Stick vs Amazon Signage Stick
- Final Thoughts
Step 1: Gather Your Requirements
Before starting, make sure you have the following:
- An HDMI-compatible screen (any modern TV or monitor works).
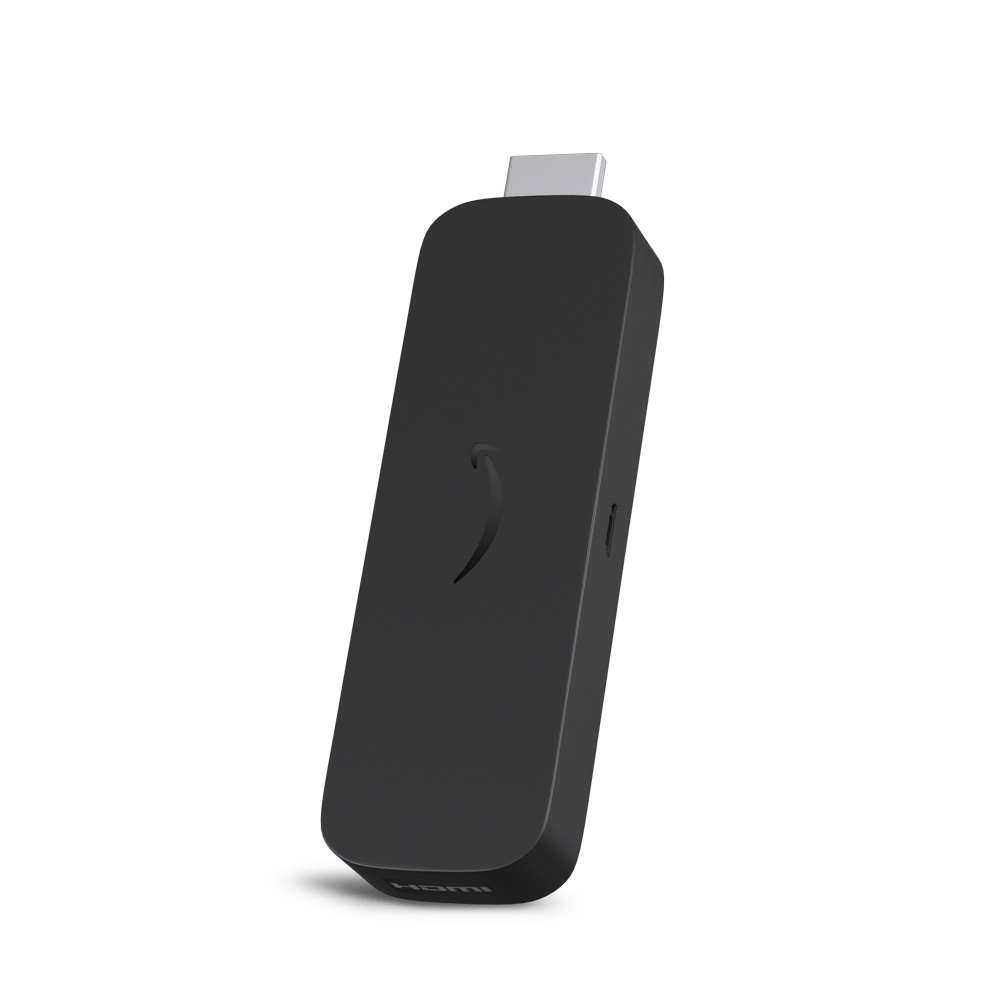
- An Amazon Fire TV Stick or the newer Amazon Signage Stick.
- A stable Wi-Fi connection.
- A power source (USB or wall adapter).
- A digital signage account such as PosterBooking (free for 10 screens).
With these ready, you can set up your device in under 15 minutes.
Step 2: Plug in the Device
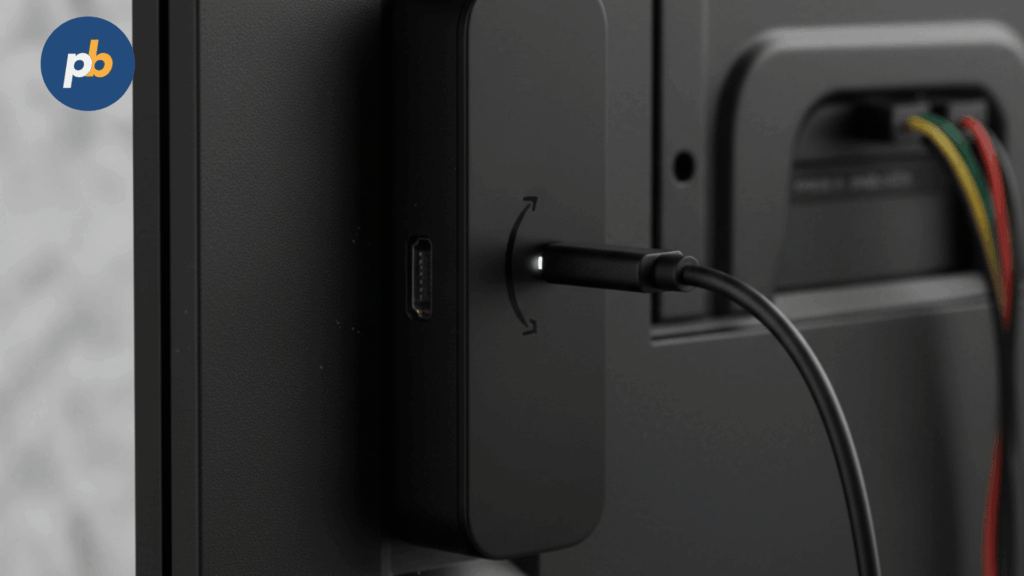
The steps to connect your Fire Stick or Signage Stick to your screen are:
- Insert the device into an available HDMI port on your TV or monitor.
- Connect the USB power cable to the device.
- Plug the other end into either your TV’s USB port or a wall power adapter.
- Turn on your TV and switch to the HDMI input where the device is connected.
Your screen should now display the Amazon startup screen.
Step 3: Connect to Wi-Fi
The steps to connect your device to Wi-Fi are:
- Pair the included remote control with your device (instructions appear on-screen).
- Select your language and region.
- Choose your Wi-Fi network from the list.
- Enter the Wi-Fi password and confirm the connection.
At this stage, the device is online and ready to download apps.
Step 4: Register the Device
Amazon requires that each Fire TV Stick or Signage Stick is registered.
- Log in with your Amazon account (or create one if you don’t have one).
- Wait a few seconds for the device to sync.
- Once registered, you’ll land on the Amazon home screen.
If you’re using the Amazon Signage Stick, it comes pre-configured with digital signage in mind and includes 12 months of PosterBooking Business Pro free, so you’ll have unlimited screens and no watermark.
Step 5: Download a Digital Signage App
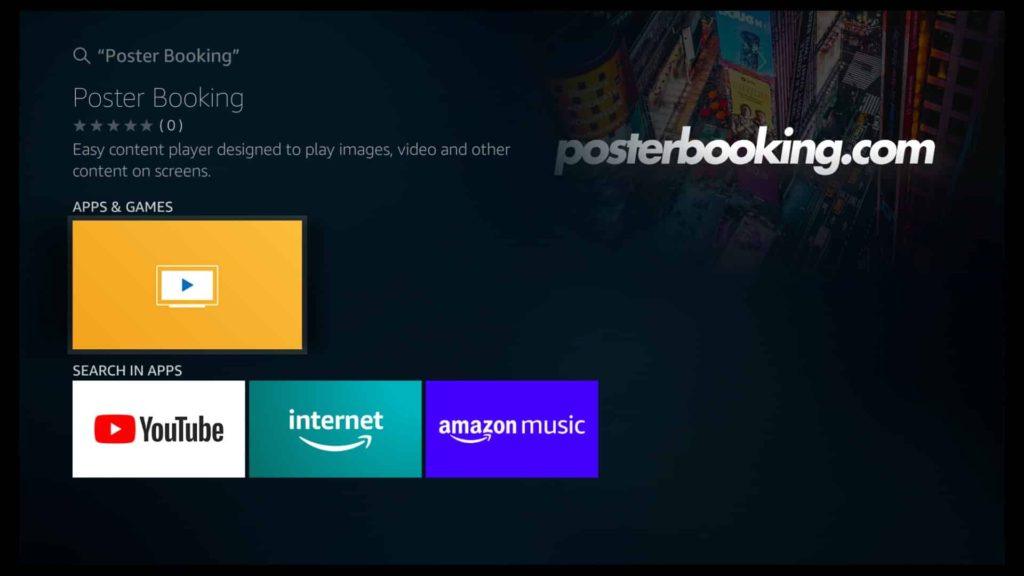
The steps to download a signage app are:
- From the Amazon home screen, go to Find → Search.
- Type PosterBooking.
- Select the app from the results.
- Click Download or Get.
- Wait for the installation to complete.
Once installed, open the app. Your screen will now display a unique code to link it to your signage account.
Step 6: Link the Screen to Your Digital Signage Account
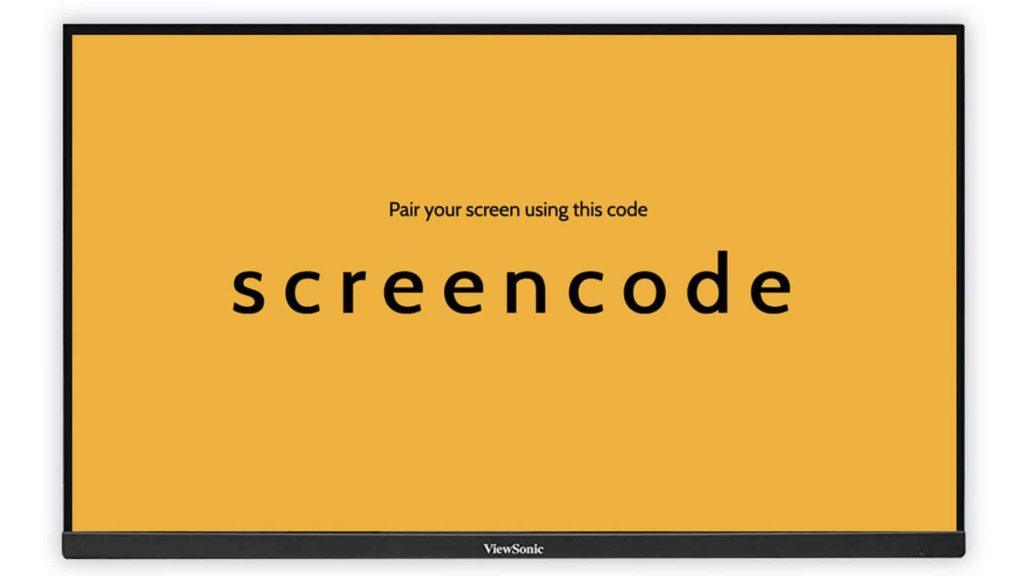
The steps to link your Fire Stick or Signage Stick to your account are:
- On your laptop or smartphone, log in to your PosterBooking dashboard.
- Go to Screens → Add Screen.
- Enter the code displayed on your TV.
- Name the screen (e.g., “Lobby Display” or “Menu Board”).
- Click Save.
Your screen is now officially connected and controllable from your account.
Step 7: Upload and Assign Content
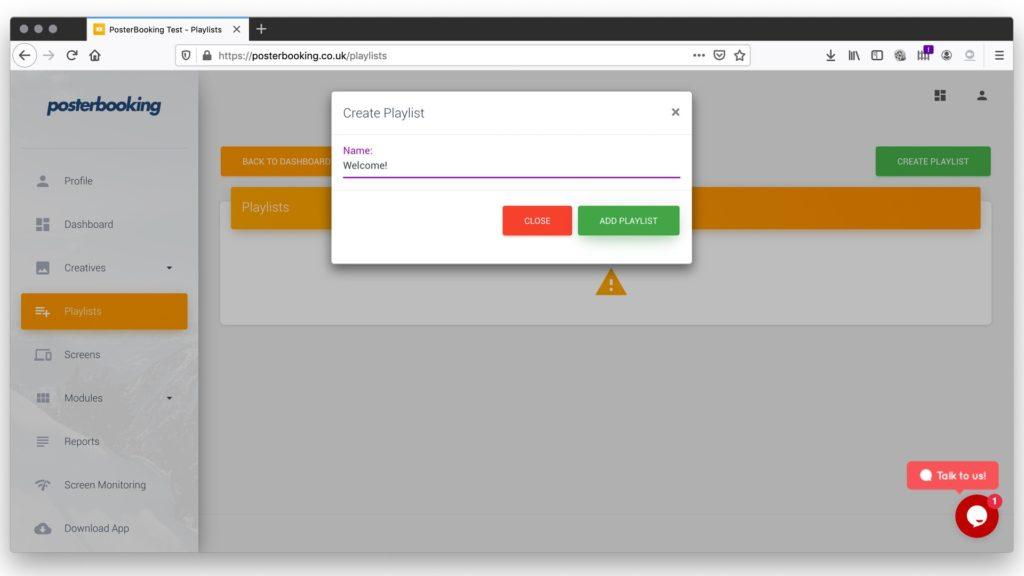
To display content, you need to upload media and assign it to your new screen.
The steps are:
- Go to Content → Images/Videos in your dashboard.
- Upload images, videos, or URLs.
- Create a Playlist and add the uploaded content.
- Assign the playlist to your Fire Stick or Signage Stick.
- Save changes.
Within seconds, the content will appear on your TV.
Step 8: Test and Optimize
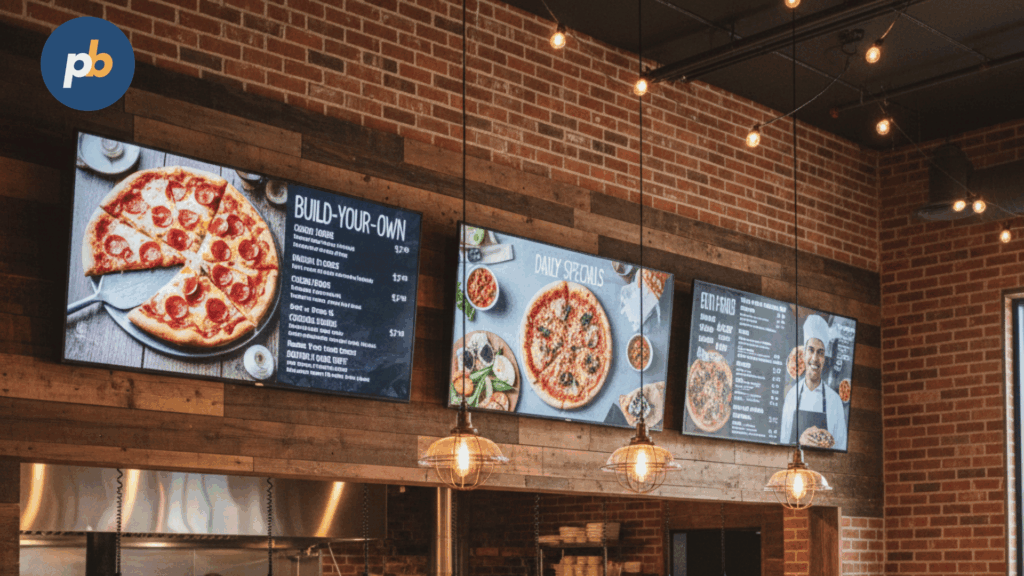
Always test your setup before going live.
Check the following:
- Content clarity – Is the text readable from a distance?
- Timing – Do slides change at the right interval?
- Orientation – Rotate the display in settings if needed (landscape vs portrait).
- Network stability – Confirm the device stays connected to Wi-Fi.
If something isn’t right, you can instantly update content from the PosterBooking dashboard.
Step 9: Schedule Content (Optional but Powerful)
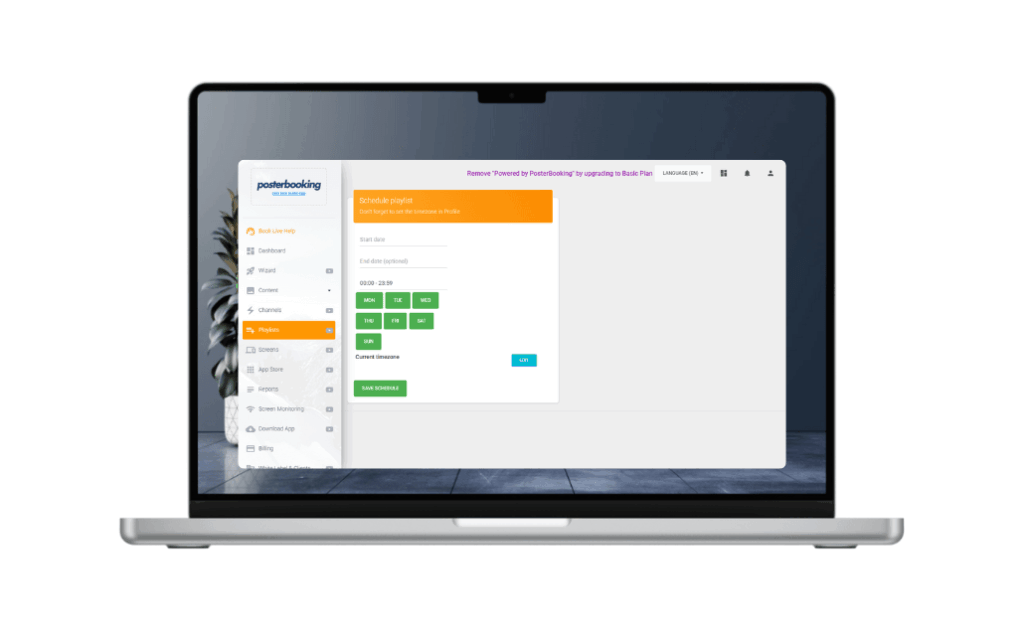
Digital signage becomes most effective when you schedule different playlists for different times.
The steps to schedule are:
- Go to Screens in your dashboard.
- Select your Fire Stick or Signage Stick.
- Click Add/Edit Playlist.
- Assign playlists to time windows (e.g., breakfast 7–11 AM, lunch 11–3 PM).
- Save and publish.
Now your screen will automatically change content based on the time of day.
Amazon Fire TV Stick vs Amazon Signage Stick
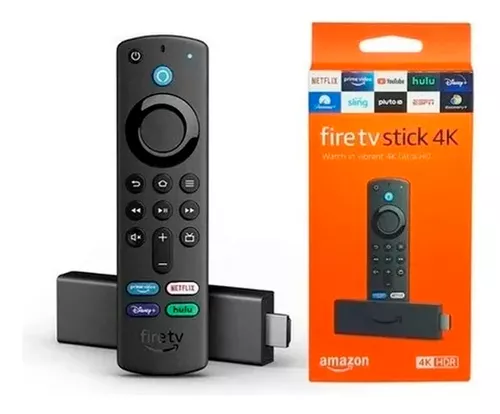
While both devices run signage apps effectively, there are key differences:
| Feature | Fire TV Stick | Amazon Signage Stick |
|---|---|---|
| Price | Lower cost | Slightly higher |
| Purpose | General media streaming | Purpose-built for signage |
| Free Plan | PosterBooking supports 10 free screens | Includes 12 months of PosterBooking Business Pro with unlimited screens |
| Setup | Manual app download | Comes signage-ready |
If you are experimenting with signage, the Fire TV Stick is affordable and effective. If you need a dedicated, scalable signage solution, the Amazon Signage Stick is better value since it bundles unlimited PosterBooking screens for a year.
Final Thoughts
You set up an Amazon Fire TV Stick or Amazon Signage Stick by plugging it into your screen, connecting it to Wi-Fi, downloading a signage app such as PosterBooking, and linking it to your account. The entire process takes less than 15 minutes and instantly transforms any TV into a professional signage display.
For businesses in 2025, the Amazon Signage Stick is the smarter choice because it comes with a free 12-month Business Pro plan from PosterBooking, unlocking unlimited screens, unlimited uploads, and no watermarks. However, both devices give you an affordable way to launch and scale digital signage without investing in expensive hardware.