
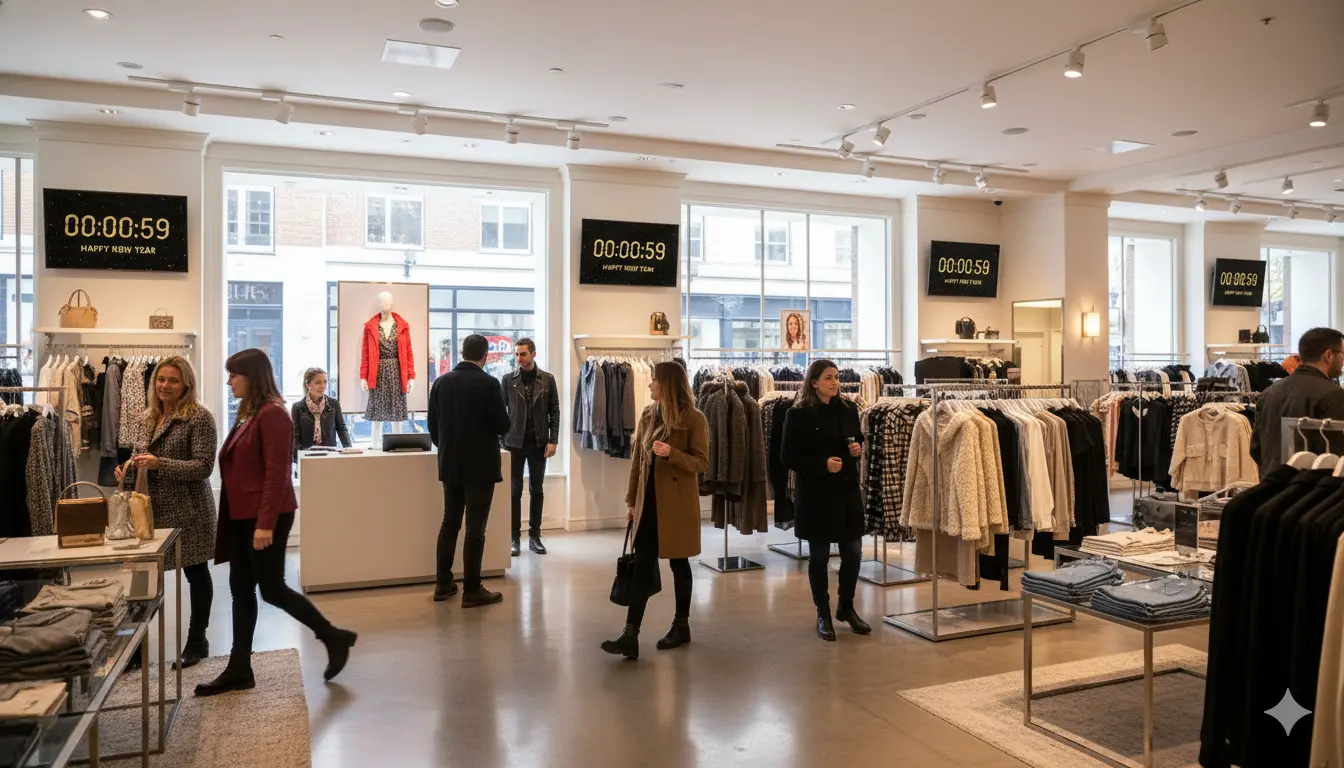
You run a New Year countdown using PosterBooking by creating or uploading a countdown timer, adding it to a playlist, assigning that playlist to your screens, and scheduling it to appear during the final hours or days before midnight. PosterBooking makes it simple to display real time countdown animations, promotional slides, or event announcements across one screen or an entire network of screens.
Below is a complete, detailed step by step guide that explains exactly how to set up a New Year countdown for your digital signage.
Table Of Contents
- Step 1. Prepare the Requirements
- Step 2: Decide the Type of New Year Countdown You Want
- Step 3: Create or Download Your Countdown Content
- Step 4: Upload the Countdown File Into PosterBooking
- Step 5: Create a New Year Countdown Playlist
- Step 6: Assign the Countdown Playlist to Your Screen
- Step 7: Schedule Your Countdown for the Right Date and Time
- Step 8: Run the Countdown Simultaneously Across Multiple Screens
- Step 9: Test the Countdown Before the Event Begins
- Step 10: Update or Replace the Countdown After Midnight
- Final Thoughts
Step 1. Prepare the Requirements
Before creating your New Year countdown, make sure all the essentials are ready. This ensures you can set the countdown properly without interruptions.
You will need:
• A TV or any screen connected to PosterBooking
• A media player such as a Fire TV Stick, Android TV box, Raspberry Pi, or Amazon Signage Stick
• A working PosterBooking account with your screen already added
• A New Year countdown file or animation in JPG, PNG, GIF, or MP4 format
• A stable internet connection
• A decision on when you want the countdown to begin
Once everything is ready, you can begin creating the countdown display.
Step 2: Decide the Type of New Year Countdown You Want
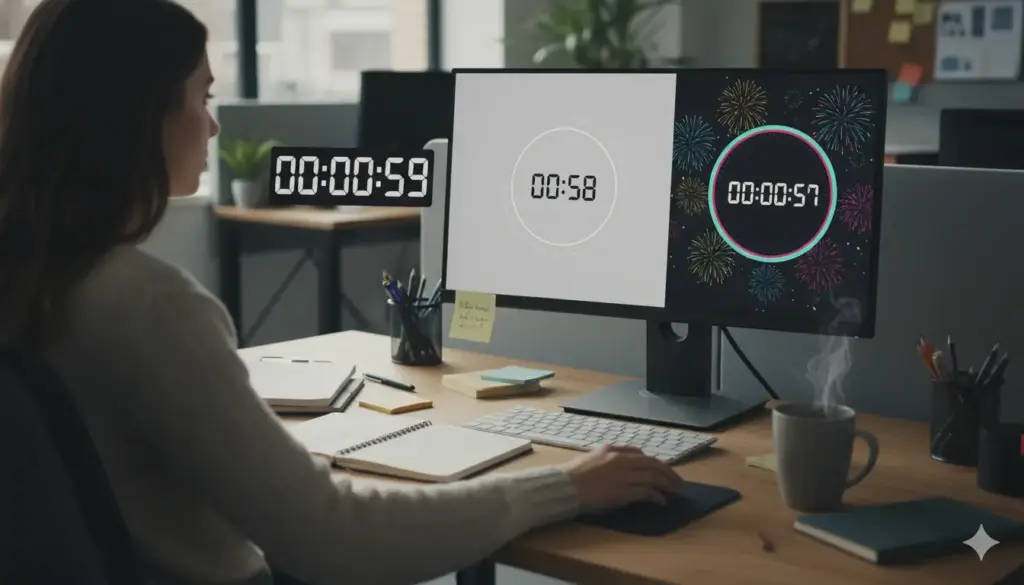
New Year countdowns come in several styles. Determining the type you want will help you choose or design the correct content.
Popular countdown designs include:
• A simple numeric countdown showing days, hours, minutes, and seconds
• A festive animation with fireworks, sparkles, or confetti
• A looping video with a real time timer overlay
• A corporate style countdown for offices or lobbies
• A promotional countdown that highlights year end offers
• A hybrid countdown with both animation and promotional slides
Choose the version that best fits your venue such as a restaurant, retail store, hotel, school, or office.
Step 3: Create or Download Your Countdown Content
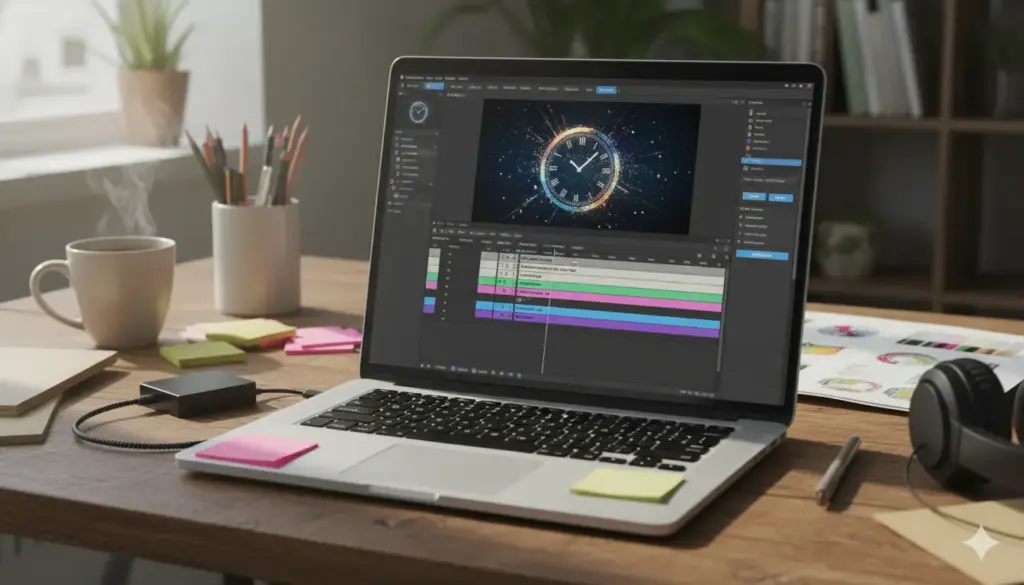
If you do not already have a countdown file, you can create one using tools such as Canva, Adobe Express, After Effects, or a countdown generator. Many websites offer ready made countdown animations that you can download and save as MP4 or GIF.
When designing a custom New Year countdown:
• Use large clear numbers for visibility
• Select festive colors such as gold, silver, black, and white
• Add New Year elements like fireworks, champagne, or confetti
• Use a HD resolution such as 1920 x 1080 or 3840 x 2160
• Keep the design clean so the countdown is easy to read
Once your countdown file is ready, you can upload it to PosterBooking.
Step 4: Upload the Countdown File Into PosterBooking
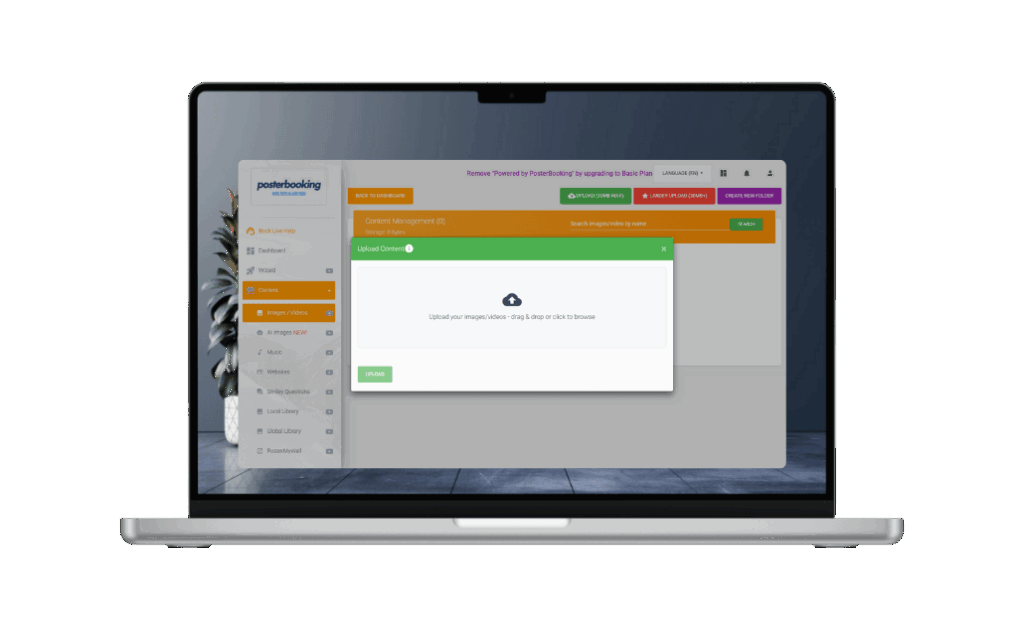
Uploading the countdown file places it into your content library.
To upload:
- Log in to your PosterBooking dashboard.
- Select Content.
- Click Images Videos.
- Choose Upload.
- Select your countdown file and wait for the upload to complete.
- Confirm that the file displays correctly in the content library.
PosterBooking supports both static countdown graphics and animated MP4 videos, so choose whichever style suits your display.
Step 5: Create a New Year Countdown Playlist
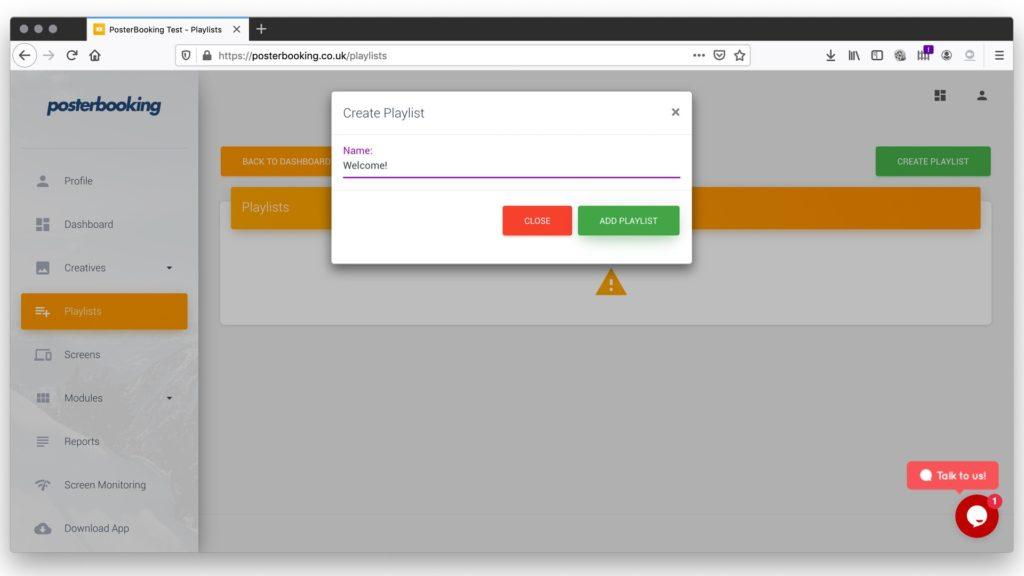
A playlist allows your countdown to loop continuously until New Year’s Eve or until midnight strikes.
To create your playlist:
- Click the Playlists section.
- Select Create Playlist.
- Name it something like New Year Countdown.
- Click Add Content.
- Select your countdown file.
- Save the playlist.
If you want to mix countdown slides with promotions or announcements, you can add multiple files to the playlist. Many businesses display:
• Year end sales
• Holiday hours
• New Year greetings
• Brand messages
This creates a more engaging display.
Step 6: Assign the Countdown Playlist to Your Screen
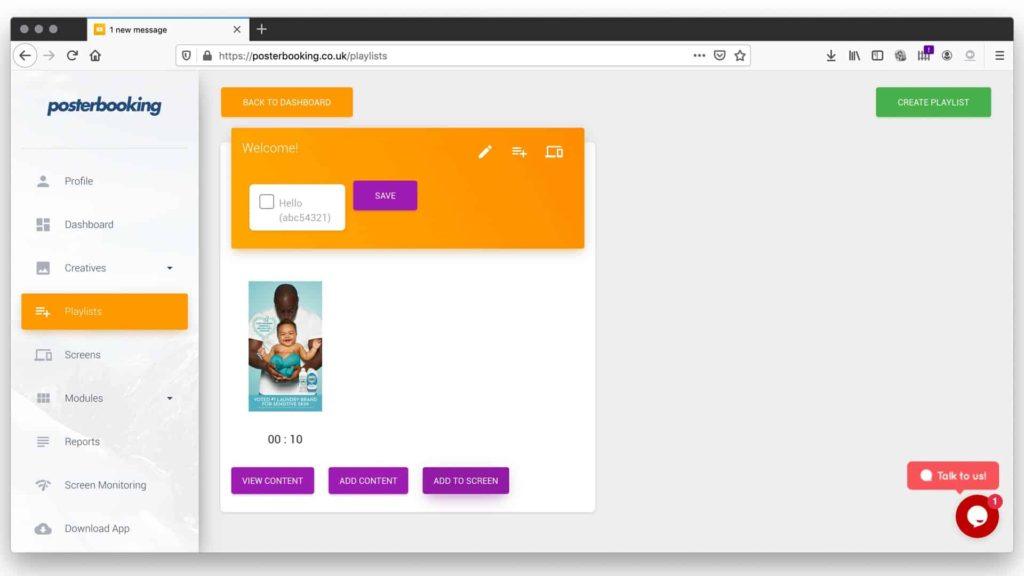
Once the playlist is created, assign it to your chosen screen.
Follow these steps:
- Go to the Screens section in your dashboard.
- Click the screen you want to update.
- Select Add or Edit Playlist.
- Choose the New Year Countdown playlist.
- Save the changes.
Your screen will update in a few seconds and begin displaying the countdown.
Step 7: Schedule Your Countdown for the Right Date and Time
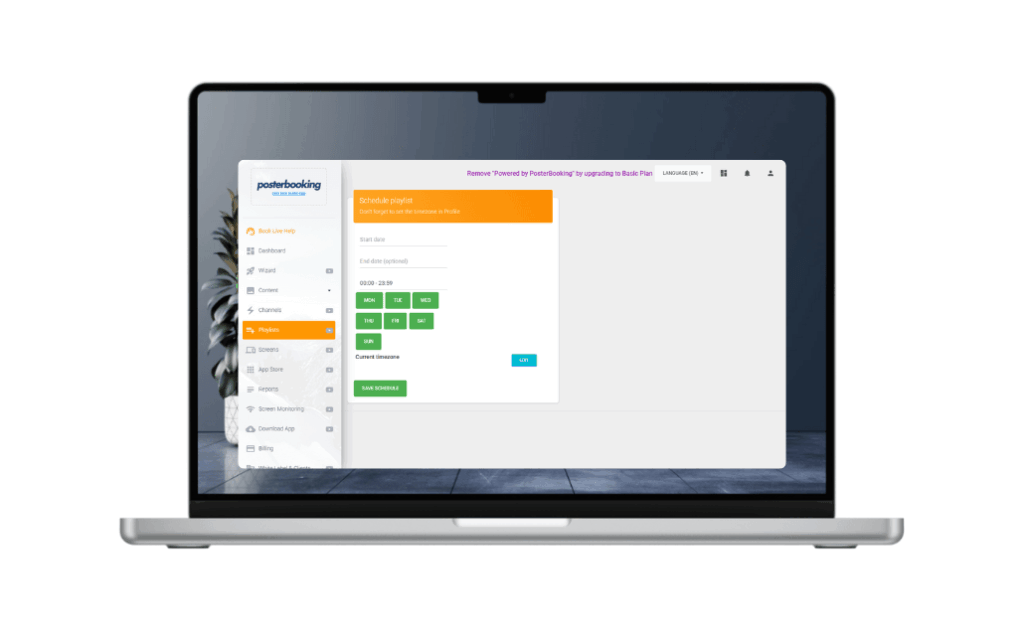
Scheduling ensures your countdown appears exactly when you want it to. You can schedule it to run:
• For the entire month of December
• Only during the last week of the year
• During the final 48 hours leading into New Year’s Eve
• Only on December 31
• Starting at 11 PM on New Year’s Eve
• Only during an event or party
To schedule the playlist:
- Go to Screens.
- Select the screen where the countdown will appear.
- Choose the scheduling option.
- Set the start and end dates.
- Set the time of day for playback.
- Save the schedule.
PosterBooking will automatically start and stop the countdown based on the rules you set.
Step 8: Run the Countdown Simultaneously Across Multiple Screens
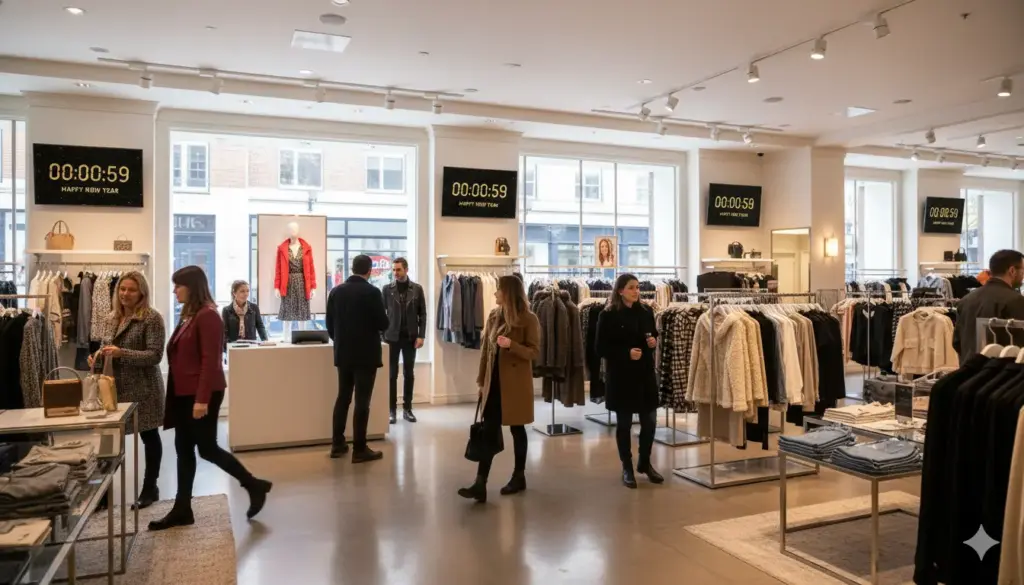
If you want the countdown to appear on several screens at once such as in a restaurant, mall, lobby, or event space, you can sync multiple screens.
To synchronize:
- Select all relevant screens in your dashboard.
- Assign the same New Year Countdown playlist to them.
- Apply the same scheduling rules.
- Confirm that all screens display identical timing.
Synchronized countdowns create a dramatic and coordinated effect that enhances the New Year atmosphere.
Step 9: Test the Countdown Before the Event Begins
Testing ensures the countdown runs smoothly and accurately.
Test for:
• Proper playback
• Smooth looping
• Correct timing
• Sharp and readable text
• Brightness and contrast
• Audio levels if your countdown includes sound
• Accurate time zone settings
Make any necessary adjustments before the countdown officially begins.
Step 10: Update or Replace the Countdown After Midnight
Once the countdown reaches zero, you may want to display something new.
You can update the screen with:
• Happy New Year greeting
• New Year promotional offers
• A fireworks animation
• January announcements
• A refreshed branding message
PosterBooking allows you to change content immediately from your dashboard.
Final Thoughts
You run a New Year countdown using PosterBooking by creating or uploading countdown content, organizing it into a playlist, assigning it to your screens, and scheduling it for New Year’s Eve. PosterBooking’s simple interface, powerful scheduling tools, and support for multiple screens make it one of the most effective digital signage platforms for holiday events in 2025.
With 10 free screens, unlimited uploads, and instant remote updates, PosterBooking allows you to create an engaging, memorable, and professional New Year countdown display without any additional cost.