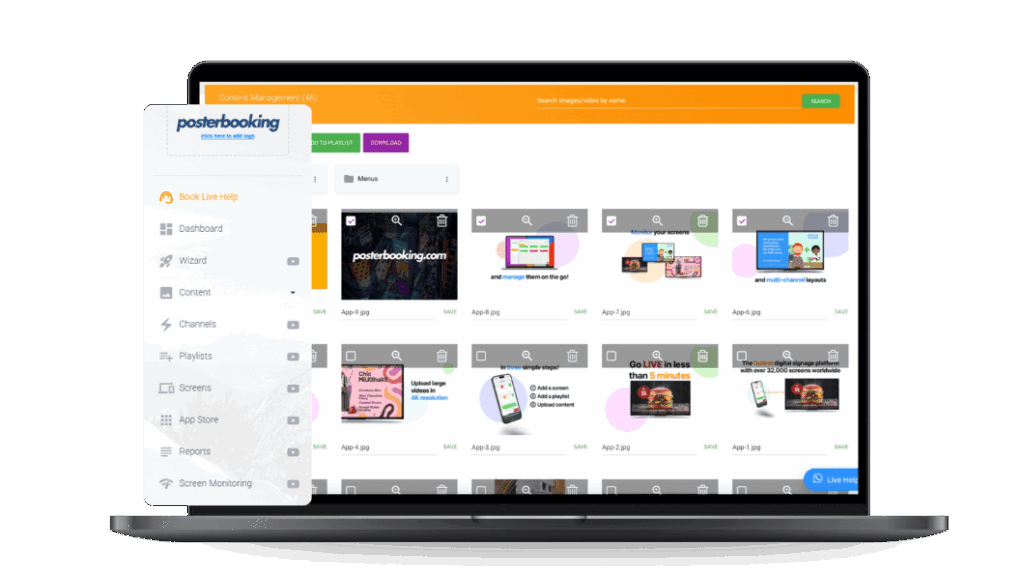
You install a digital signage app by choosing a supported device such as a smart TV, Android TV box, Amazon Fire Stick, or Raspberry Pi, downloading the app onto the device, and linking it to your digital signage account. Once installed, the app transforms your screen into a fully functioning signage display that can show images, videos, live feeds, and more.
Among many options, PosterBooking is one of the best free digital signage apps in 2025, supporting up to 10 free screens with unlimited uploads. The installation process is straightforward and works across multiple devices.
Here’s a step-by-step breakdown of how to install a digital signage app.
Table Of Contents
Step 1: Prepare Your Requirements
Before starting the installation, you need to ensure you have:
- A screen with HDMI input (smart TV, monitor, or commercial display).
- A supported device (Amazon Fire Stick, Android TV box, Raspberry Pi, or even a tablet).
- A stable internet connection (Wi-Fi or Ethernet).
- A digital signage account (PosterBooking offers a free account with 10 screens).
- Remote access device such as a laptop or smartphone to manage your content.
Preparing these in advance makes installation smoother and prevents interruptions later.
Step 2: Choose Your Device
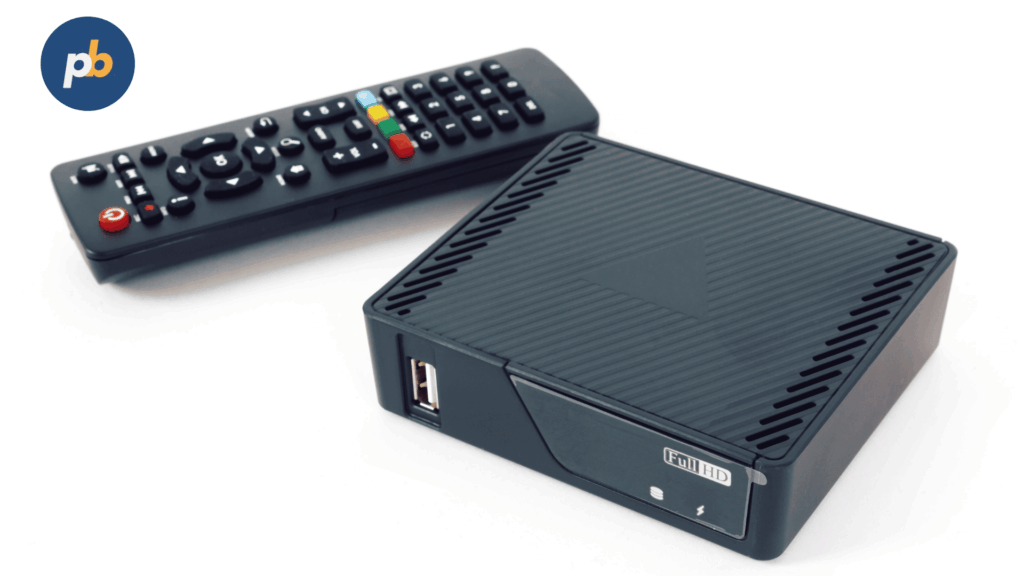
Digital signage apps work on multiple devices. Some of the most common include:
- Smart TVs – If your TV has an app store, simply download the signage app directly.
- Amazon Fire Stick – Affordable, plugs into any HDMI port, and supports signage apps like PosterBooking.
- Android TV Box – Functions like a small computer, perfect for signage installations.
- Raspberry Pi – A low-cost microcomputer where you can install a signage OS and app.
For most businesses, the Amazon Fire Stick or Amazon Signage Stick is the easiest option. PosterBooking even offers 12 months of Business Pro free when paired with the Amazon Signage Stick.
Step 3: Download the App
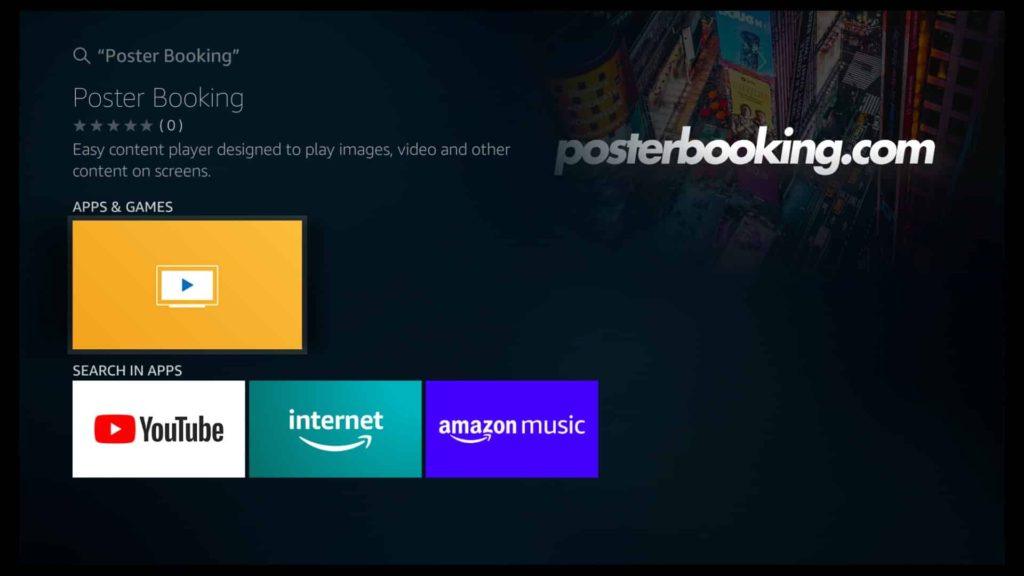
The steps to download a digital signage app are:
- Turn on your device and connect it to your screen via HDMI.
- Open the device’s app store (Amazon Appstore, Google Play Store, etc.).
- Search for the digital signage app (e.g., PosterBooking).
- Click Install and wait for the app to download.
- Open the app once installed.
At this stage, your screen will display a code or QR code to link it with your account.
Step 4: Link the Screen to Your Account
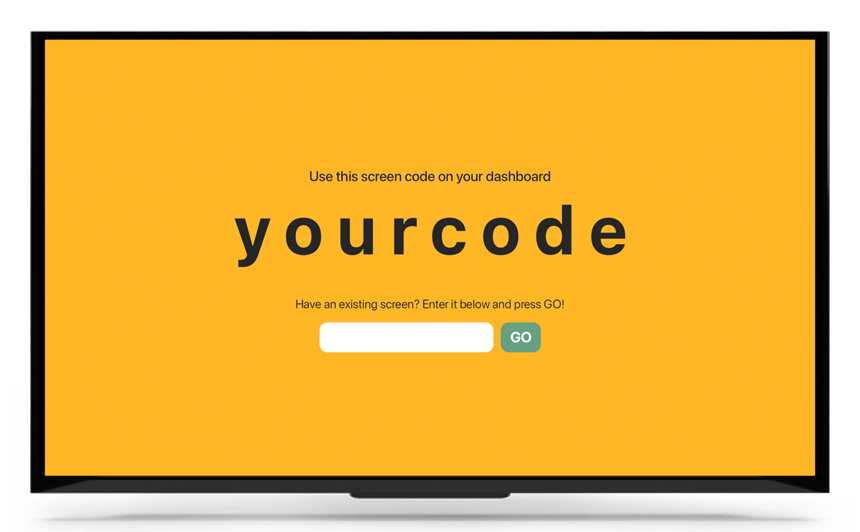
The steps to link your device with your digital signage account are:
- Log in to your signage dashboard from a laptop or smartphone.
- Go to Screens → Add Screen.
- Enter the code displayed on your TV or device.
- Name the screen (e.g., “Lobby Display” or “Menu Board”).
- Click Save to register the screen.
Once linked, your screen is now controlled remotely through your signage dashboard.
Step 5: Upload and Assign Content
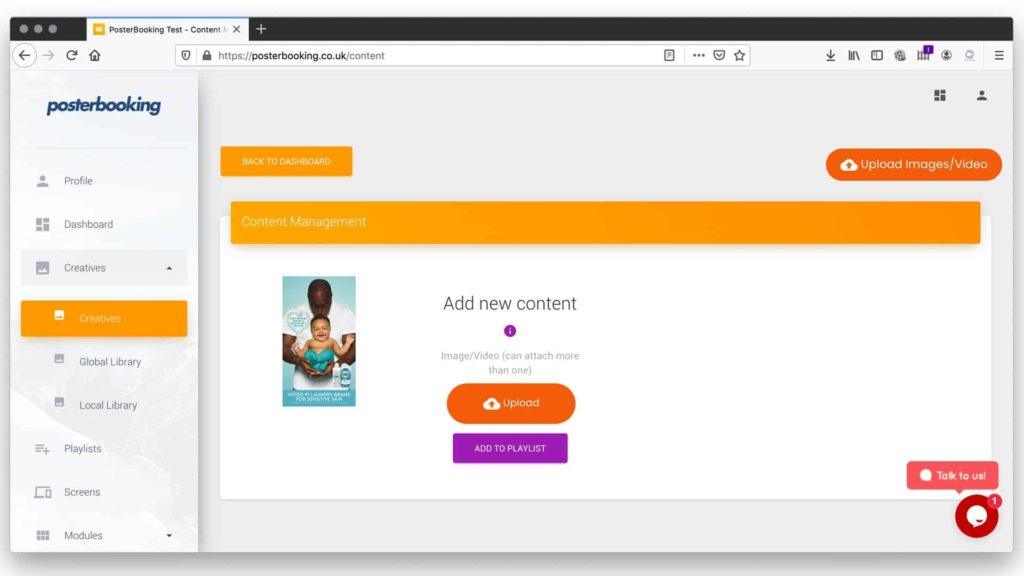
Installing the app makes your screen ready, but it won’t show anything until content is assigned.
The steps to assign content are:
- Upload images, videos, or feeds into your CMS content library.
- Create a playlist and add the uploaded content.
- Assign the playlist to the screen you just linked.
- Save changes and watch as the screen updates instantly.
PosterBooking allows unlimited uploads, so you can experiment with different layouts without worrying about limits.
Step 6: Test and Optimize
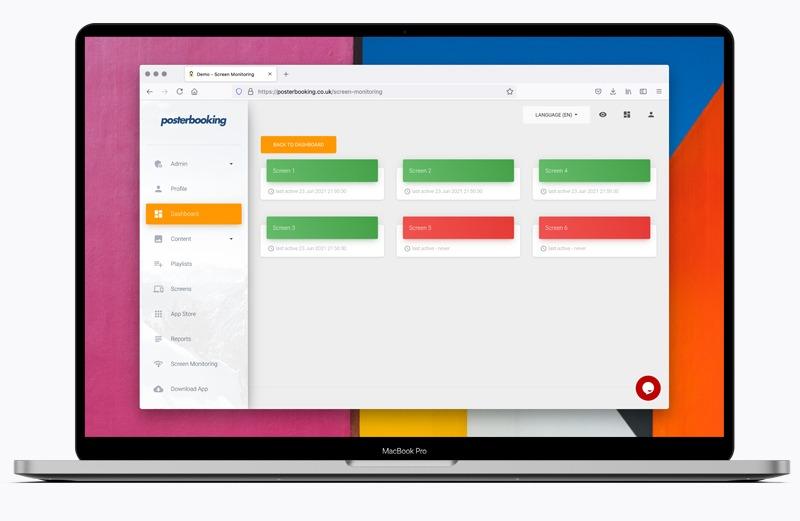
Testing ensures that your digital signage app is running smoothly.
The key things to check include:
- Image quality – Is the content crisp and readable?
- Timing – Do slides change at the correct interval?
- Network stability – Does the device stay connected?
- Orientation – Rotate the screen in the CMS if needed (landscape vs portrait).
If anything looks off, you can make adjustments in the dashboard and push updates instantly.
Step 7: Schedule Your Content
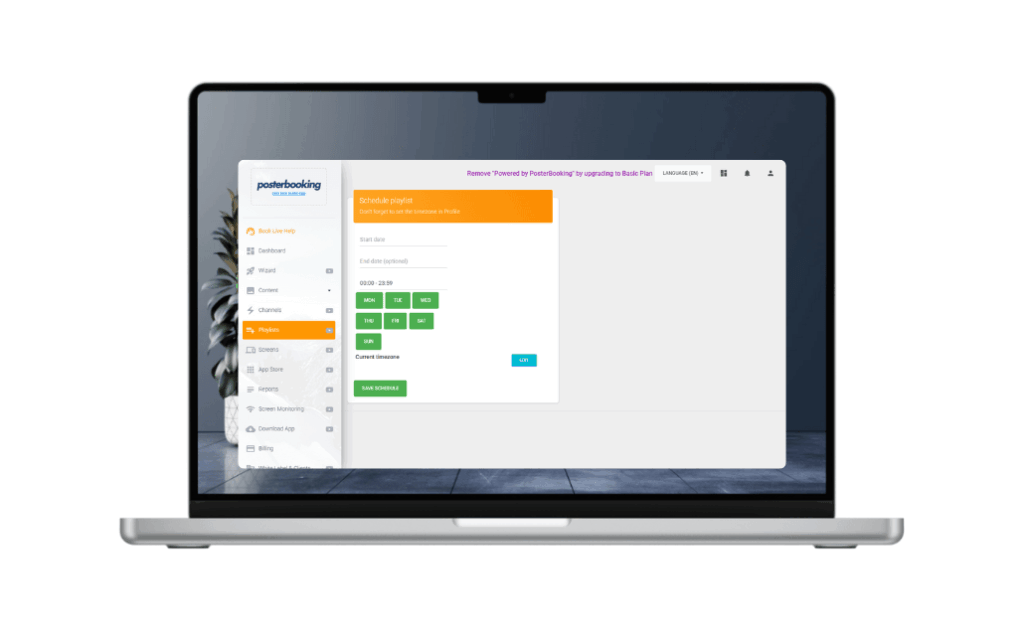
Most apps, including PosterBooking, allow scheduling so content plays at the right time.
The steps to schedule are:
- Go to Screens in your dashboard.
- Select the screen.
- Assign a playlist to specific time slots.
- Save and publish.
For example, restaurants can schedule breakfast menus in the morning, lunch specials at noon, and dinner promotions in the evening.
Best Practices When Installing Digital Signage Apps
- Always use a stable internet connection for reliable syncing.
- Use a device that matches your budget and technical expertise. Fire Sticks are easiest, Raspberry Pi is more customizable.
- Keep your screen orientation in mind when designing content.
- Test content on one screen before scaling to multiple displays.
Final Thoughts
You install a digital signage app by setting up a device like a Fire Stick or smart TV, downloading the app from the store, linking it with your signage account, and assigning content from your dashboard. The process takes less than 10 minutes but transforms any regular TV into a professional display.
In 2025, PosterBooking remains the best free digital signage app, offering 10 free screens, unlimited uploads, playlists, and scheduling. With quick installation and cloud-based management, it’s the easiest way to launch a digital signage network for restaurants, schools, retail stores, gyms, and more.