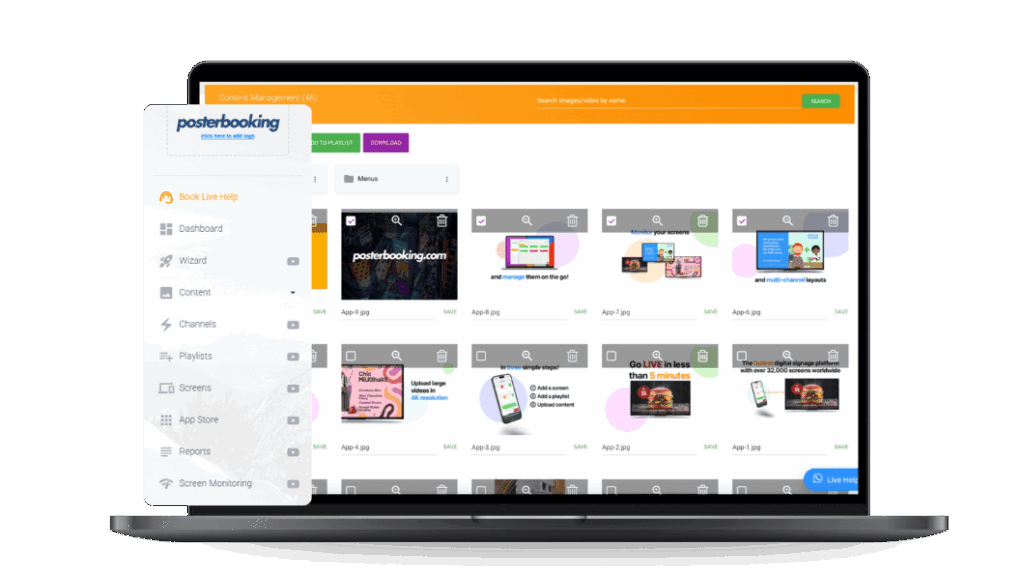
You display a calendar for a Zoom Room digital signage screen by integrating your room’s calendar (Google Calendar, Outlook, or Exchange) into Zoom’s digital signage feature, or by embedding a live calendar into a signage player like PosterBooking. This setup allows staff and visitors to instantly see meeting schedules, availability, and upcoming events directly on a TV or monitor in your office or conference room.
Calendars are one of the most valuable types of content for digital signage in work environments because they remove confusion, improve efficiency, and provide a professional experience.
In this guide, you’ll learn how to set up and display calendars step by step, using Zoom’s built-in digital signage as well as PosterBooking for more customization and control.
Table Of Contents
- Step 1: Gather Your Requirements
- Step 2: Connect Your Display for Zoom Rooms Digital Signage
- Step 3: Link Your Calendar to Zoom Rooms
- Step 4: Configure Calendar Display in Zoom Rooms
- Step 5: Enhance the Calendar with PosterBooking
- Step 6: Test Your Calendar Display
- Step 7: Maintain and Update the Calendar
- Best Practices for Calendar Digital Signage
- Why Calendars Matter in Zoom Room Digital Signage
- Final Thoughts
Step 1: Gather Your Requirements
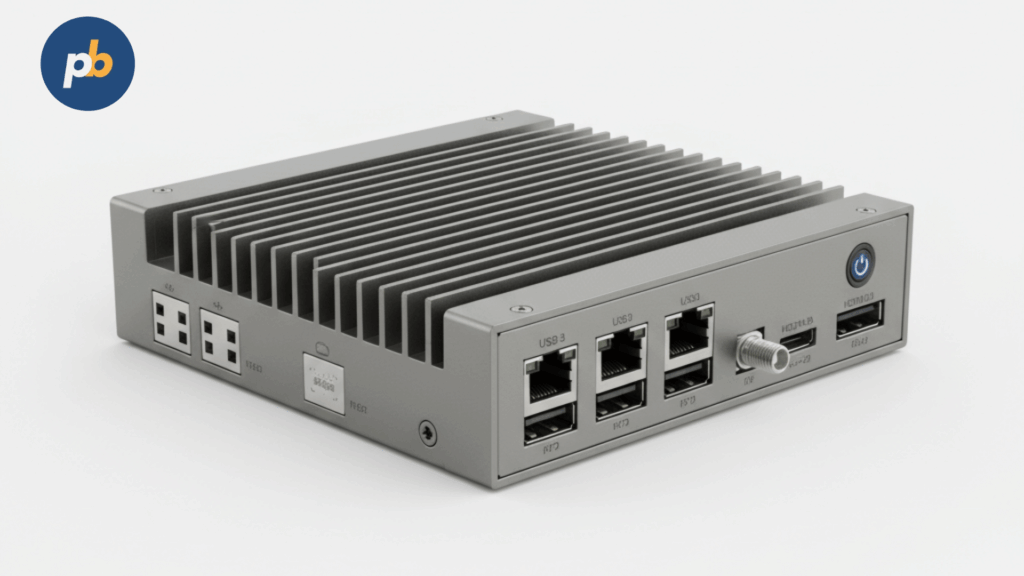
Before diving into the process, make sure you have all the essentials ready:
- A Zoom Rooms license Zoom Rooms includes a digital signage feature that works with your existing Zoom setup.
- A compatible display screen This can be any TV or monitor with an HDMI port.
- Media player hardware To run signage software, you’ll need:
- A Zoom Rooms controller device (like a tablet), or
- A digital signage player such as an Amazon Fire Stick, Amazon Signage Stick, or Raspberry Pi if you choose to use PosterBooking for more flexibility.
- Calendar integration Decide which calendar system you’ll use:
- Google Workspace Calendar
- Microsoft Outlook / Office 365
- Exchange Server
- Internet connection Both Zoom Rooms and PosterBooking require a reliable Wi-Fi or Ethernet connection for real-time updates.
Having all of this ready will save time when you start configuring your signage.
Step 2: Connect Your Display for Zoom Rooms Digital Signage
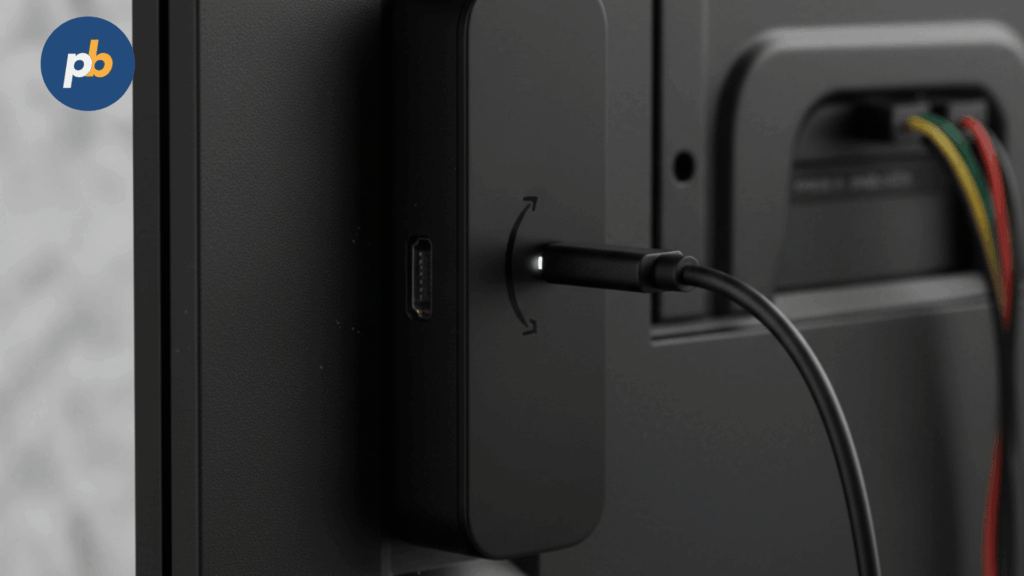
If you’re using Zoom Rooms’ built-in signage:
- Set up your Zoom Room on the display screen.
- Log in to your Zoom admin portal on a computer.
- Go to Room Management → Zoom Rooms.
- Choose the room you want to configure.
- Under Digital Signage Content, select the display you’ll use.
This connects your TV or monitor to the Zoom Rooms environment, so you can push content such as calendars.
Step 3: Link Your Calendar to Zoom Rooms
Now, connect your calendar so meetings sync automatically:
- In your Zoom admin portal, go to Room Management → Calendar Integration.
- Select your calendar service (Google, Office 365, or Exchange).
- Log in with your admin credentials and grant access to Zoom.
- Assign the linked calendar to the specific Zoom Room.
Once connected, the Zoom Room will automatically display all scheduled meetings from that calendar.
Step 4: Configure Calendar Display in Zoom Rooms

By default, Zoom Rooms can show the calendar of upcoming meetings right on the screen. To enable this:
- In the Zoom admin dashboard, navigate to Zoom Rooms → Devices.
- Under Room Display Options, enable Display Upcoming Meetings.
- Choose your preferred format:
- List View: Shows a chronological list of meetings.
- Full-Screen Agenda: Fills the screen with today’s meeting schedule.
- Room Availability: Shows green when free and red when occupied, alongside the calendar view.
Save your settings. The next time the room is idle, your calendar will display automatically.
Step 5: Enhance the Calendar with PosterBooking
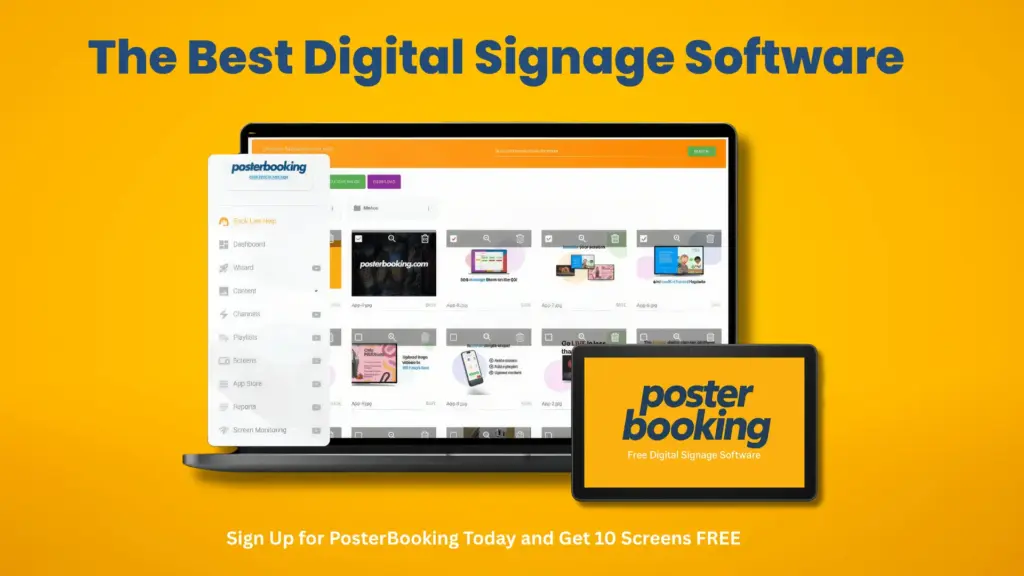
Zoom Rooms’ native signage is useful, but if you want more customization (such as branding, layouts, or splitting the screen with other content), use PosterBooking alongside your Zoom setup.
Here’s how:
- Connect a signage player (Amazon Fire Stick, Android TV, or Raspberry Pi) to the same display.
- Install the PosterBooking app.
- Launch it and get the pairing code.
- Log in to posterbooking.com, go to Screens → Add Screen, and enter the code.
- Now add your calendar as live content:
- Export a sharable Google Calendar link, or
- Publish your Outlook Calendar to the web.
- Go to Content → Websites in PosterBooking, paste the URL, and save.
- Create a playlist called “Room Calendar” and add the calendar website to it.
- Assign the playlist to your screen.
With this setup, you can display the calendar alongside other content, such as company news, weather, or announcements.
Step 6: Test Your Calendar Display
Whether using Zoom Rooms or PosterBooking, testing is critical:
- Check time zone settings: Ensure the calendar matches your office time zone.
- Verify meeting updates: Create a test event and confirm it appears on the signage within minutes.
- Confirm readability: Make sure fonts and colors are visible from a distance.
- Review layout: If using PosterBooking channels, ensure the calendar doesn’t clash with other elements.
Step 7: Maintain and Update the Calendar
Once your calendar is live, keep it accurate and relevant:
- Update recurring meetings to reflect real schedules.
- Assign content managers who can access and update the signage system.
- Refresh your PosterBooking playlists periodically if using custom graphics.
- Monitor your screens from the dashboard to confirm they’re online and updating.
Best Practices for Calendar Digital Signage
- Keep it simple Display only what matters: meeting times, titles, and organizers. Avoid clutter.
- Use color coding Different colors for available vs. booked times help staff identify status at a glance.
- Combine with wayfinding Add arrows or room labels to help visitors locate meetings.
- Integrate branding With PosterBooking, add your logo and brand colors so the signage feels professional.
- Plan for multiple rooms If you manage several Zoom Rooms, display multiple calendars in a split-screen format.
Why Calendars Matter in Zoom Room Digital Signage
Calendars are one of the most practical types of signage content because:
- They prevent confusion: Staff know exactly which meetings are happening in which room.
- They improve productivity: No wasted time checking with reception or opening laptops.
- They enhance professionalism: Visitors see a well-organized, transparent schedule.
- They centralize communication: Everyone sees the same shared view, updated in real time.
For growing organizations, this visibility is essential to managing busy meeting spaces effectively.
Final Thoughts
You display a calendar for a Zoom Room digital signage screen by connecting your room’s calendar service (Google, Outlook, or Exchange) through Zoom’s built-in signage settings, or by embedding a live calendar into a third-party signage platform like PosterBooking for more customization. The process is straightforward: connect your screen, link your calendar, configure the display, and test for accuracy.
Calendars are the heartbeat of meeting room signage, keeping teams aligned and visitors informed. By pairing Zoom Rooms with PosterBooking, you can go beyond the basics - splitting your screen between calendars, company news, weather, or branded content - while still keeping meeting schedules front and center.
With PosterBooking’s free plan offering 10 screens at no cost, you can experiment with professional-grade digital signage without upfront investment, and expand to unlimited displays later.