
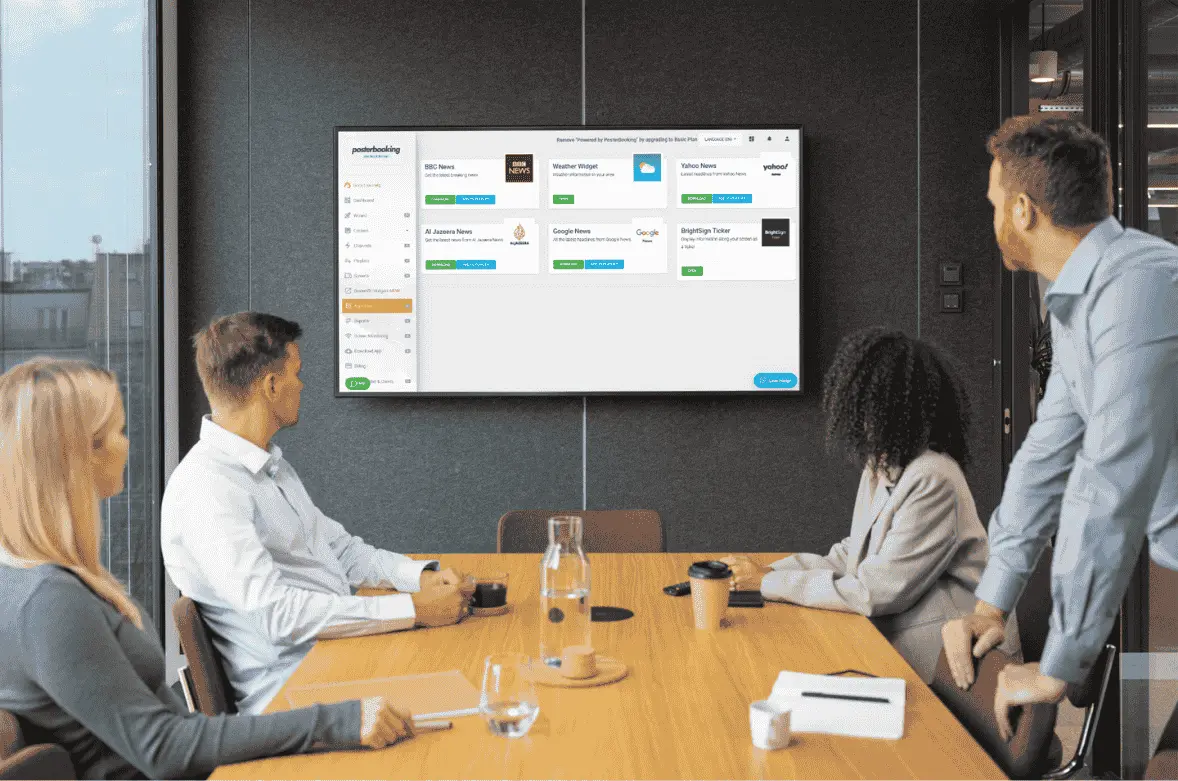
To set up digital signage for small businesses, you need to selecting cost-controlled hardware and signage software designed for organizations with fewer than 50 employees and relatively low revenue, where simplicity, scalability, and predictable expenses matter more than enterprise-grade complexity.
Small businesses need to understand that digital signage is not about installing many screens, but about choosing the right combination of displays, media players, and software that can be managed without dedicated IT staff. For small operations, Posterbooking is best suited because it offers digital signage software with up to 10 screens free for 3 months, making it practical for businesses with limited budgets and lean teams.
Table Of Contents
- What Are the Requirements Needed to Set Up Digital Signage as a Small Business?
- 1. Digital Displays
- 2. Media Players
- 3. Digital Signage Software
- 4. Stable Interntet Connectivity
- 5. Mounts, Screws, Drills.
- 6. Content Assets
- How to Setup Digital Signage as Small Business
- Step One: Identify Best Location Based on Customer Visibility
- Step Two: Mounting And Position Your Displays
- Step Three: Connecting the Media Player
- Step Four: Installing the Digital Signage Software
- Step Five: Register On PosterBooking.com
- Step Six: Uploading Content Assets
- Step Seven: Creating and Assigning a Playlist
- Step Eight: Scheduling Playlist
- Best Digital Signage Integrations for Small Businesses
- 7 Mistakes To Avoid During Setup
What Are the Requirements Needed to Set Up Digital Signage as a Small Business?
Small-business digital signage requires a focused set of components optimized for affordability, ease of use, and low maintenance. These requirements differ from enterprise deployments because small businesses typically operate fewer locations, manage signage centrally by owners or managers, and prioritize fast return on investment over advanced integrations.
1. Digital Displays
Digital displays are required because they serve as the visual endpoint that delivers promotions, pricing, menus, and brand content to customers in real time. For small businesses, the number of displays depends on floor size, customer flow, and visibility rather than brand scale, which keeps hardware investments controlled and targeted.

The recommended display planning factors for small businesses include:
- Store square footage and customer circulation paths.
- Primary engagement zones such as counters and entrances.
- Viewing distance and ambient lighting conditions.
- Budget constraints and energy efficiency requirements.
- Mounting options that avoid structural modification costs.
| Number of Displays | Screen Size Range | Best Locations |
|---|---|---|
| 1–2 | 32″–43″ | Entrance, checkout counter |
| 3–4 | 43″–50″ | Menu board wall, waiting area |
| 5–6 | 50″–55″ | Large café, fitness studio floor |
For small businesses, suitable display specifications typically include 350–450 nits brightness, Full HD resolution, HDMI input, and 16/7 usage rating, which balances durability with cost. Brands such as Samsung Business TV, LG Commercial Lite, and TCL S-Series offer models priced between $180–$400, aligning with small-business capital budgets. For example, many independent Starbucks franchise cafés use 43″ Samsung Business TVs for menu boards, demonstrating how compact display strategies scale efficiently in small-format environments. A good display
2. Media Players
A media player is required to deliver digital content from signage software to the display, acting as the operational bridge between content management and on-screen playback. For small businesses, media players must be inexpensive, easy to replace, and simple to configure without technical expertise.
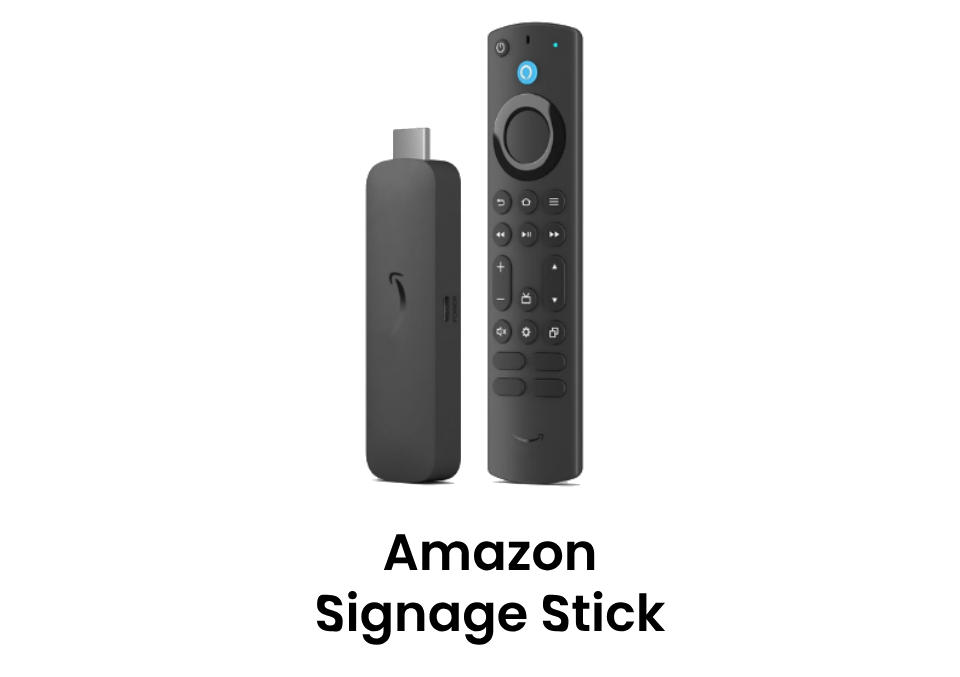
The most practical media players for small businesses include:
- Low-cost HDMI dongles with Wi-Fi connectivity.
- Compact form factors suitable for wall-mounted displays.
- Cloud-managed firmware updates.
- Minimal power consumption for continuous operation.
- Wide compatibility with web-based signage software.
The Amazon Signage Stick stands out as the best media player for small businesses because it combines low upfront cost, reliable hardware, and seamless cloud management. Priced around $100, it supports Full HD playback, remote updates, and direct integration with web-based signage platforms, making it ideal for small teams managing multiple screens without technical overhead.
Purchase the Amazon Signage Stick and Get PosterBooking Pro FREE for 12 Months
3. Digital Signage Software
Digital signage software is a cloud-based system that manages, schedules, and publishes visual content to connected screens from a central dashboard. Small businesses need signage software that reduces complexity, avoids licensing traps, and supports rapid content updates without training overhead.
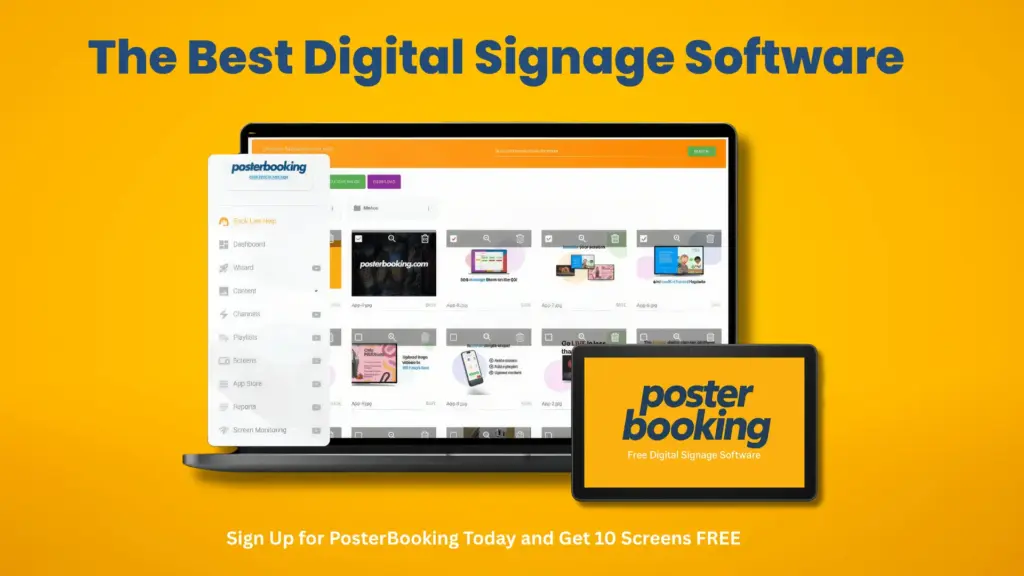
The leading digital signage software options for small businesses include:
- PosterBooking.
- ScreenCloud.
- Yodeck.
- OptiSigns.
- Pickcel.
From a small-business perspective, Posterbooking is the most effective solution because it offers digital signage software free for up to 10 screens, eliminating a major recurring cost barrier. Small businesses can also purchase the Amazon Signage Stick and receive 12 months of Posterbooking Pro access, combining low-cost hardware with premium software capabilities.
Join PosterBooking and START today!
To ensure successful deployment, small businesses should follow this five-step digital signage setup checklist:
- Define the number of screens based on store size and customer flow.
- Select commercial-grade displays within a controlled price range.
- Choose a low-cost, cloud-managed media player.
- Deploy signage software with free or entry-level plans.
- Schedule content updates aligned with business hours and promotions.
This approach allows small businesses to implement digital signage that improves communication efficiency, reduces printing costs, and supports measurable growth without exceeding operational limits.
4. Stable Interntet Connectivity
Small businesses need a stable internet connection because digital signage software depends on cloud access to sync content, update screens remotely, and prevent playback interruptions. For reliable connectivity, small businesses typically need a business-grade router rather than consumer Wi-Fi, and from a small-business perspective, cost-effective and reliable options include TP-Link Omada routers for affordability, Netgear Nighthawk routers for higher footfall environments, and Ubiquiti UniFi routers for growing small businesses planning scalability. Because small businesses cannot afford downtime, a compact power supply backup system such as a basic UPS is also needed to keep screens and routers running during short power outages.
5. Mounts, Screws, Drills.
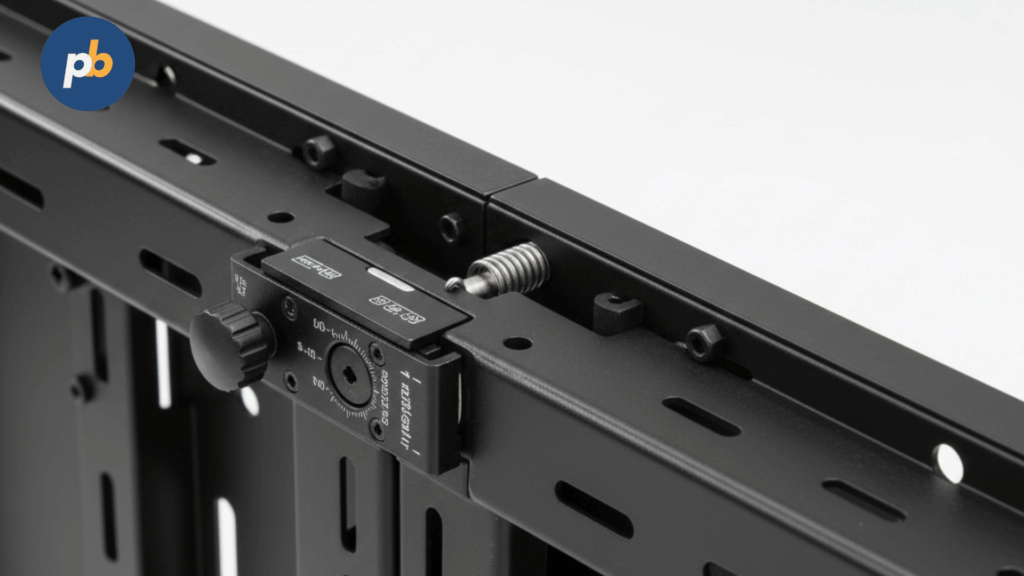
Mounts, screws, and drills are required to securely install digital displays in visible customer-facing areas without occupying floor space. For small businesses, proper mounting reduces safety risks, prevents screen damage, and avoids repeated installation costs.
6. Content Assets
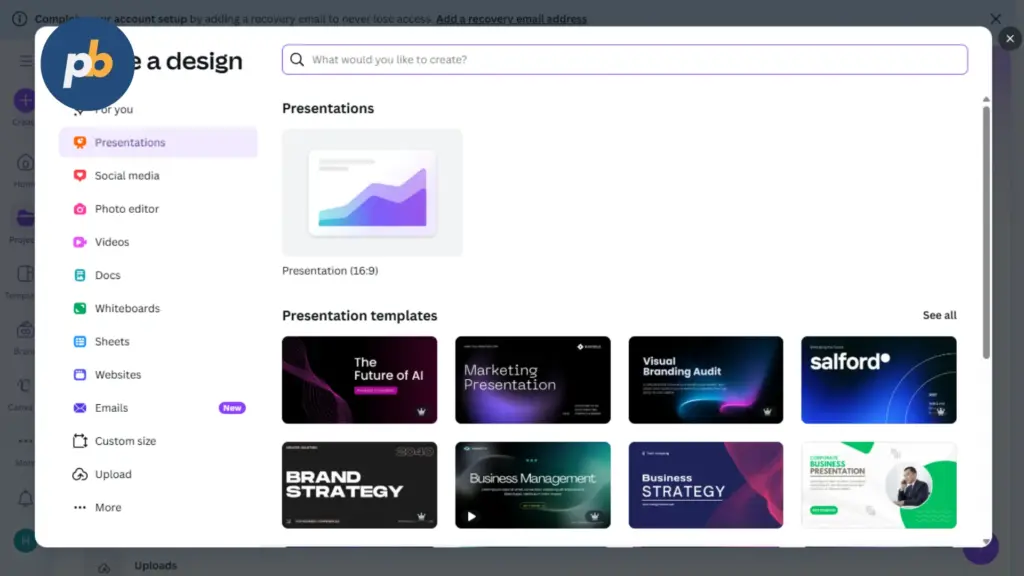
Small businesses need content assets to visually communicate promotions, menus, pricing, announcements, and brand messages through digital signage. These assets include promotional images, short videos, animated graphics, and branded slides, which small businesses can create using tools like Canva or AI-powered signage tools, where Posterbooking provides built-in AI content generation designed specifically for small businesses. The most effective formats for small-business signage are MP4 videos for motion visibility, JPG or PNG images for clarity, and lightweight GIFs for simple animations that load quickly on affordable media players.
How to Setup Digital Signage as Small Business
Setting up digital signage as a small business follows a simple sequence that starts with identifying the best screen locations based on customer presence, continues with mounting and positioning displays, and finishes by connecting a media player and installing a digital signage app, because each step directly impacts visibility, reliability, and ease of management for businesses with limited staff and budget.
Step One: Identify Best Location Based on Customer Visibility
Before installing digital signage for a small business, the best location must be identified based on where customers naturally look, wait, or make purchasing decisions. High-visibility areas such as entrances, order counters, and waiting zones allow content to be noticed without increasing the number of screens.
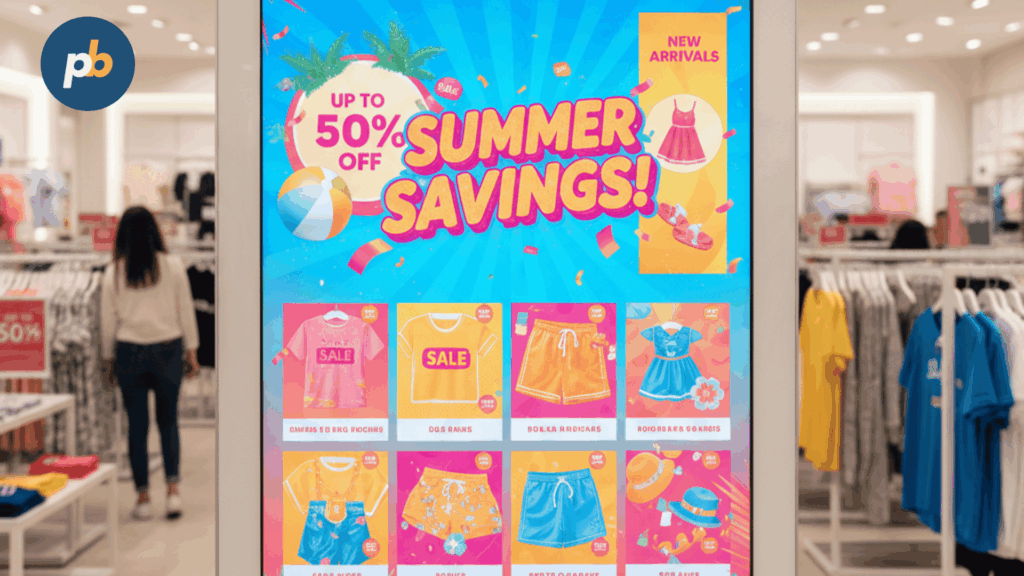
Small businesses identify these locations by observing customer flow throughout the day and noting where people pause the longest. This simple observation-based approach helps small businesses place screens where they deliver the highest impact at the lowest cost.
| Small Business Type | Best Digital Signage Locations |
|---|---|
| Café or Restaurant | Menu wall, order counter |
| Retail Store | Store entrance, checkout area |
| Salon or Spa | Waiting area, styling stations |
| Gym or Studio | Reception desk, workout floor |
| Office Reception | Front desk, lobby wall |
Step Two: Mounting And Position Your Displays
Mounting and positioning displays begins by selecting the correct wall, marking eye-level height, drilling anchor holes, and securely fixing the mount before attaching the screen. Positioning the display close to a power supply reduces cable exposure and simplifies installation for small businesses.
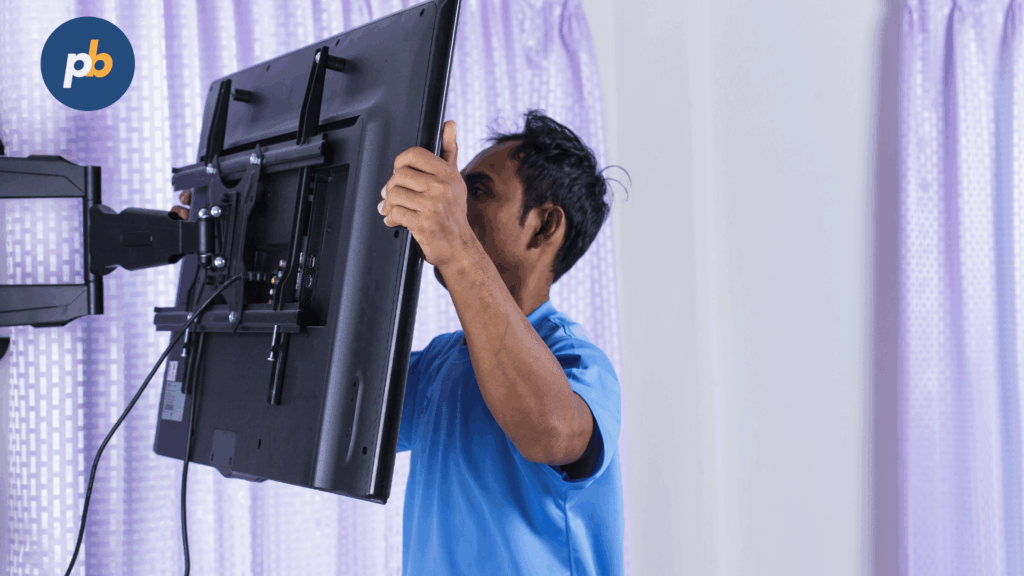
Proper mounting also ensures safety and long-term reliability, which is especially important for small businesses with limited maintenance resources. A common mistake small businesses must avoid is mounting displays too high, which reduces readability and lowers customer engagement.
Step Three: Connecting the Media Player
Connecting the media player starts by inserting the Amazon Signage Stick into the display’s HDMI port and powering it using a USB port or wall adapter. Once powered, the device is connected to Wi-Fi, allowing it to communicate with the digital signage software.
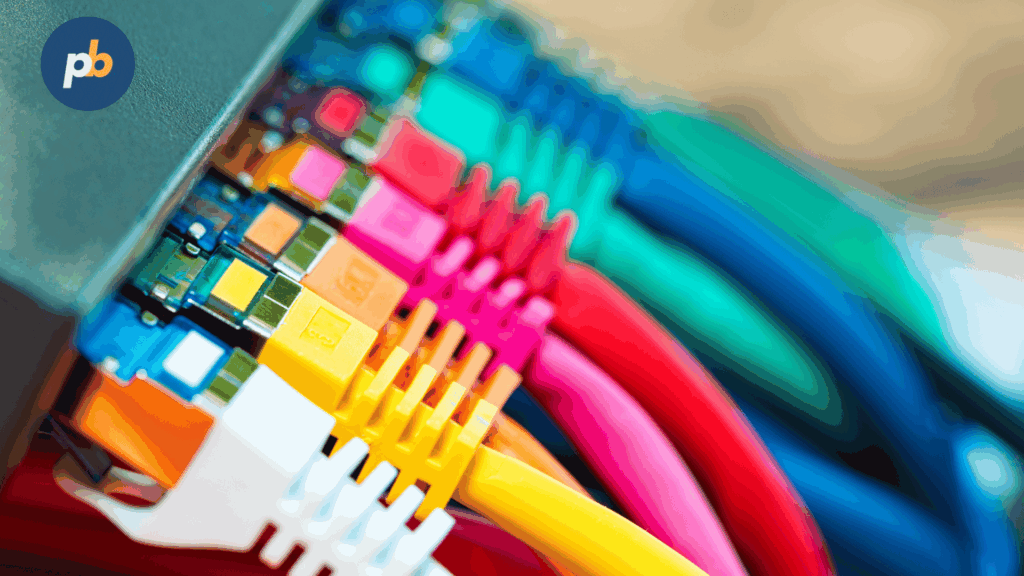
This process is ideal for small businesses because the Amazon Signage Stick is affordable, compact, and easy to replace if needed. Its simple setup allows business owners or staff to complete installation without technical support.
Step Four: Installing the Digital Signage Software
Installing digital signage software on a small-business screen follows a short, numbered flow that starts directly on the media player interface. First, turn on the display and Amazon Signage Stick, second open the App Store from the home screen, third use search to find a digital signage application, and fourth install and launch the app so the screen is ready to pair with software.
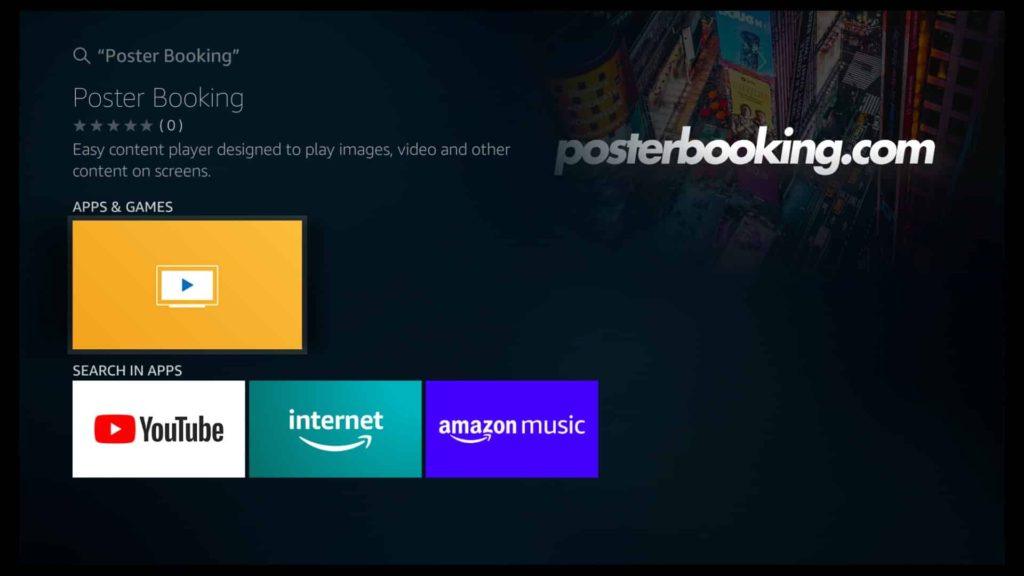
This step matters because the software controls what appears on the screen and how easily it can be updated. Posterbooking is best for small businesses because it is simple to install, works smoothly on low-cost media players, and allows up to 10 screens to run for free, which removes a major cost barrier.
Step Five: Register On PosterBooking.com
Registering the screen begins by creating a free account on PosterBooking.com and signing into the dashboard from any browser. After logging in, go to the Screens section, select add screen, and enter the pairing code shown on the display to connect the software to the physical screen.
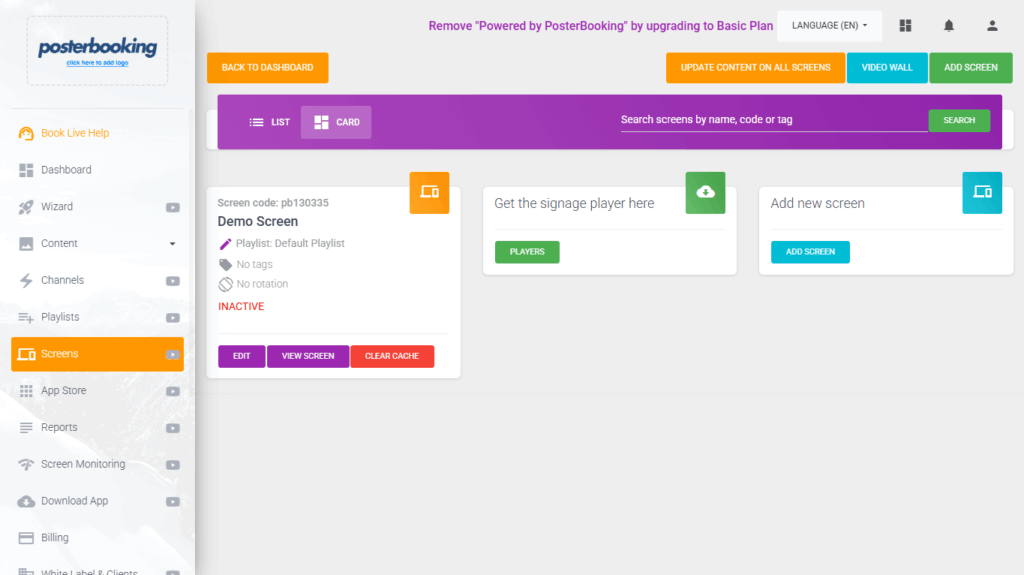
Once connected, name the screen based on its location, such as “Front Counter” or “Waiting Area,” which helps small businesses manage screens without confusion. This process can be repeated for up to 10 screens, allowing small teams to control all displays from one dashboard.
Sign up and Use 10 screens free for 3 months!
Step Six: Uploading Content Assets
Uploading content assets starts by opening the Media Library inside the Posterbooking dashboard and selecting the upload option. Images or videos are added directly from a computer, processed by the system, and made available for use on connected screens.
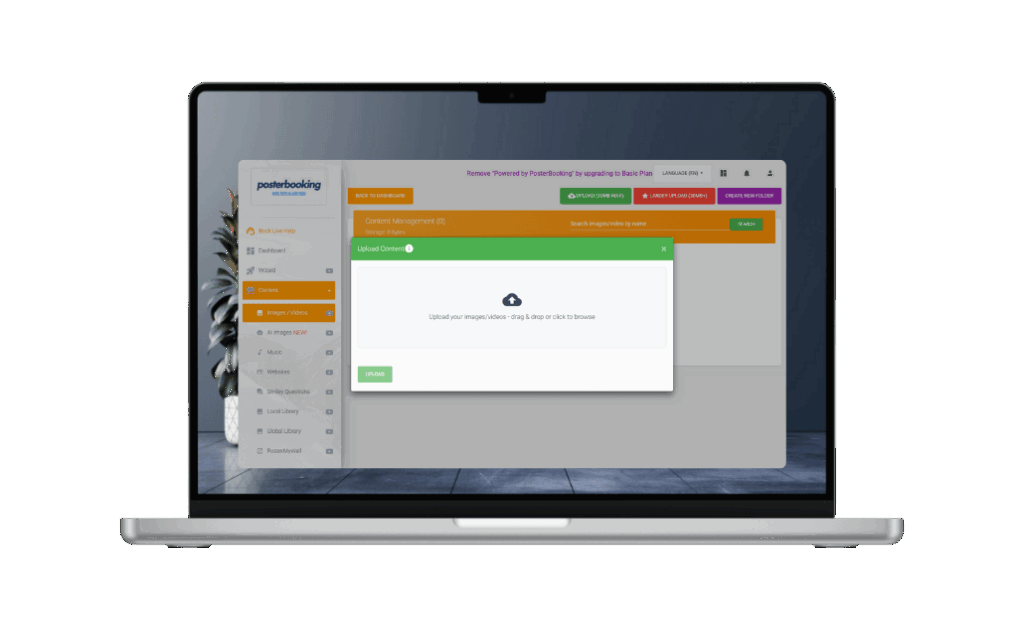
This step is important because uploaded assets become the building blocks of all signage content. For small businesses, this simple upload process makes it easy to refresh promotions, menus, or announcements without design or technical assistance.
Step Seven: Creating and Assigning a Playlist
Creating a playlist is important for small businesses because it controls the order and frequency of content shown to customers. In Posterbooking, this starts by creating a new playlist and selecting uploaded images or videos to include.
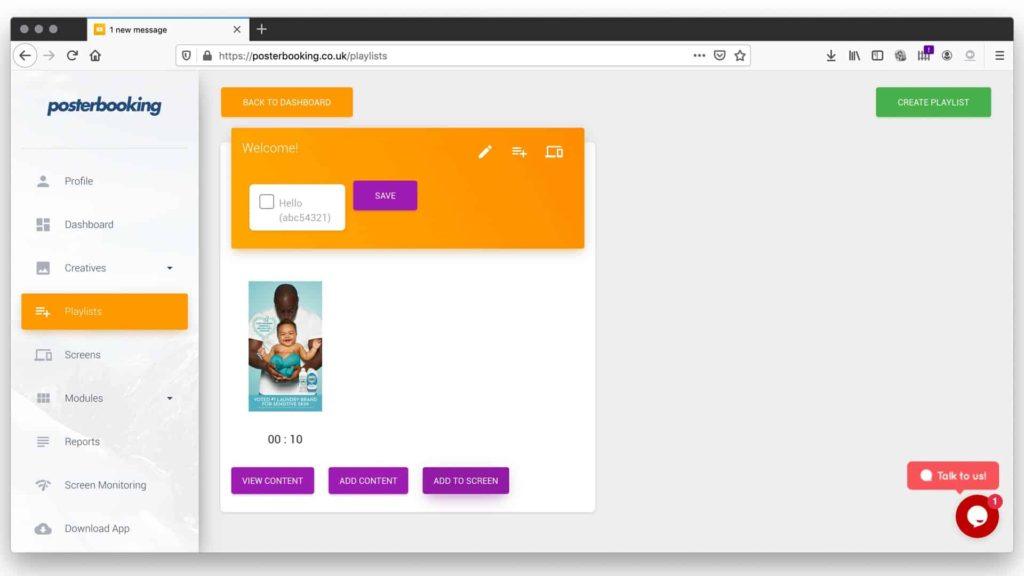
After the playlist is created, it is assigned to one or more screens through the dashboard. This ensures consistent messaging across locations or areas while keeping management simple for small teams.
Step Eight: Scheduling Playlist
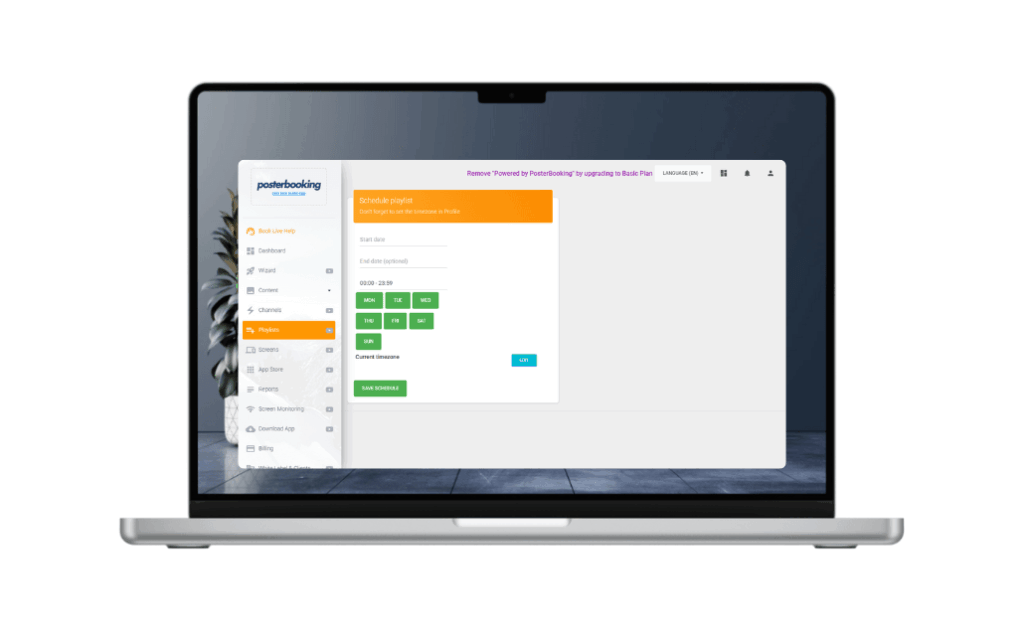
Small businesses need scheduling so the right content appears at the right time, such as breakfast menus in the morning or promotions during peak hours. Scheduling helps avoid manual updates and ensures screens stay relevant throughout the day.
In Posterbooking, scheduling is done by selecting a playlist, setting start and end times, choosing active days, and applying the schedule to selected screens. This visual scheduling process allows small businesses to automate content without daily intervention.
Best Digital Signage Integrations for Small Businesses
The best digital signage integrations for small businesses focus on saving time, reducing manual updates, and improving reliability without adding complexity. Small businesses commonly integrate digital signage with tools such as Google Drive for automatic content updates, Instagram for social proof displays, and Canva for fast content creation, while platforms like Posterbooking also allow screen monitoring so small businesses can remotely check whether screens are online, playing correctly, or need attention, alongside minor integrations such as weather widgets, basic analytics, and cloud media syncing.
7 Mistakes To Avoid During Setup
Small businesses often make avoidable mistakes during digital signage setup because of limited time, budget pressure, and lack of technical planning, which can lead to higher long-term costs or underperforming screens if decisions are rushed. Avoiding common setup errors helps small businesses protect their investment and ensures digital signage remains reliable and effective.
Common mistakes to avoid when setting up digital signage as a small business include:
- Not researching cost per screen when choosing digital signage software.
- Purchasing consumer-grade screens that cannot handle long operating hours.
- Installing screens in low-visibility areas with little customer attention.
- Ignoring internet stability and bandwidth requirements.
- Skipping power backup for screens and network devices.
- Overloading screens with too much text or cluttered visuals.
- Failing to plan content updates and scheduling in advance.
Avoiding these mistakes allows small businesses to deploy digital signage that is cost-efficient, easy to manage, and aligned with daily operations.
Digital signage gives small businesses a practical way to communicate clearly, promote offers, and improve customer experience without increasing staff workload.
When the right locations are chosen, displays are installed correctly, affordable media players are used, and software like Posterbooking is selected for its free 10-screen offering, small businesses can run professional digital signage that fits limited budgets and small teams.
By following the setup steps carefully and avoiding common mistakes, digital signage becomes a reliable, scalable tool that supports daily operations and long-term growth rather than a costly experiment.