
You add weather to digital signage by embedding a live weather widget, uploading custom weather graphics, or connecting a web-based forecast directly through your signage dashboard. Weather is one of the most valuable content types for digital signage because it keeps screens informative and ensures audiences look at them regularly. With PosterBooking, you can easily add real-time weather feeds to your digital signage player in just a few steps.
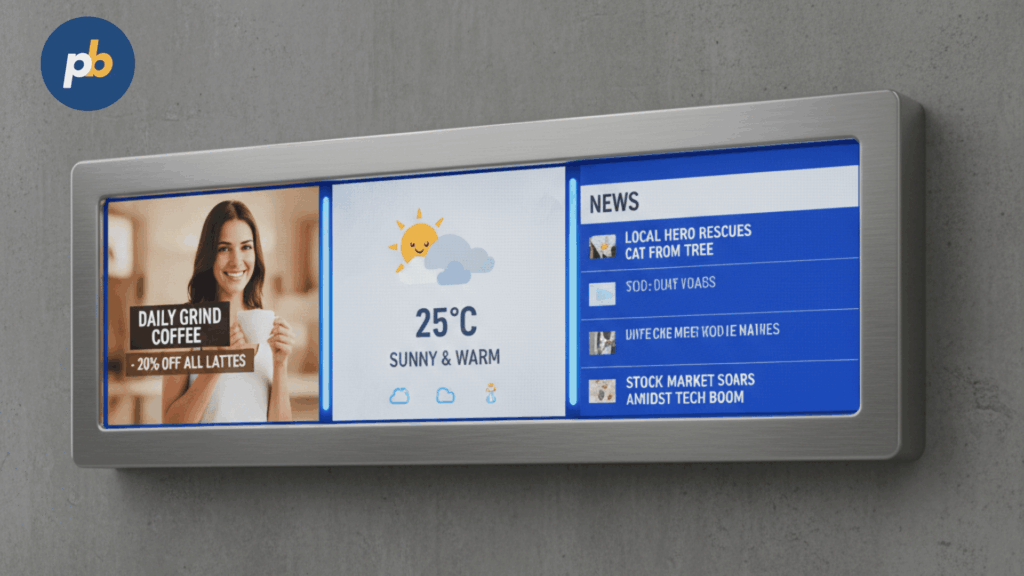
This guide will walk you through exactly how to set it up, what options you have, and best practices to make your weather displays both useful and visually appealing.
Table Of Contents
- Step 1: Gather Your Requirements
- Step 2: Connect Your Signage Player
- Step 3: Choose How You Want to Display Weather
- Option 1: Add a Live Weather Website
- Option 2: Embed a Weather Widget
- Option 3: Upload Custom Weather Graphics
- Step 4: Create a Weather Playlist
- Step 5: Assign Weather Playlist to Your Screen
- Step 6: Combine Weather with Other Content
- Step 7: Test and Confirm Your Setup
- Best Practices for Adding Weather
- Why Weather Is Powerful in Digital Signage
- Final Thoughts
Step 1: Gather Your Requirements
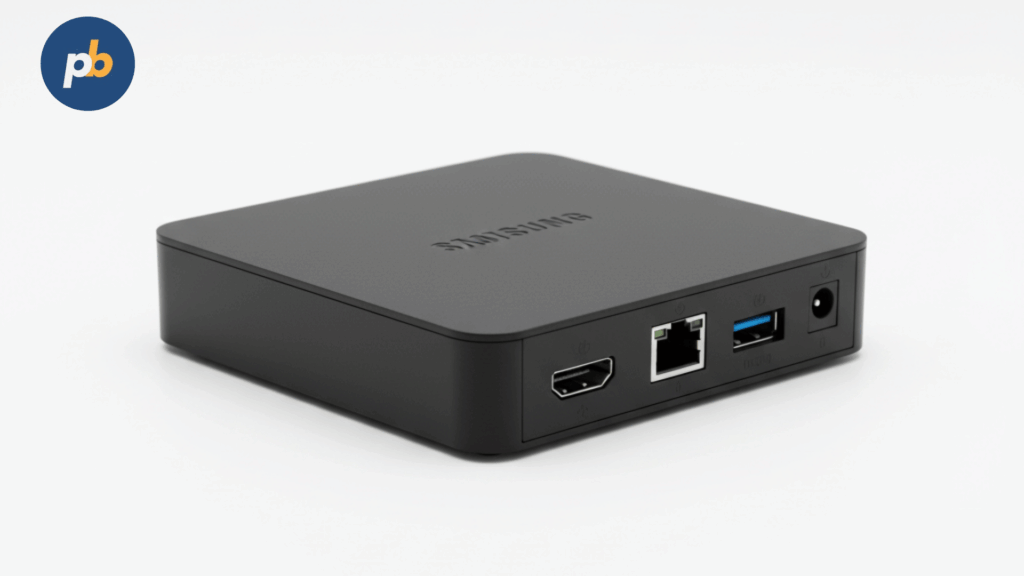
Before adding weather to your signage, make sure you have the following ready:
- A digital signage player Compatible devices include:
- Amazon Fire Stick
- Amazon Signage Stick
- Android TV or Android tablet
- Raspberry Pi
- A PosterBooking account Sign up at posterbooking.co.uk/login. The free plan gives you up to 10 screens - more than enough for most businesses starting out.
- Internet connection Since weather information updates in real time, your signage player needs a reliable Wi-Fi or Ethernet connection.
- Weather content source You’ll need one of the following:
- A live weather widget (from sources like AccuWeather or Weather.com).
- A web page URL showing your local forecast.
- Custom graphics (like daily weather slides) created in Canva or Photoshop.
Preparing these ahead of time makes the setup smoother.
Step 2: Connect Your Signage Player
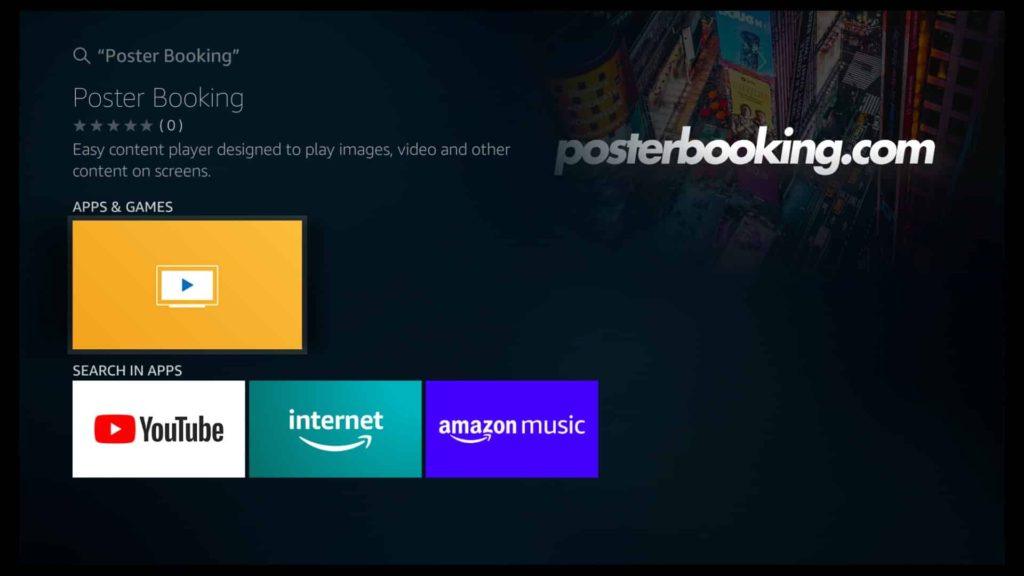
Before adding weather, confirm your screen is connected to PosterBooking:
- Install the PosterBooking app on your Fire Stick, Android TV, or other device.
- Launch the app. You’ll see a unique code displayed on your screen.
- On another device, log in to your PosterBooking dashboard at posterbooking.co.uk/login.
- Go to Screens → Add Screen.
- Enter the code and give your screen a descriptive name (e.g., “Reception Weather Display”).
Your signage player is now connected and ready for content.
Step 3: Choose How You Want to Display Weather
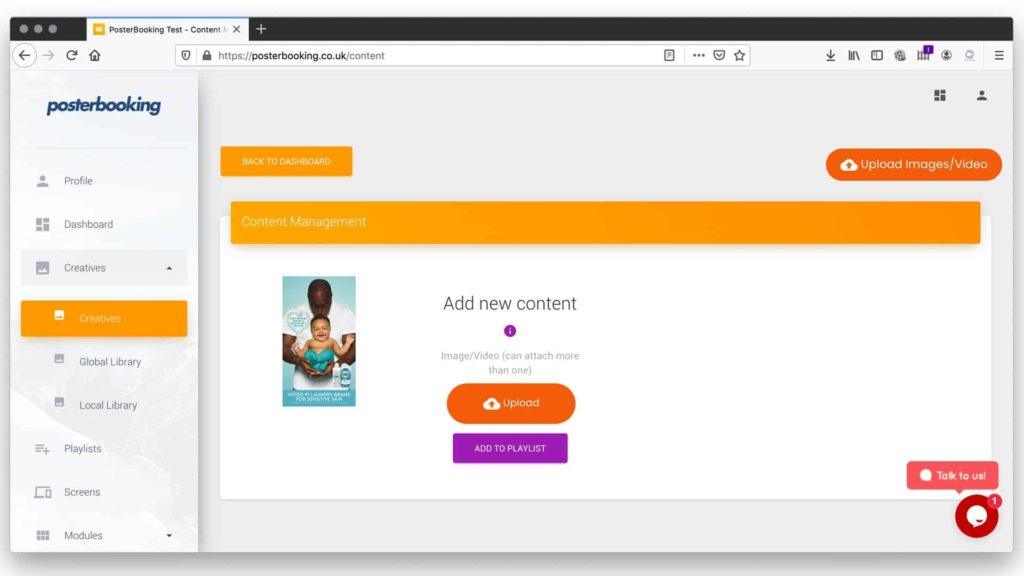
PosterBooking gives you flexibility in how you add weather. You can choose one or combine multiple methods:
Option 1: Add a Live Weather Website
- Go to Content → Websites in the dashboard.
- Paste the URL of your preferred weather source (e.g., BBC Weather, Weather.com, or your local meteorological service).
- Give it a name like “NYC Weather Feed.”
- Save it.
This option streams live weather data directly to your screen.
Option 2: Embed a Weather Widget
- Many weather services offer embeddable widgets (with hourly or 7-day forecasts).
- Copy the widget URL or embed code.
- Add it in Content → Websites in your PosterBooking dashboard.
- Assign it to a playlist (more on this below).
Widgets are lightweight and update automatically, making them a great choice for continuous display.
Option 3: Upload Custom Weather Graphics
If you prefer branded content:
- Design slides with weather icons, temperatures, and forecasts in Canva, Photoshop, or PowerPoint.
- Export them as JPG or PNG files.
- Upload them under Content → Images/Videos in PosterBooking.
This method requires updating manually each day or week, but gives full design control.
Step 4: Create a Weather Playlist
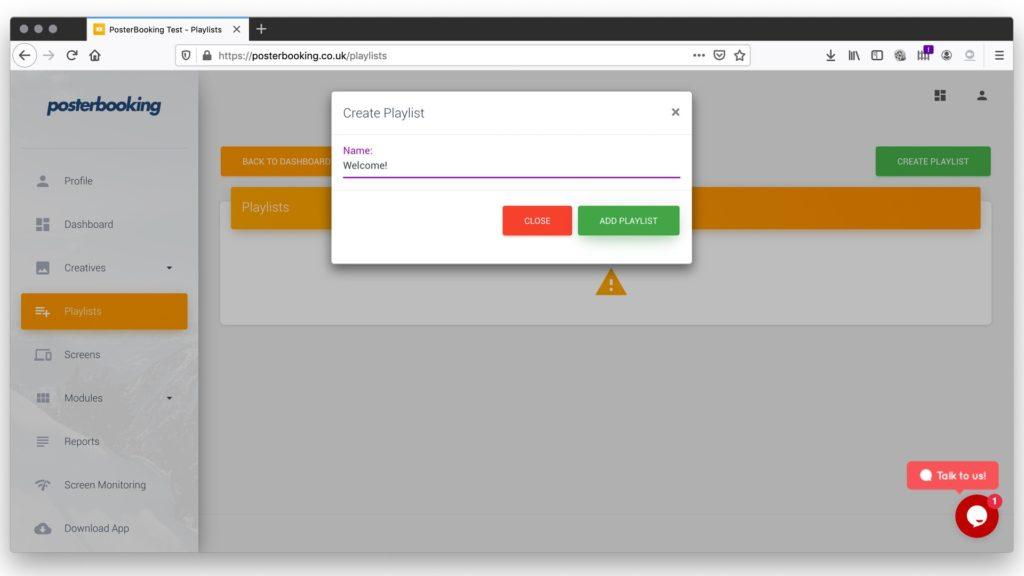
Once your weather content (URL, widget, or graphics) is ready, you need to organize it in a playlist:
- Go to the Playlists tab in the dashboard.
- Click Create Playlist and name it “Weather Updates.”
- Add your chosen weather content (website feed, widget, or uploaded graphics).
- Adjust duration:
- For live web feeds, set longer durations (10–15 minutes).
- For static graphics, use shorter durations (10–20 seconds each).
- Save the playlist.
Step 5: Assign Weather Playlist to Your Screen
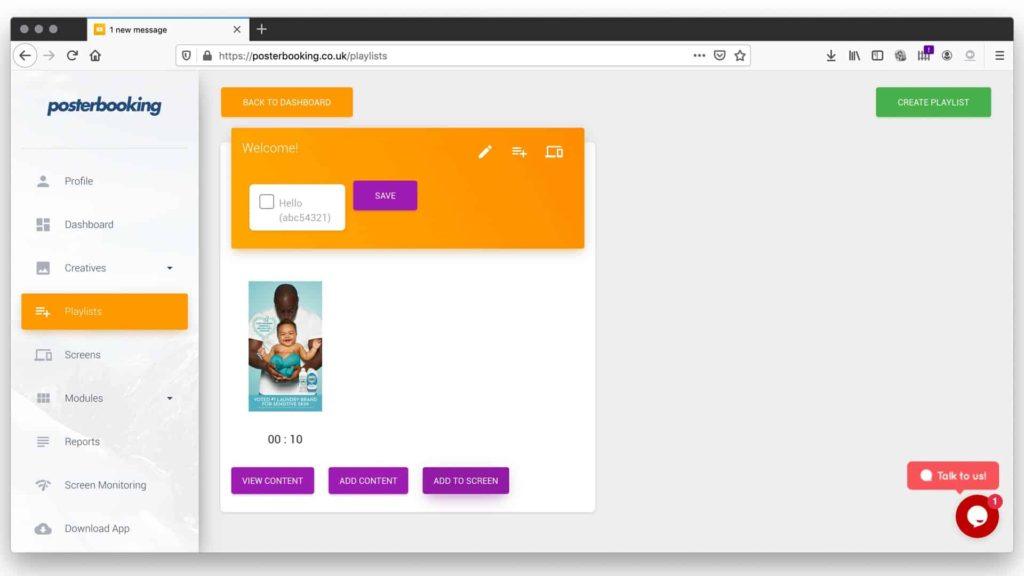
To display weather on your signage player:
- Go to the Screens tab in your dashboard.
- Find the connected signage player.
- Click Add/Edit Playlist.
- Select the “Weather Updates” playlist you just created.
- Click Save.
Your screen will instantly begin showing weather content.
Step 6: Combine Weather with Other Content
Most businesses don’t want a screen dedicated only to weather. PosterBooking lets you combine it with promotions, menus, or announcements:
- Add weather slides into a promotional playlist.
- Use the Channels feature to split the screen vertically or horizontally. For example:
- Left side: café menu.
- Right side: live weather.
This keeps your signage informative and balanced without sacrificing branding space.
Step 7: Test and Confirm Your Setup
Once weather is live on your screen, test it carefully:
- Check accuracy: Confirm the forecast matches your local weather.
- Verify updates: Make sure widgets or feeds refresh automatically throughout the day.
- Review layout: If using split-screen, ensure weather doesn’t crowd out important content.
- Confirm internet stability: Weather feeds won’t refresh if your signage player drops offline.
Best Practices for Adding Weather
- Always use local forecasts Viewers care about their immediate weather, not national summaries.
- Keep it simple Focus on current temperature and a short forecast (today + tomorrow). Too much detail clutters the screen.
- Pair weather with relevant promotions Example: show hot drink specials on cold days, or advertise cold beverages during heat waves.
- Test visibility Use large fonts and high-contrast colors so temperatures and icons are visible from a distance.
- Plan for fallback If your Wi-Fi fails, ensure you have static graphics in rotation so your weather screen isn’t blank.
Why Weather Is Powerful in Digital Signage
Adding weather is one of the simplest ways to increase engagement with your displays:
- Builds trust: Audiences see your signage as a reliable source of real-time information.
- Drives sales: Weather influences buying behavior - from clothing to food and drink.
- Keeps screens relevant: Even if people ignore promotions, they’ll often glance at weather.
- Improves dwell time: In waiting rooms or lobbies, weather updates keep viewers’ attention.
For hotels, retail, gyms, schools, and offices, weather is a universal content type that appeals to everyone.
Final Thoughts
You add weather to digital signage by uploading custom graphics, embedding widgets, or streaming live forecast websites through your signage dashboard. With PosterBooking, the process takes just a few minutes: connect your device, add weather content, create a playlist, assign it to your screen, and test the setup.
The key is balance - pair weather with your branded content so audiences get useful updates while still seeing your promotions or announcements. By doing so, you ensure your screens stay both informative and profitable.
With PosterBooking’s free plan supporting 10 screens, you can experiment with weather integration today and expand to unlimited screens later.