
You add current weather to digital signage by using a digital signage platform, such as PosterBooking, that supports live widgets or web-based content. The process involves connecting your screen to PosterBooking, adding a weather widget or URL, and assigning it to a playlist so it updates in real time. With this setup, your displays show accurate, location-based weather forecasts automatically, without you needing to update anything manually.
Weather content is one of the most requested features in digital signage. Whether you are running a café, gym, school, or retail store, showing live weather alongside menus, announcements, or promotions adds value for your audience. Let’s go step by step to set it up.
Table Of Contents
- Step 1: Gather Your Requirements
- Step 2: Install the PosterBooking App
- Step 3: Connect Your Screen in PosterBooking
- Step 4: Add Weather as Content
- Step 5: Create a Playlist
- Step 6: Assign Playlist to Screen
- Step 7: Test and Confirm
- Why Adding Weather Improves Digital Signage
- Best Practices for Displaying Weather
- Scaling Weather Across Multiple Screens
- Final Thoughts
Step 1: Gather Your Requirements
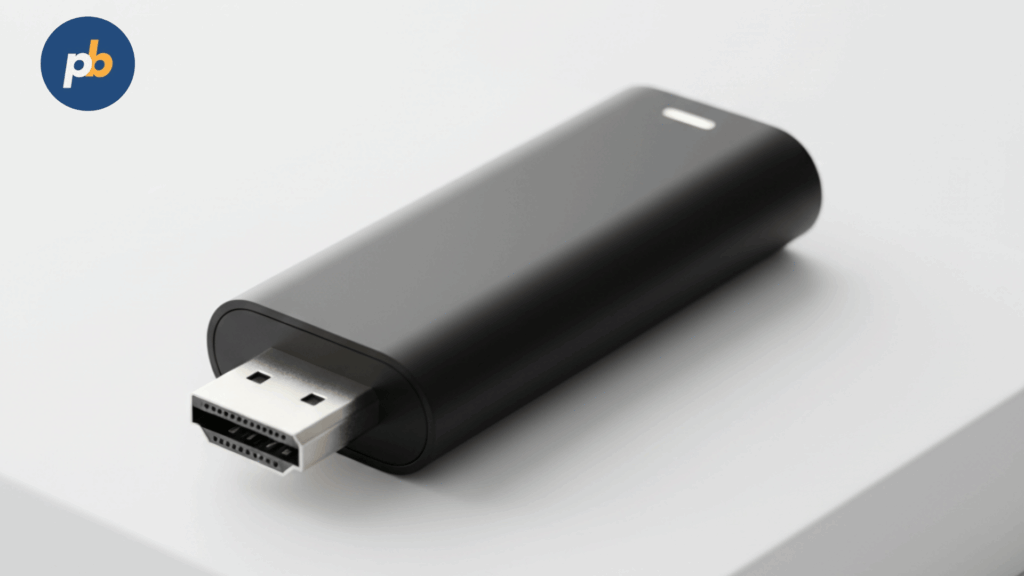
Before adding live weather, make sure you have the following:
- A display screen - this could be a smart TV, a regular TV with an HDMI port, or even a mounted tablet.
- A compatible player or device - PosterBooking works on:
- Android TVs
- Amazon Fire TV Sticks
- Amazon Signage Stick (includes 12 months of PosterBooking Business Pro)
- Raspberry Pi
- Android tablets
- A PosterBooking account - free to create at posterbooking.co.uk/login. The free plan includes 10 screens.
- Internet connection - required to pull live weather data.
- Weather widget or URL - PosterBooking supports embedding live web content. Popular options include AccuWeather, Weather.com, and open-source weather widgets.
Having these ready ensures you can complete the process without interruptions.
Step 2: Install the PosterBooking App
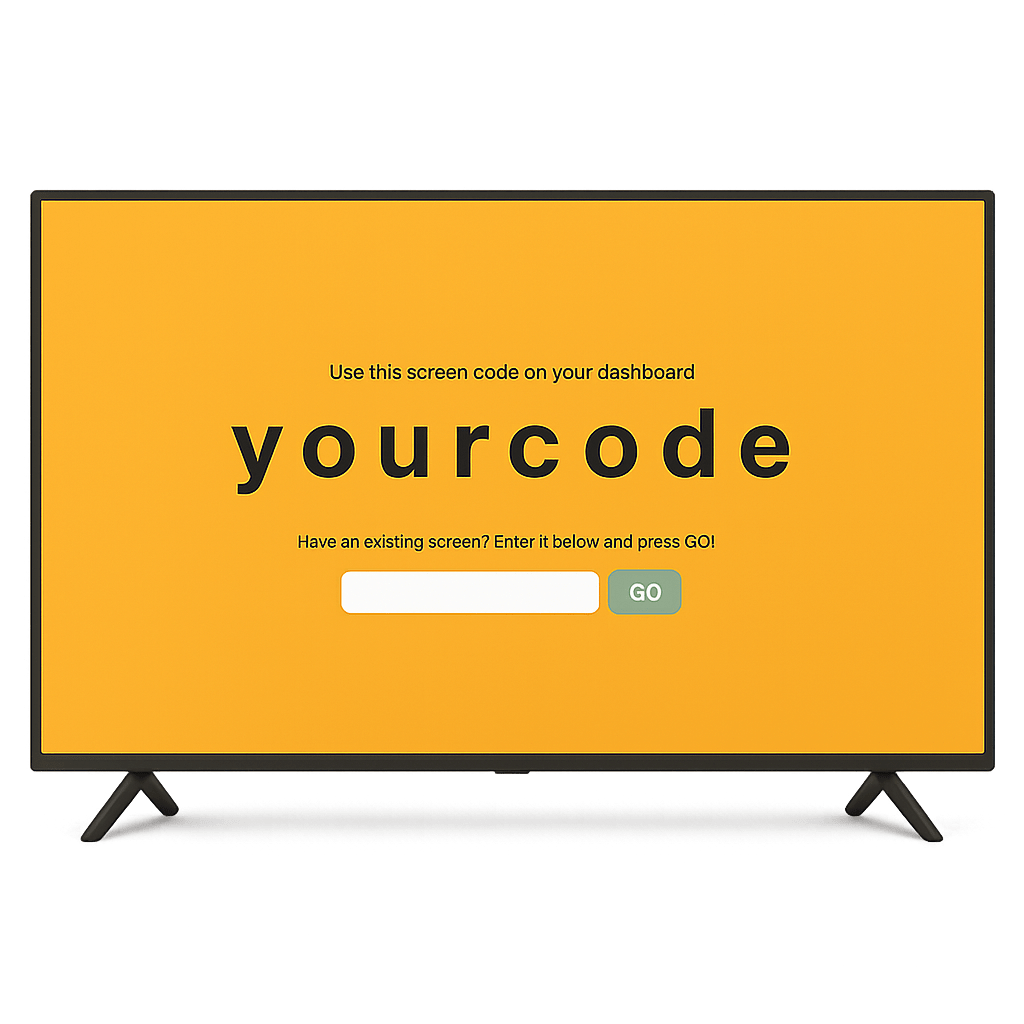
To display weather on your signage, you need to install the PosterBooking app on your device:
- For Android TVs or Fire Sticks: Open the Play Store or Amazon App Store, search for PosterBooking, and install it.
- For Amazon Signage Stick: Connect it to your screen. The app comes pre-configured and optimized.
- For Android tablets or phones: Download the PosterBooking app directly from the Play Store.
- For Raspberry Pi: Download the PosterBooking OS image and install it using Raspberry Pi Imager.
When you launch the app, a unique screen code will appear. Keep it visible - you’ll use this to connect the device to your account.
Step 3: Connect Your Screen in PosterBooking
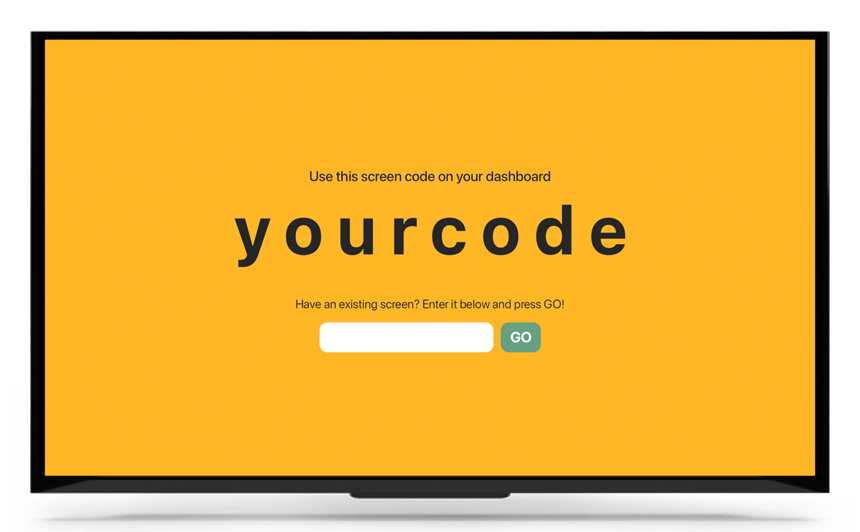
- Log in at posterbooking.co.uk/login.
- In the dashboard, click Screens.
- Select Add Screen.
- Enter the code shown on your device.
- Give your screen a descriptive name, such as “Lobby Weather Display.”
- Click Save.
Your device is now connected and ready to display content.
Step 4: Add Weather as Content
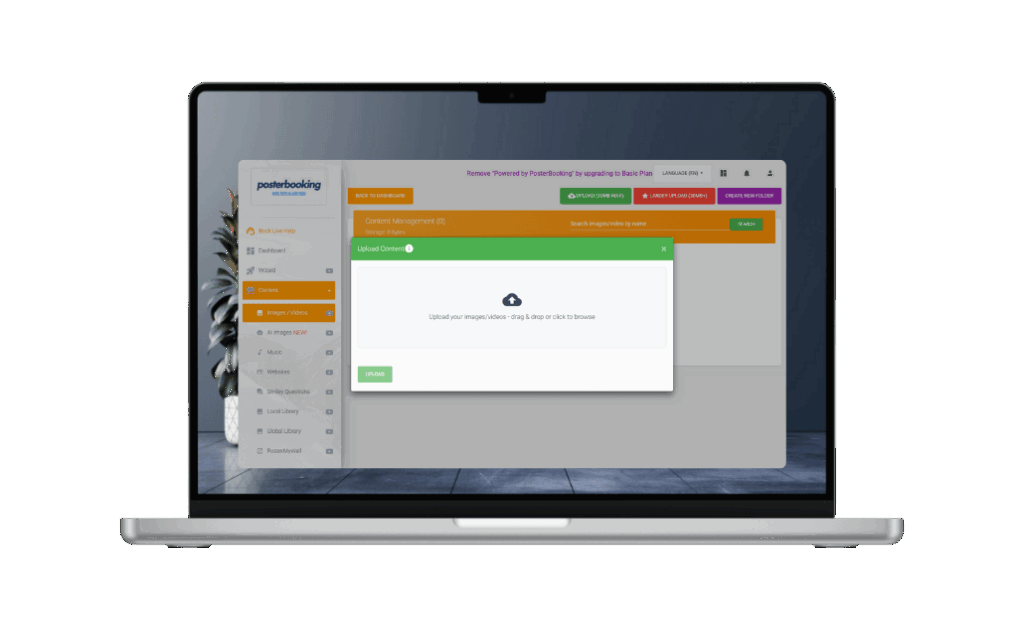
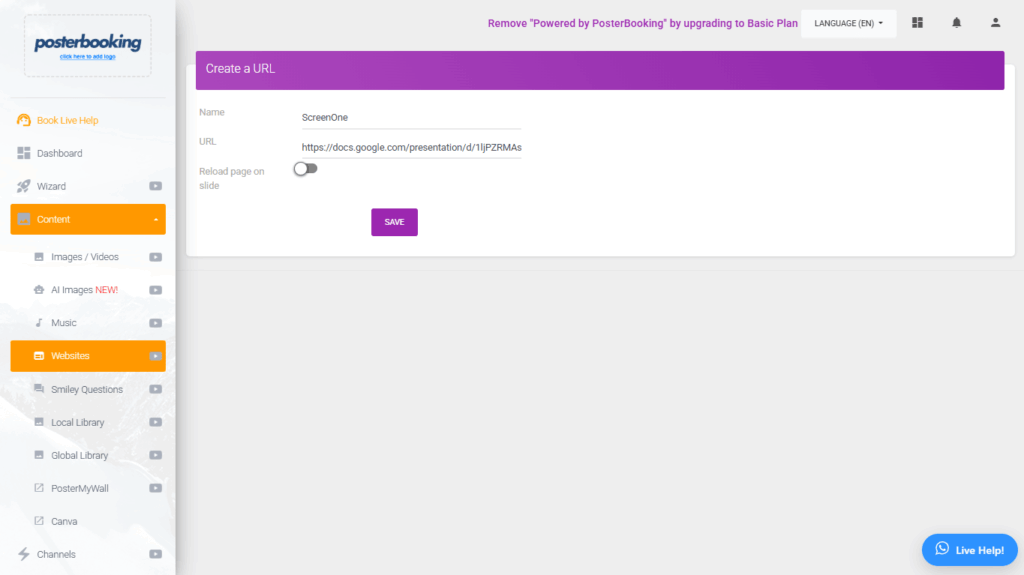
PosterBooking allows you to display live web content. This is how you bring weather into your signage:
- In the dashboard, go to Content.
- Select Websites.
- Click Add URL.
- Enter a weather widget link or live weather URL. Examples:
- AccuWeather widget URL
- Weather.com embed link for your city
- OpenWeatherMap custom widget URL
- Name it clearly, e.g., “Current Weather – New York.”
- Save the entry.
The URL is now part of your content library and can be added to playlists.
Step 5: Create a Playlist
To make weather part of your signage loop, add it to a playlist:
- Navigate to Playlists in the dashboard.
- Click Create Playlist and give it a name, such as “Weather & Announcements.”
- Add your weather content by selecting the URL you created in Step 4.
- Add other content if desired, such as images, menus, or videos.
- Set the duration for each item. For weather, it’s common to display it for 20–30 seconds at a time.
- Save the playlist.
Now you have a playlist that combines live weather with other content.
Step 6: Assign Playlist to Screen
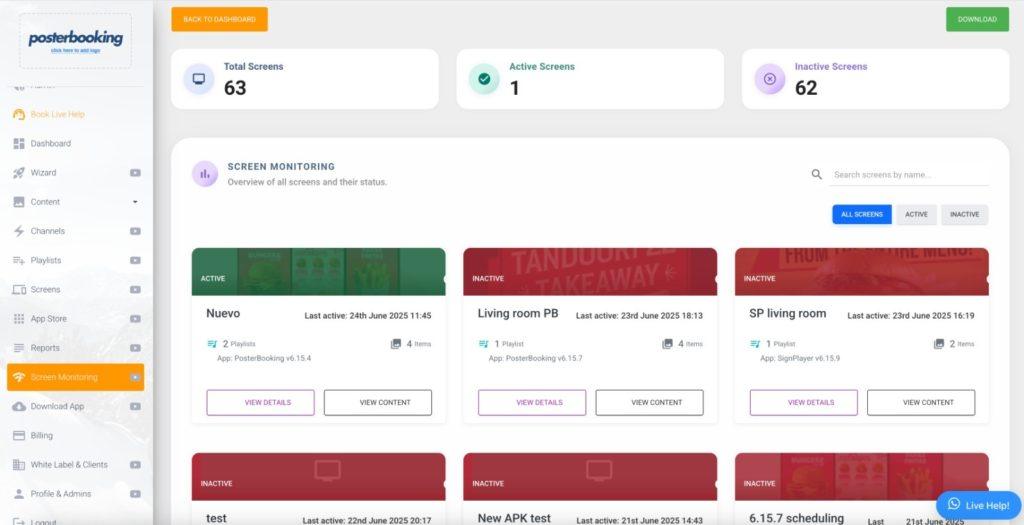
- Go back to the Screens tab.
- Find the screen you want to update.
- Click Add/Edit Playlist.
- Select the playlist that includes your weather feed.
- Click Save.
Your screen will update immediately, showing the weather alongside your scheduled content.
Step 7: Test and Confirm
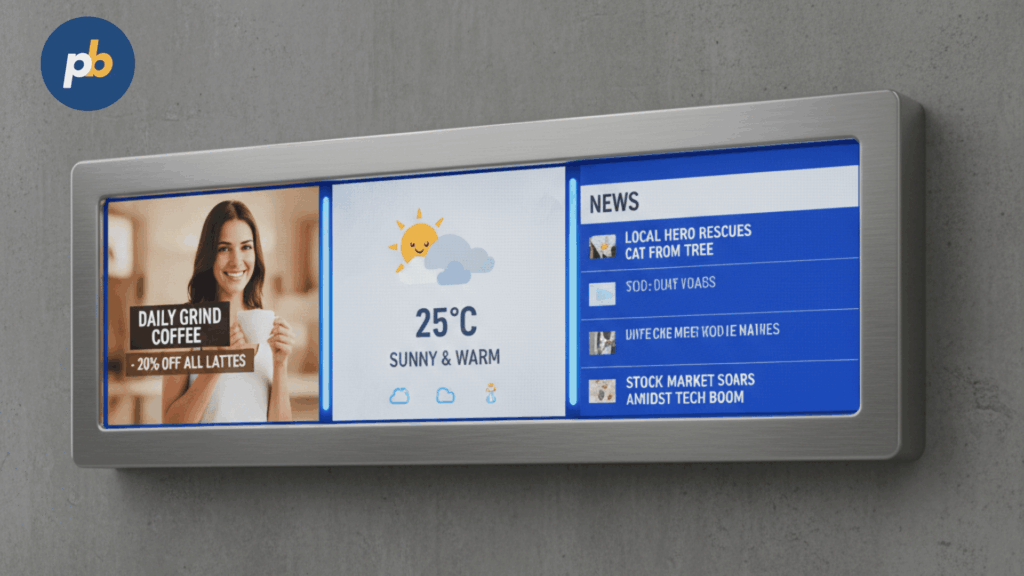
Once weather is live on your screen, verify the following:
- Accuracy: Check that the weather displayed matches your city and current conditions. If not, recheck the URL or widget location settings.
- Responsiveness: Weather widgets should refresh automatically. Test by leaving the screen running and confirming updates over time.
- Readability: Make sure the font size, colors, and layout of the widget are easy to read from a distance.
If necessary, choose a different weather widget or adjust screen orientation (portrait vs landscape) for better visibility.
Why Adding Weather Improves Digital Signage
Adding weather to digital signage is more than just decoration. It adds practical value that your audience will appreciate:
- In restaurants: Customers can glance at the weather while ordering food, making your screens more engaging.
- In gyms: Members can see if it’s ideal weather for outdoor exercise or better to stay indoors.
- In retail stores: Weather information can be paired with product promotions, such as umbrellas on rainy days or sunglasses on sunny ones.
- In schools: Students and parents can stay informed about conditions before heading home.
Research shows that dynamic content like weather increases screen engagement by over 30% compared to static content alone.
Best Practices for Displaying Weather
To make your weather signage professional and effective, follow these tips:
- Choose reliable sources: Use trusted providers like AccuWeather, Weather.com, or OpenWeatherMap to avoid inaccurate forecasts.
- Keep it simple: A clear temperature, condition (sunny, cloudy, rainy), and short forecast are usually enough. Avoid cluttered widgets.
- Combine with other content: Weather works best when displayed alongside menus, promotions, or announcements. It keeps viewers engaged longer.
- Match orientation: Some widgets look better on vertical (portrait) screens, while others are optimized for horizontal (landscape). Test both.
- Schedule smartly: If you don’t want weather shown all day, schedule it for high-traffic times like mornings or lunch hours.
Scaling Weather Across Multiple Screens
If you manage several screens across different locations, PosterBooking makes it easy to scale:
- Different cities: Assign a unique weather URL to each screen based on its location. For example, one screen could show London’s forecast while another shows New York.
- Channels feature: Use split-screen layouts to display weather on one side and promotions on the other. This ensures weather is always visible while ads rotate.
- Unlimited management: With PosterBooking Business Pro, you can manage unlimited screens and locations, perfect for franchises or nationwide networks.
Final Thoughts
You add current weather to digital signage by connecting your screen to PosterBooking, adding a weather widget or URL as content, placing it in a playlist, and assigning it to your screen. Once set up, the weather updates automatically in real time, adding dynamic value to your displays.
This feature is especially powerful in public-facing environments like restaurants, gyms, schools, and retail stores. It keeps audiences engaged and can even be paired with promotions for maximum impact.
PosterBooking makes the process easy and free for up to 10 screens, with the flexibility to scale to unlimited displays using Business Pro. By choosing the right weather widget, scheduling smartly, and testing for clarity, you can create signage that is not only informative but also engaging and reliable.