
You add a Firestick to digital signage by installing a digital signage app on it, connecting it to your signage dashboard using a unique pairing code, and assigning playlists or content that will display on your screen. PosterBooking makes this process free, simple, and reliable, allowing you to turn any TV with an HDMI port into a professional signage display in minutes.
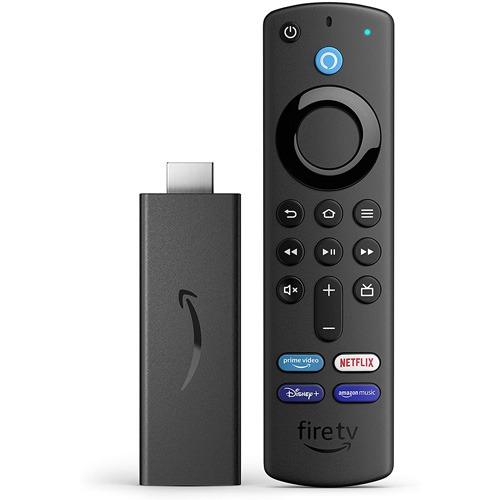
The Amazon Firestick is one of the most cost-effective ways to launch a signage network. It’s affordable, widely available, and compact - making it an ideal choice for businesses, schools, restaurants, gyms, retail stores, and community centers. Let’s walk through the process step by step, from preparing your hardware to testing your final display.
Table Of Contents
- Step 1: Gather Your Requirements
- Step 2: Set Up Your Firestick Hardware
- Step 3: Install the PosterBooking App
- Step 4: Log In to Your PosterBooking Dashboard
- Step 5: Add the Firestick to Your Account
- Step 6: Upload Your Content
- Step 7: Create a Playlist
- Step 8: Assign the Playlist to Your Firestick
- Step 9: Test and Confirm the Setup
- Step 10: Maintain and Scale Your Setup
- Why Firesticks Are Ideal for Digital Signage
- Final Thoughts
Step 1: Gather Your Requirements
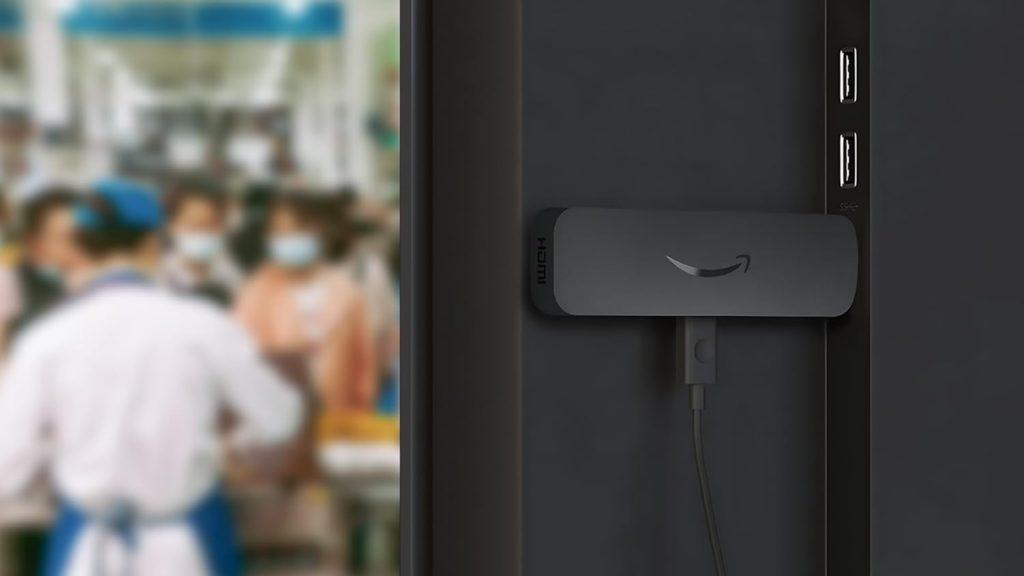
Before you start, make sure you have the following ready:
- Amazon Firestick device Any recent version of the Firestick works well, though the Fire TV Stick 4K or Fire TV Stick Lite are most popular.
- TV or monitor with an HDMI port Since the Firestick is an HDMI device, your display must support HDMI. This can be a regular TV, a smart TV, or even a computer monitor.
- Internet connection The Firestick requires Wi-Fi to download apps and connect to your signage account. If possible, ensure the connection is stable and strong for uninterrupted playback.
- PosterBooking account Sign up at posterbooking.com. The free plan gives you 10 screens at no cost, making it perfect for testing your setup before scaling.
- Content files ready to upload Have your menus, promotional banners, images, or videos prepared on your computer for quick uploading once the Firestick is connected.
Preparing these ahead of time ensures you move smoothly through the setup without delays.
Step 2: Set Up Your Firestick Hardware
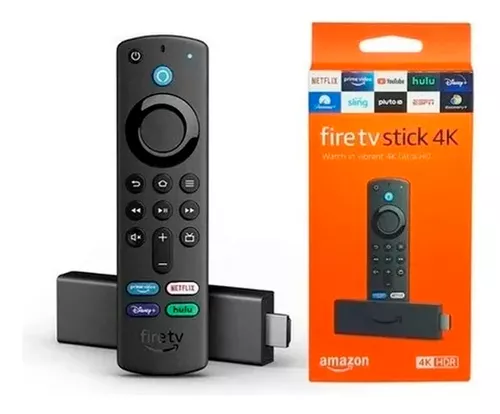
To get your Firestick working:
- Plug the Firestick into the HDMI port of your TV or monitor.
- Connect the Firestick’s USB power cable to a wall adapter or the TV’s USB port.
- Turn on your TV and switch the input source to the HDMI port used.
- Pair the Firestick remote if prompted by holding down the Home button.
- Connect the Firestick to Wi-Fi by following the on-screen instructions.
Once set up, your Firestick is ready to install the PosterBooking app.
Step 3: Install the PosterBooking App
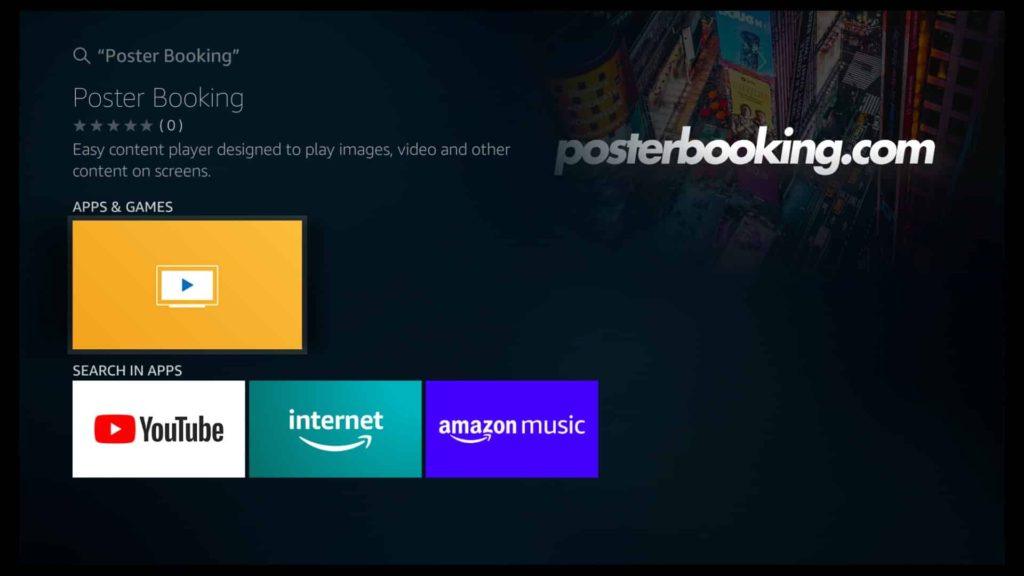
With your Firestick connected and online:
- Navigate to the Amazon App Store on your Firestick.
- Use the search bar to type PosterBooking.
- Select the app and click Download or Get.
- Once installed, open the app.
When you launch PosterBooking for the first time, it will display a unique screen code on your TV. Keep this code visible - you’ll need it to link the device to your dashboard.
Step 4: Log In to Your PosterBooking Dashboard
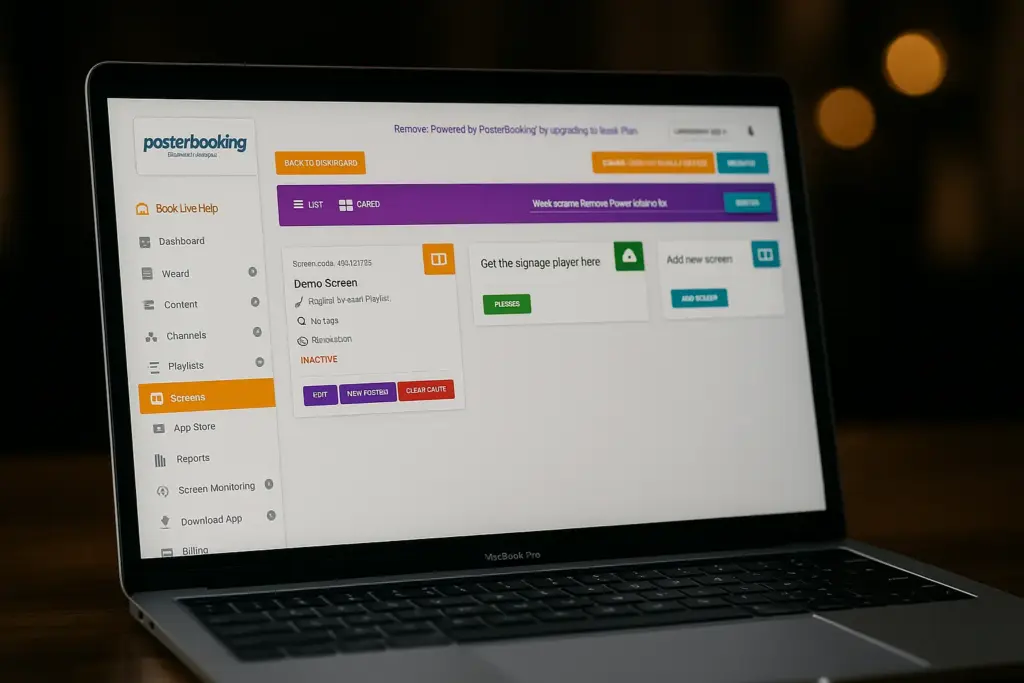
On a computer, tablet, or smartphone:
- Go to posterbooking.co.uk/login.
- Log in with your PosterBooking credentials.
- In the dashboard, click on Screens from the left-hand menu.
- Click Add Screen.
You’re now ready to enter the Firestick’s screen code.
Step 5: Add the Firestick to Your Account
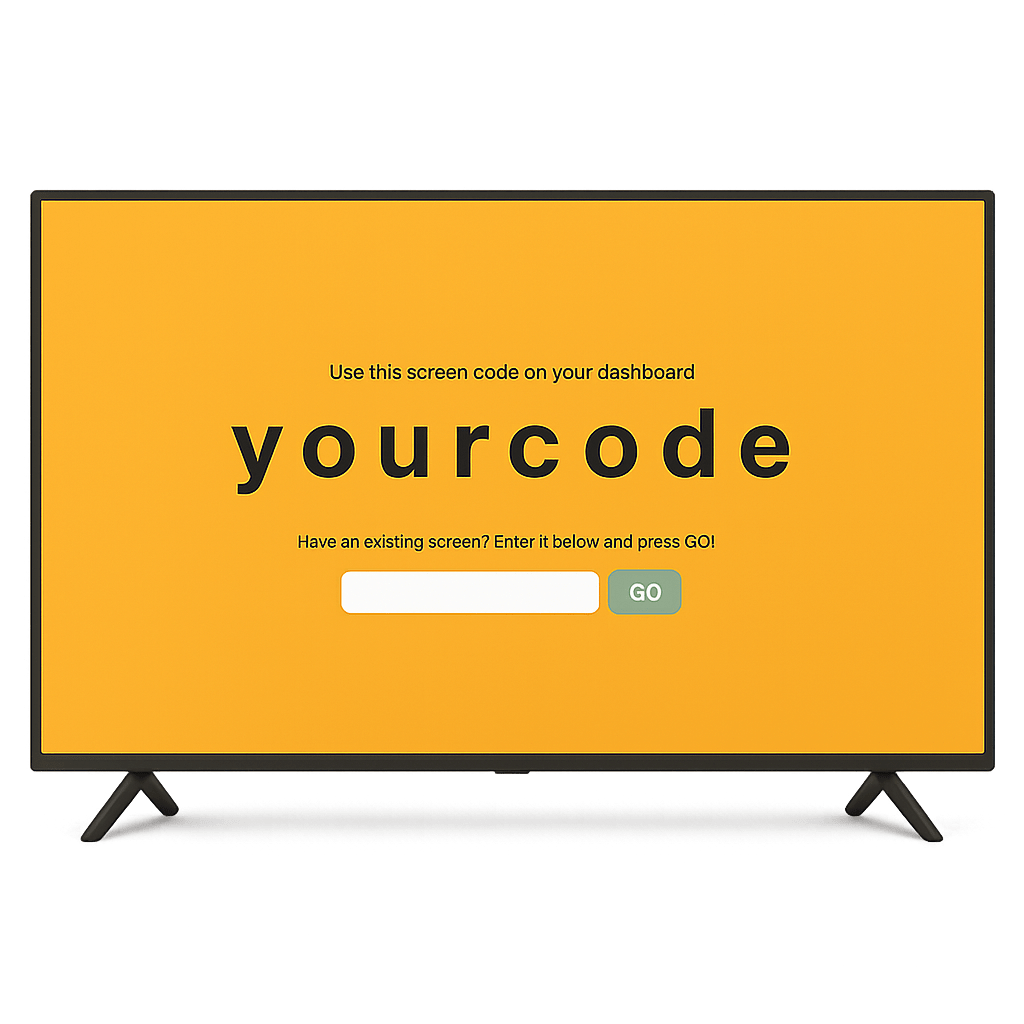
To link your Firestick:
- Enter the screen code displayed on your TV.
- Assign a name to the Firestick for easy identification (e.g., “Restaurant Menu Board” or “Salon Waiting Area”).
- Click Add Screen.
The Firestick is now connected and will appear under the Screens tab in your PosterBooking dashboard.
Step 6: Upload Your Content
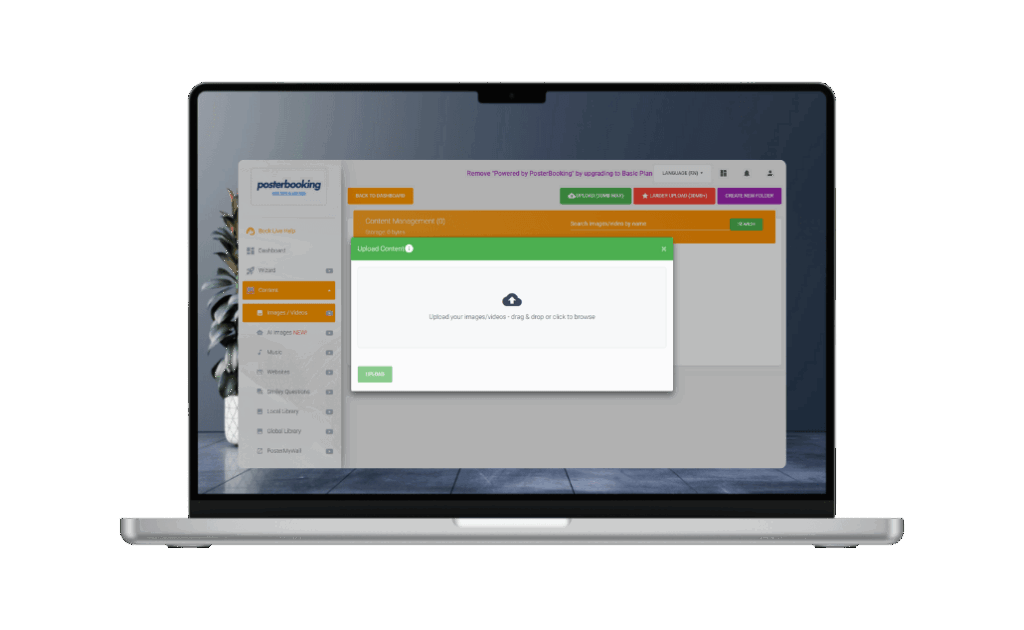
A digital signage device is only as useful as the content it shows. Upload your first set of media:
- In the dashboard, click Content.
- Choose Images / Videos and upload the files you prepared earlier. PosterBooking supports standard image formats (PNG, JPG) and video formats (MP4).
- If you want to display a website, dashboard, or live Google Slides, go to the Websites section and paste the URL.
Your content is now ready to be used in playlists.
Step 7: Create a Playlist
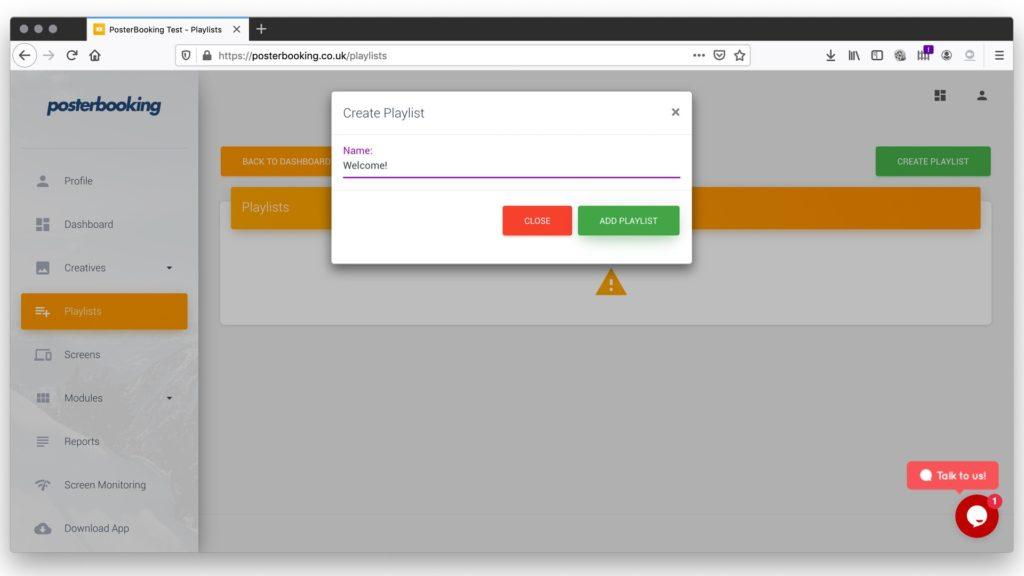
Playlists define what plays on your Firestick and in what order.
- Navigate to the Playlists tab.
- Click Create Playlist and give it a clear name (e.g., “Daily Promotions” or “Lunch Menu”).
- Add your uploaded content into the playlist.
- Configure the display duration for each item. For example, set promotional posters to run for 20 seconds, and videos to play fully.
- Save the playlist.
This playlist will control what shows on your Firestick-powered screen.
Step 8: Assign the Playlist to Your Firestick
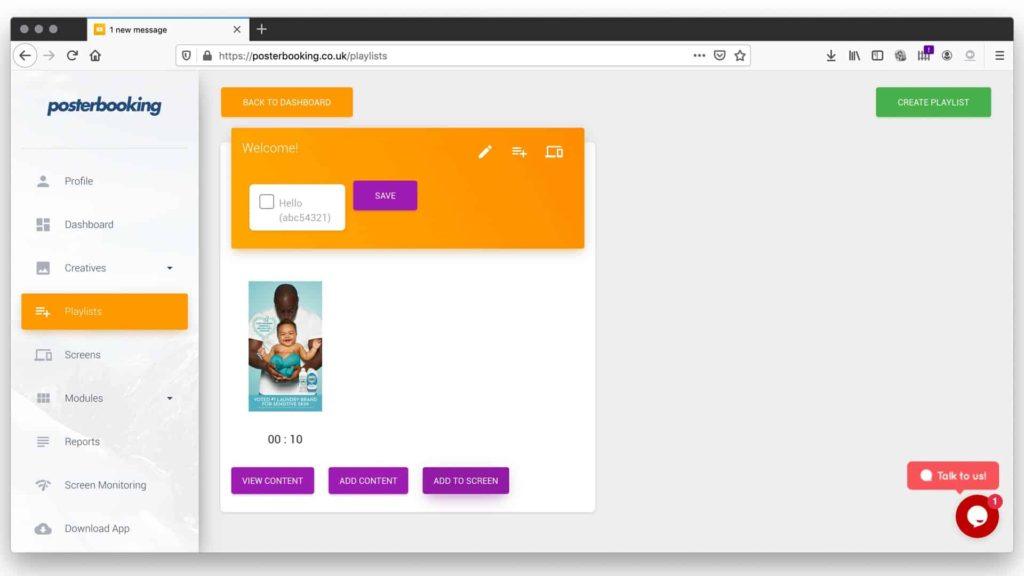
Now, assign the playlist to your device:
- Go back to the Screens tab.
- Locate your Firestick screen in the list.
- Click Add/Edit Playlist.
- Select the playlist you just created.
- Click Save.
The Firestick will instantly update and begin displaying the playlist on your TV.
Step 9: Test and Confirm the Setup
Once your Firestick is linked and content assigned, test everything thoroughly:
- Content check: Verify that the right media is playing in the correct order.
- Timing check: Ensure content durations match what you set in the playlist.
- Scheduling check: If you scheduled time-based content, confirm your account time zone matches your local time zone.
- Network check: Confirm the Firestick maintains a stable Wi-Fi connection. If the device often disconnects, consider relocating your router or using an Ethernet adapter.
Testing at this stage helps avoid problems later when the signage is live.
Step 10: Maintain and Scale Your Setup
Once your Firestick is connected and running:
- Update content regularly: Upload fresh media weekly or monthly to keep displays engaging.
- Monitor uptime: Use the PosterBooking dashboard to confirm your Firestick is online and receiving updates.
- Add more devices: The free plan allows up to 10 Firesticks (screens). If you need more, upgrade to Business Pro for unlimited devices.
- Use channels for split-screen content: PosterBooking’s Channels feature lets you run multiple playlists side by side - useful for showing menus on one half and promotions on the other.
The beauty of using Firesticks is that they are inexpensive and portable, making it easy to scale your network across multiple locations.
Why Firesticks Are Ideal for Digital Signage
There are many media players available, but the Firestick stands out for digital signage because:
- Low cost: Priced around $40, it’s significantly cheaper than commercial signage players.
- Widespread availability: Firesticks are sold worldwide and easy to replace or upgrade.
- Compact and portable: They plug directly into HDMI ports, with no bulky equipment required.
- Seamless integration with PosterBooking: Installation and setup are straightforward, even for beginners.
- Scalable: Perfect for businesses starting small and expanding over time.
Final Thoughts
You add a Firestick to digital signage by installing the PosterBooking app, linking it to your account with the on-screen code, uploading content, creating playlists, and assigning them to your device. The process takes less than 15 minutes and instantly transforms any TV into a professional signage display.
By naming your screens clearly, scheduling content accurately, and testing your setup, you ensure your Firestick runs smoothly as part of your signage network. And with PosterBooking offering 10 free screens, you can scale across multiple displays without worrying about software costs.
For small businesses, schools, restaurants, gyms, and retail stores, the Firestick is the simplest, most affordable way to get started with digital signage in 2025.