
How to Display Google Slides on Any Screen
Turn your Google Slides into a live presentation on TVs, digital signage, or menu boards in minutes. No coding, no downloads, just copy, paste, and play
Trusted globally with over 60,000 active screens and users in 109+ countries.
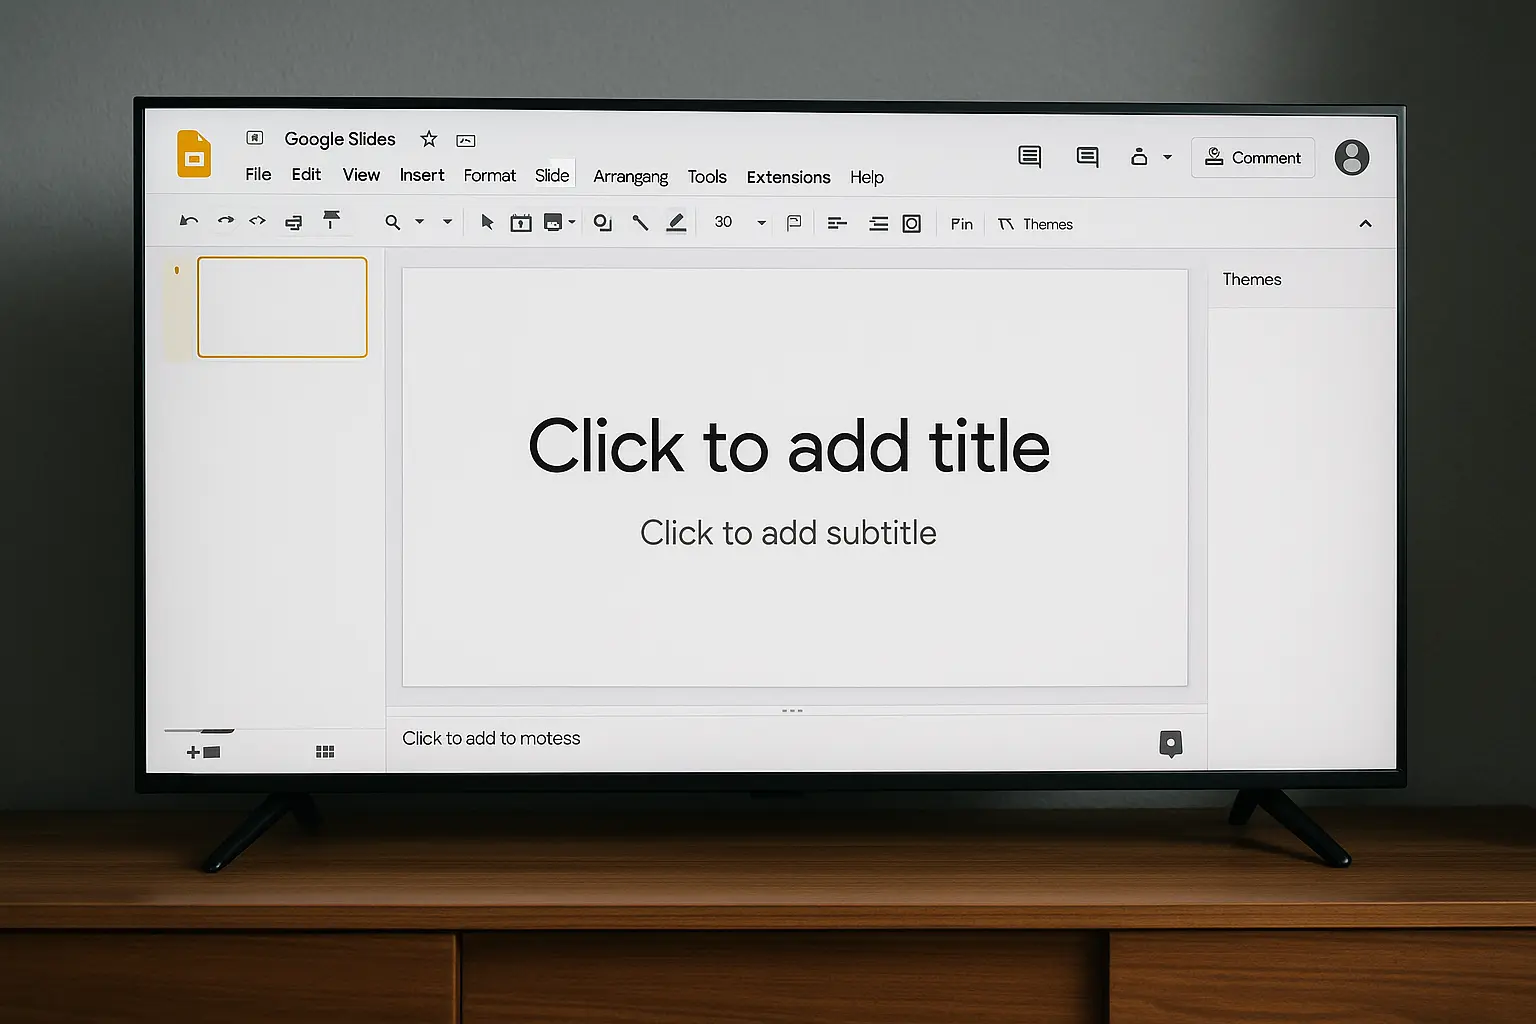






What You’ll Need to Display Google Slides on Any Screen
A TV or digital screen (any size)
A Media Player
A Free PosterBooking Account
A Google slides URL
Step-by-Step Instructions
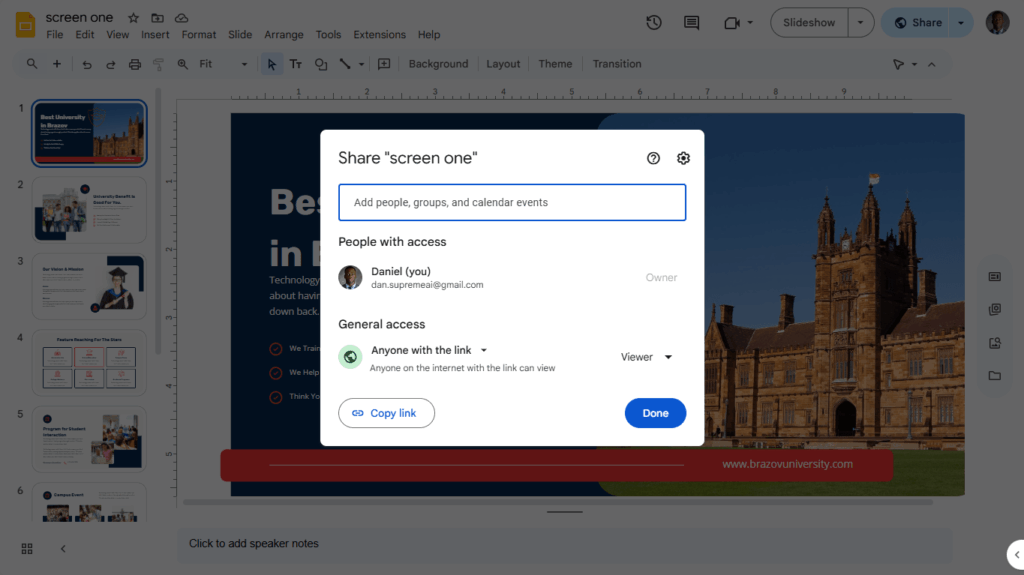
Step 1: Make Your Google Slides Public
Let’s start with the basics.
Open your Google Slides presentation. At the top right, click “Share”, and in the popup, change the settings to “Anyone with the link can view.”
Once that’s done, copy the link and we’ll use it in a later step.
Step 2: Install PosterBooking on Your Screen
The next step is to prepare the screen you’ll be displaying the slides on.
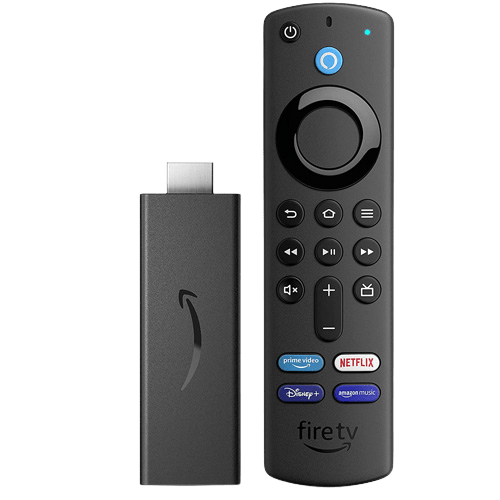
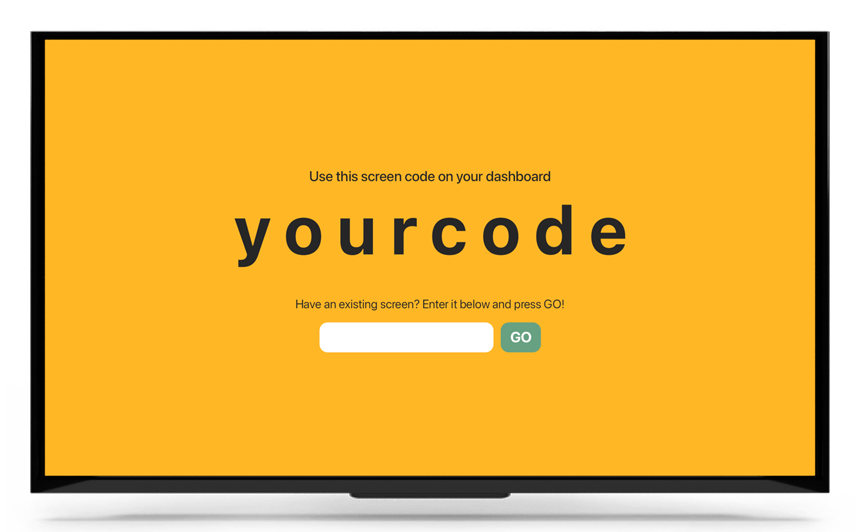
Go to your TV or media player (like Fire Stick, Android TV, or browser device) and download the PosterBooking app.
When you open the app, you’ll see a unique pairing code on the screen, keep it visible.
Step 3: Connect the Screen to Your PosterBooking Account
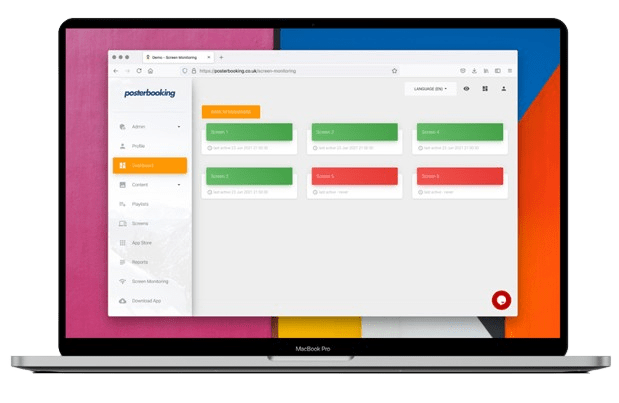
Now head over to PosterBooking.com on your computer or phone.
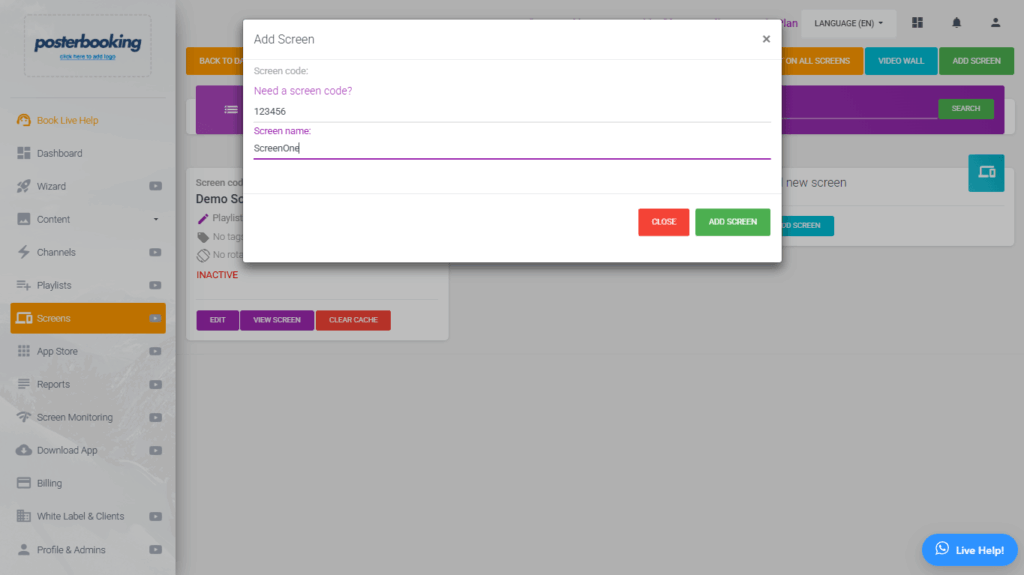
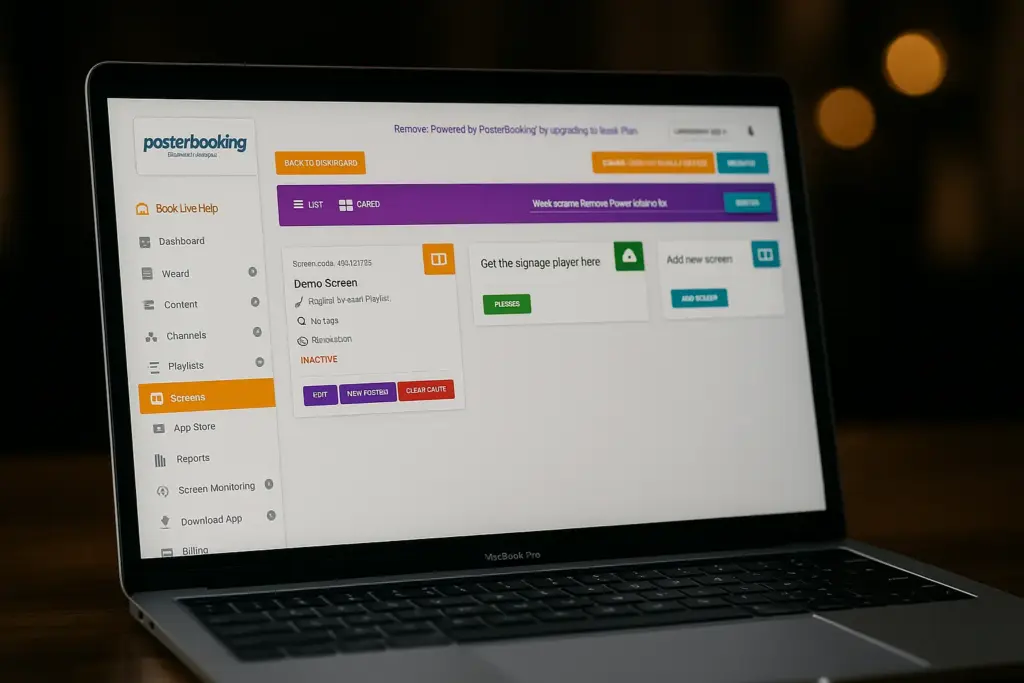
Log in (or sign up for free), then click on “Add Screen.”
You’ll see a field to enter the pairing code that’s currently showing on your TV.
Type in the code, give your screen a name, and hit “Add Screen.”
Just like that, your screen is now linked to your account.
Step 4: Add Your Google Slides as a Website Link
With your screen connected, the next step is to upload your content.
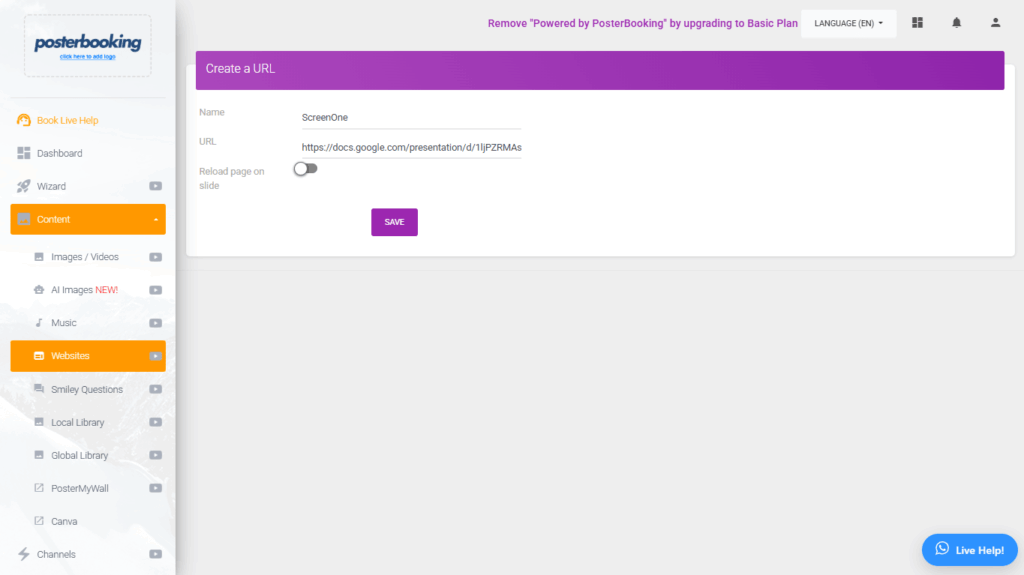
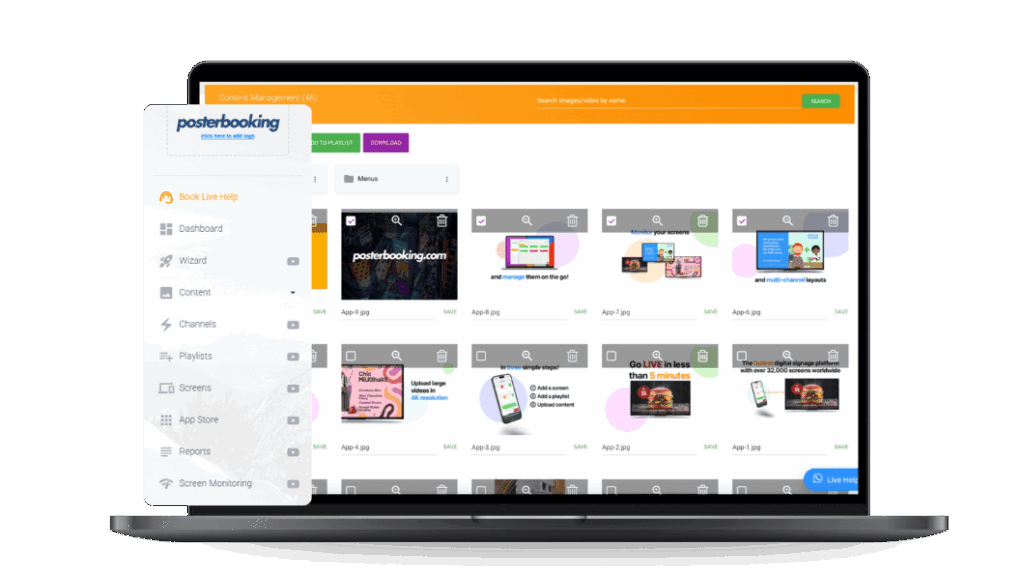
Click on “Content” in the sidebar, then go to “Websites.”
Click “Add Website,” give it a name like “Google Slides,” and paste the link you copied earlier.
Hit “Save.”
Step 5: Create a Playlist
Now let’s organize your content.
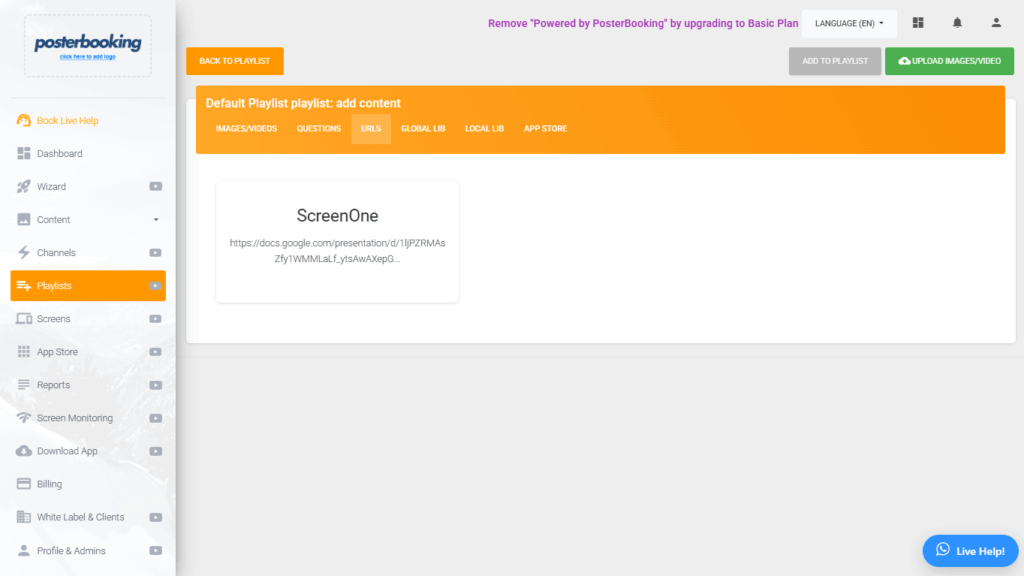
Click on “Playlists,” then click “Add Playlist.”
Name it (e.g., “Lobby Slides”), and after it’s created, click “Add Content.”
Choose “URLs,” select the Google Slides website you added earlier, and click “Add to Playlist.”
Step 6: Assign the Playlist to Your Screen
Finally, let’s display your slides.
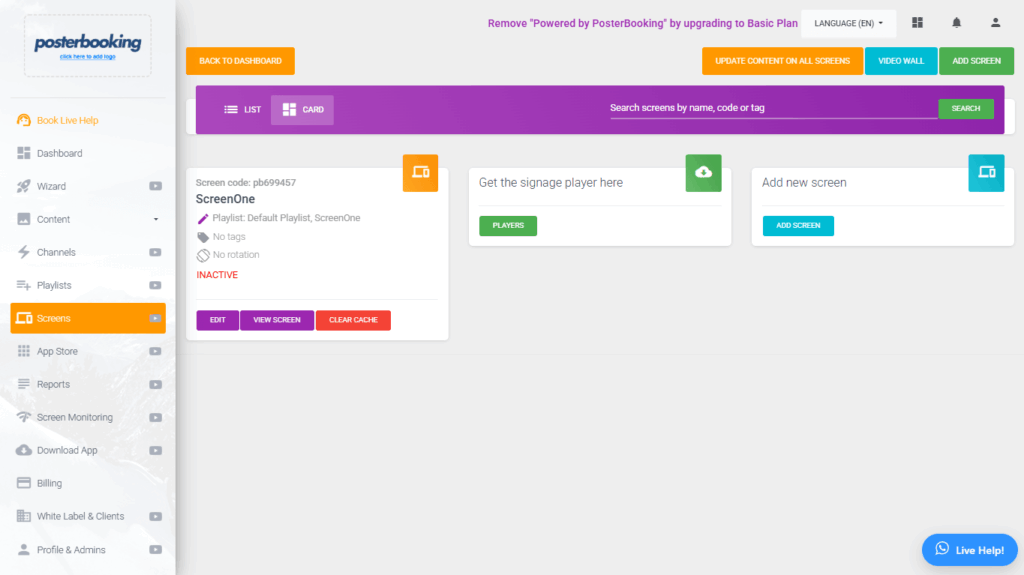
Go back to “Screens,” find the screen you connected earlier, and click the plus (+) button beside it.
Click “Add/Edit Playlist,” select the playlist you just created, and hit “Save.”
Step 6: See Your Google Slides Live on Screen
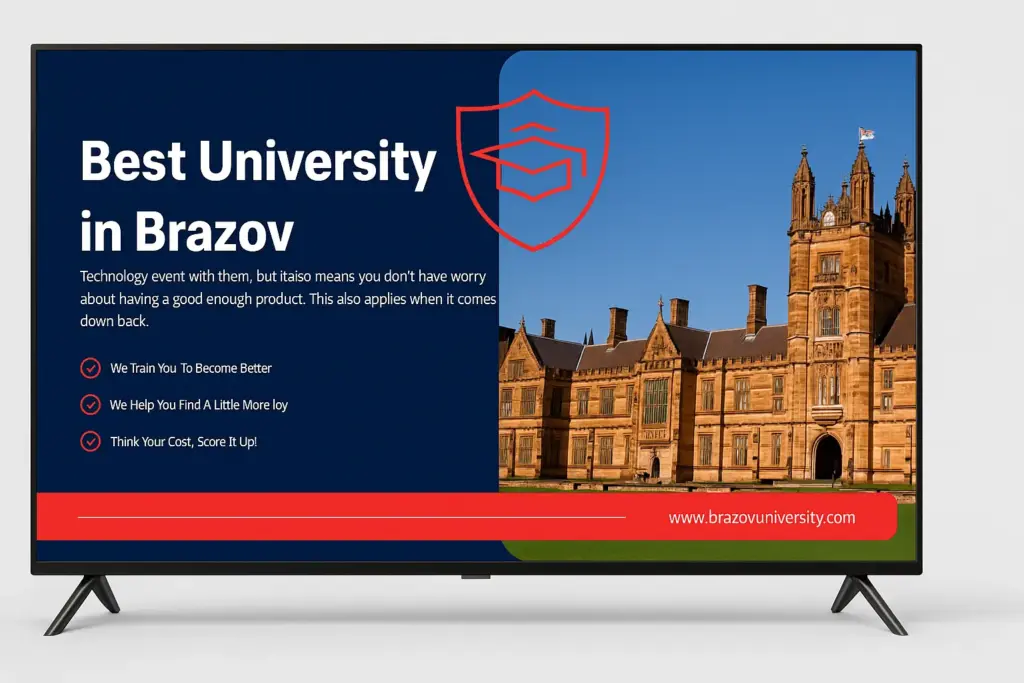
Once the playlist is assigned, your screen will automatically refresh and start displaying your Google Slides presentation, fullscreen, live, and in sync with any edits you make.
Automate Everything with PosterBooking
Auto-Start Slideshows
Your screen turns on and your slides start playing, even after a power cut. No manual clicks needed.
Schedule Slide Decks by Day or Hour
Show different slides at different times. Breakfast menus in the morning, dinner promos at night.
Control Multiple Screens Remotely
From one dashboard, you can change slides, switch content, or turn off screens from anywhere.
Why Thousands of Restaurants Use PosterBooking
Join hotels, restaurants, schools, and offices worldwide who trust PosterBooking to power their screens.
- 10 Free Screens – No Contracts, No Credit Card
- Works on Any Screen You Already Own
- Trusted Globally – 60,000+ Screens Online
- Remote Control from Anywhere
- Schedule Menus by Time of Day
- Sync Across Multiple Locations
Join PosterBooking for FREE
Get a free 1:1 PosterBooking demo and see how to unlock 10 free screens with zero setup headaches.
Display signage live in less than 2 minutes
Seconds to sign up. Seconds to add a screen. Seconds to add content and go live!