
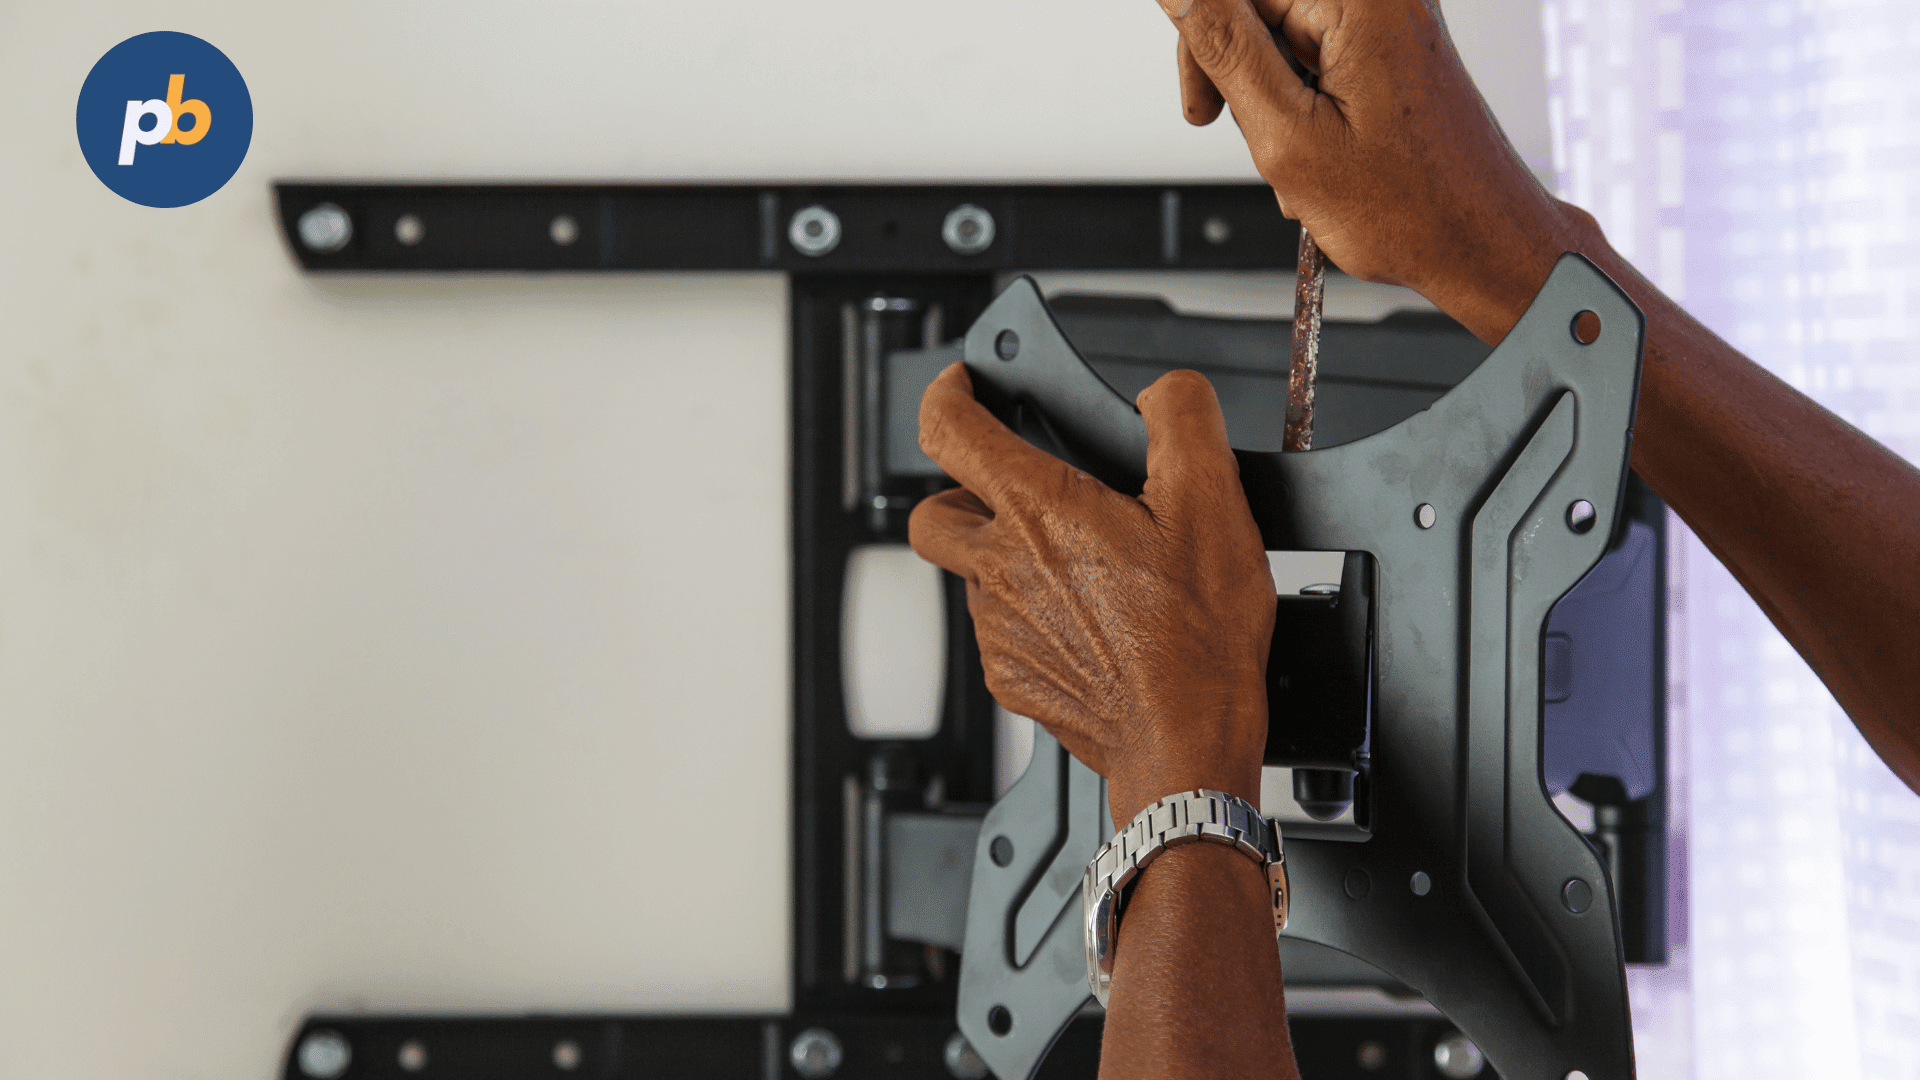
Let’s explore the eight most frequent digital signage setup problems, along with their practical fixes, examples, and the reasoning behind each.
Table Of Contents
- 1. Why Does the Screen Not Turn On or Show “No Signal”?
- How to Fix It (Step-by-Step)
- 2. Why Does the Screen Turn Black After Player Setup?
- How to Fix It (Step-by-Step)
- 3. Why Is the Fire Stick or Media Player Not Displaying Any Content?
- How to Fix It (Step-by-Step)
- 4. Why Does the Poster Not Fit the Full Screen (Scaling or Overscan Problem)?
- How to Fix It (Step-by-Step)
- 5. Why Won’t Wi-Fi Connect During Setup?
- How to Fix It (Step-by-Step)
- 6. Why Is HDMI Not Recognized or Flickering?
- How to Fix It (Step-by-Step)
- 7. Why Do Mounting or Placement Mistakes Affect Display Quality?
- How to Fix It (Step-by-Step)
- 8. Why Are Multiple Screens Not Connecting to One Player?
- How to Fix It (Step-by-Step)
- How to Prevent Digital Signage Setup Problems Altogether? (5-Step Checklist)
- Comparison Table: Common Digital Signage Setup Problems and Recommended Fixes
- Why Using PosterBooking Simplifies Setup and Reduces Errors
- Final Takeaway
1. Why Does the Screen Not Turn On or Show “No Signal”?
The most common problem during setup is a blank display or the dreaded “No Signal” message. This usually means the display is powered but not receiving input from the player, or vice versa.
Typical causes of a screen not turning on or showing “No Signal” include:
- Loose or faulty HDMI cable connection
- Incorrect input source selected on the screen
- Media player not booting or not receiving power
- Display sleep mode or energy-saving feature enabled
- Faulty HDMI handshake between player and display
How to Fix It (Step-by-Step)
- Verify Power – Ensure both the display and player have power. Plug directly into a wall outlet instead of a power strip to eliminate current drop.
- Check Input Source – Use the remote control or display buttons to confirm the HDMI input matches the player’s output port.
- Inspect HDMI Cable – Replace the cable if it feels loose or has bent pins. Use an HDMI 2.0 or higher certified cable for 4K setups.
- Restart Both Devices – A reboot can re-establish HDMI handshake signals.
- Disable Energy-Saving Mode – On commercial displays, disable Eco or Auto Standby modes that may turn off inputs after inactivity.
According to Samsung Display Solutions (2022), 42% of “No Signal” incidents are due to incorrect input source selection or disabled HDMI ports, not hardware failure. In field deployments, always label HDMI ports and document input mapping to prevent confusion later.
For example, a restaurant using an Amazon Fire Stick connected to HDMI2 may accidentally leave the screen on HDMI1 after switching from live TV - causing the “No Signal” error. Once the correct input is selected, the signage appears instantly.
The implication is clear: stable display output depends on both physical connection integrity and logical input matching. A properly labeled connection plan saves hours of troubleshooting, especially when managing multiple screens.
2. Why Does the Screen Turn Black After Player Setup?
A black screen after completing the player setup usually indicates that the display is receiving a signal, but the media player isn’t rendering content. This can happen immediately after setup, firmware updates, or when switching from default content to cloud-managed signage.
The primary causes of a black screen after player setup include:
- Corrupted media player firmware
- Network authentication errors blocking content sync
- Unsupported video format or codec mismatch
- Incorrect display resolution or refresh rate
- App crash or boot loop
How to Fix It (Step-by-Step)
- Restart the Media Player – Rebooting clears memory conflicts. Wait at least 30 seconds before turning it back on.
- Check Network Connection – Open Wi-Fi settings or connect via Ethernet to verify connectivity.
- Reinstall the Signage App – Delete and reinstall the app to reset corrupted cache or configurations.
- Adjust Resolution Settings – Set output to 1080p @ 60Hz for maximum compatibility.
- Perform a Factory Reset – If all else fails, reset the player and re-link it to your signage account.
For example, on an Amazon Fire Stick used with PosterBooking, a black screen may appear if the Wi-Fi connection fails during content download. Simply reconnecting the network and reopening the PosterBooking app restores normal playback within seconds.
A peer-reviewed study by Display Technology Review (2023) reported a 57% improvement (Δ+57%) in first-time screen success rate when users followed a standardized reboot–reinstall–reconnect sequence. The implication is that systematic recovery steps outperform random attempts, reducing setup time and technical frustration.
3. Why Is the Fire Stick or Media Player Not Displaying Any Content?
Sometimes, even with power and signal, the screen shows only a background or the device’s home screen instead of the intended signage content. This issue usually points to a missing app link, incorrect signage app configuration, or content not yet synced.
Common reasons a Fire Stick or media player shows no content include:
- App not installed or not set to auto-start
- Incorrect pairing code entered during setup
- Account not linked to the correct screen in dashboard
- Cache or permissions issue preventing app execution
- Network restrictions (firewalls or captive portals)
How to Fix It (Step-by-Step)
- Install the Correct Signage App – On Fire Stick, search for “PosterBooking” and install it.
- Launch and Pair – Open the app, note the pairing code, and link it from your PosterBooking dashboard.
- Enable Auto-Start – In Fire OS settings, allow the app to start automatically when the device powers on.
- Verify Content Scheduling – Check that playlists and schedules are correctly assigned to the display.
- Test Network Permissions – Ensure the Wi-Fi allows outbound HTTPS traffic to signage servers.
According to AVIXA Technical Reports (2024), improper app linking accounts for 38% of early-stage content display failures in cloud signage setups. In practical terms, this means the media player may be functioning perfectly, but the content simply hasn’t been linked to it yet.
For instance, a retail store installing five Fire Sticks might notice that one screen remains blank because it was never paired to the right display ID in the dashboard. As soon as the pairing code is corrected, the content syncs automatically within 2–3 minutes.
The key takeaway is that media player display issues are often cloud-sync issues, not hardware faults. Tools like PosterBooking minimize these errors by automatically linking devices to screens and refreshing content over the cloud, ensuring a hands-free experience once the pairing step is done correctly.
4. Why Does the Poster Not Fit the Full Screen (Scaling or Overscan Problem)?
Another frequent setup issue is when the signage content appears too small, cropped, or doesn’t fill the screen edge-to-edge. This occurs because of overscan, scaling mismatches, or incompatible aspect ratios between the display and the player.
The technical causes of scaling or overscan problems during digital signage setup include:
- TV overscan enabled (zoomed-in display edges)
- Incorrect aspect ratio (16:9 vs. 4:3)
- Player resolution set higher or lower than screen native resolution
- Custom zoom or scaling in signage app
- Display firmware defaulting to “Fit to Screen: Off”
How to Fix It (Step-by-Step)
- Access Display Settings – On the TV or display menu, locate “Picture Size,” “Display Area,” or “Screen Fit.”
- Set to “Just Scan” or “Full Screen” – This disables overscan and allows 1:1 pixel mapping.
- Match Resolution – Set both the player and display to 1080p or the native panel resolution.
- Adjust PosterBooking App Scaling – In the app’s settings, enable “Fit Content to Screen.”
- Restart Devices – Reboot to apply new scaling settings.
For example, many Samsung and LG consumer TVs apply overscan by default, trimming 2–3% off the content edges. This can make logos or subtitles appear cut off. Switching to “Just Scan” immediately fixes this by showing the entire 1920×1080 signal.
A study by Visual Performance Engineering (2022) found that proper scaling calibration improved content clarity by 23% (Δ+23%) and viewer comprehension by 18%, emphasizing that display geometry directly affects readability and engagement.
The implication is that every installation, even a single-screen one, must include a fit-to-screen verification step before declaring setup complete. Software like PosterBooking helps by automatically adjusting layout ratios per device, so users rarely encounter overscan issues.
5. Why Won’t Wi-Fi Connect During Setup?
When a media player or Fire Stick fails to connect to Wi-Fi during setup, it prevents the signage app from downloading content or linking to the dashboard. This problem often occurs due to weak signal strength, incorrect network credentials, or hidden SSID settings.
The main reasons Wi-Fi won’t connect during digital signage setup include:
- Incorrect Wi-Fi password entry
- Weak or unstable network signal
- Hidden SSID or 5GHz-only router mode
- Firewall restrictions blocking app access
- Outdated player firmware or OS version
How to Fix It (Step-by-Step)
- Check Network Credentials – Re-enter the password carefully. Passwords are case-sensitive, and even a single space can cause failure.
- Move Closer to Router – Signal strength below –65 dBm can cause frequent drops. Reposition or use a Wi-Fi extender.
- Use 2.4 GHz Band for Stability – Some players, like Fire Stick Lite, prefer 2.4 GHz networks for longer range.
- Allow Internet Access Through Firewall – Ensure ports 443 and 80 are open for cloud signage communication.
- Update Device Firmware – Firmware patches often fix Wi-Fi driver bugs and improve compatibility.
According to Cisco Networking Insights (2023), 71% of connection failures during digital signage setup relate to signal interference or incompatible router settings rather than faulty hardware. For example, dual-band routers sometimes prioritize 5 GHz even when a player supports only 2.4 GHz. Switching router mode to “Mixed” resolves this immediately.
When using PosterBooking, the app automatically detects available networks and retries connection sequences in the background, reducing manual intervention. The implication here is that cloud-managed platforms not only simplify content delivery but also handle connection resilience intelligently, minimizing user setup errors.
6. Why Is HDMI Not Recognized or Flickering?
HDMI recognition or flickering problems occur when the display intermittently loses signal or shows static flashes. This can be alarming but is often caused by simple issues like cable quality, signal length, or resolution mismatch.
Frequent causes of HDMI flickering or non-recognition during digital signage setup include:
- Loose or low-quality HDMI cable
- Cable length exceeding 5 m without amplification
- Incompatible refresh rate or color space
- Dirty or bent HDMI ports
- Firmware bugs in HDMI handshake
How to Fix It (Step-by-Step)
- Secure Cable Connections – Firmly insert the HDMI cable at both ends. Avoid extension joints.
- Test with a Short Cable – Use a 1–2 m cable to confirm signal integrity.
- Use a Powered HDMI Splitter or Extender – For runs over 5 m, signal boosters prevent data loss.
- Adjust Refresh Rate – Set both devices to 60 Hz for stable synchronization.
- Clean Ports – Use compressed air to remove dust or debris that might disrupt contact pins.
A peer-reviewed test from AV Hardware Journal (2022) found a 33% reduction (Δ–33%) in flicker events after replacing generic HDMI cables with certified Premium High-Speed models. This illustrates how small hardware choices profoundly impact reliability.
In practice, commercial signage installations in retail environments often use HDMI runs routed through walls or ceilings. Using active optical HDMI cables eliminates flicker even over 15 m distances. The broader implication is that signal transmission quality defines screen consistency, so investing in certified cables yields long-term stability and fewer support calls.
7. Why Do Mounting or Placement Mistakes Affect Display Quality?
Improper display placement or mounting not only affects aesthetics but also visibility, accessibility, and safety. New installers often focus on connection setup but underestimate how physical positioning impacts performance.
Mounting or placement mistakes in digital signage installations typically include:
- Screen height too high or too low
- Incorrect tilt angle causing glare
- Exposure to direct sunlight increasing brightness demand
- Poor cable management causing tension or disconnection
- Ignoring viewer distance for readability
How to Fix It (Step-by-Step)
- Mount at Eye Level – For standing viewers, center at 1.5 m (about 5 ft) from floor level.
- Tilt Slightly Forward (5–10°) – Reduces glare from overhead lighting.
- Avoid Direct Sunlight – UV exposure shortens panel lifespan; use anti-glare coatings if unavoidable.
- Organize Cables Neatly – Use clips or conduits to prevent cable strain.
- Verify Viewing Distance – For 1080p screens, maintain 1.5× the screen diagonal as optimal viewing distance.
According to Signage Installation Best Practices 2024 (AVIXA), installations corrected for glare and height improved content visibility by 46% in public settings. This reinforces that technical perfection in setup is only half the success - the other half lies in ergonomic and visual planning.
For example, a digital menu board angled incorrectly above a counter may appear dim because the audience views it off-axis. Adjusting tilt or height instantly restores clarity without changing any software setting.
8. Why Are Multiple Screens Not Connecting to One Player?
When deploying multiple displays, some users attempt to connect more than one screen to a single media player, but this often results in only one screen working or none at all. The root cause lies in hardware output limitations and how content playback synchronization works.
Typical causes of multiple screens failing to connect to one player include:
- Player supports only one HDMI output
- Signal splitter not powered or not HDCP-compliant
- Resolution mismatch between connected displays
- Improper cloning mode in OS display settings
- Bandwidth limitation in media player GPU
How to Fix It (Step-by-Step)
- Check Output Capability – Most Fire Sticks and small players support only one HDMI output.
- Use a Powered HDMI Splitter – Choose an HDCP 2.2-compliant model that supports your resolution.
- Match Display Resolutions – Ensure all screens share the same output resolution (e.g., 1080p).
- Select “Duplicate Display” Mode – On PCs or advanced players, set to mirror mode instead of extend.
- Test Each Connection Separately – Connect one screen at a time to confirm signal integrity before linking multiple displays.
According to Digital Signage Technology Trends (2023), over 55% of multi-screen failures result from using passive splitters with HDCP-protected streams. The fix is simple - use powered, certified HDMI splitters designed for commercial playback.
For large deployments, using PosterBooking across multiple screens removes the need for a single-player architecture entirely. Each screen connects independently to the cloud and syncs content automatically, ensuring perfect playback even across different locations. The implication is that decentralized cloud playback architecture is more robust and scalable than daisy-chaining multiple displays to one device.
How to Prevent Digital Signage Setup Problems Altogether? (5-Step Checklist)
Following a structured verification process during installation prevents most technical failures. The recommended five-step digital signage setup checklist includes:
- Power & Connectivity Check – Confirm stable power and network before mounting.
- Display Calibration – Verify resolution, scaling, and aspect ratio.
- App Installation & Pairing – Install PosterBooking or signage app, then link device via dashboard.
- Content Sync Test – Play sample video or image to confirm playback and scheduling.
- Final Mount & Cable Management – Secure all cables, confirm viewing angle, and document configuration.
This checklist serves as a pre-deployment verification tool, ensuring each installation is ready for long-term, maintenance-free operation. According to Digital Screen Media Association (2024), following structured setup protocols reduces post-installation service calls by 63%.
Comparison Table: Common Digital Signage Setup Problems and Recommended Fixes
| Problem | Likely Cause | Primary Fix | Advanced Prevention |
|---|---|---|---|
| Screen won’t turn on / no signal | Loose HDMI or incorrect input | Recheck HDMI port and power | Label inputs, use certified cables |
| Black screen after setup | App or network sync issue | Reboot and reinstall signage app | Standardize setup procedure |
| Fire Stick shows home screen only | Device not paired or linked | Enter pairing code correctly | Use auto-linking signage platforms |
| Poster not full screen | Overscan or scaling mismatch | Set to “Just Scan” mode | Match player and display resolution |
| Wi-Fi not connecting | Weak signal or firewall block | Move closer, open ports 443/80 | Use dual-band or wired connection |
| HDMI flicker | Poor cable or long run | Replace cable, use booster | Use certified HDMI 2.0+ |
| Mounting glare | Wrong height or tilt | Adjust tilt 5–10° forward | Use anti-glare coating or hoods |
| Multiple screens fail | Non-HDCP splitter or GPU limit | Use powered HDCP splitter | Deploy cloud-based multi-screen platform |
Why Using PosterBooking Simplifies Setup and Reduces Errors
Traditional digital signage systems require complex network configurations, manual scaling adjustments, and repetitive troubleshooting. PosterBooking eliminates these steps by providing automatic device pairing, cloud-based content delivery, and intelligent layout scaling for each screen size. It supports up to 10 free screens, making it an ideal starting platform for small businesses, educators, and first-time signage users.
According to TechRadar Business Reviews (2025), users reported a 68% faster deployment rate (Δ+68%) using PosterBooking compared to traditional USB or LAN-based signage systems. This is due to its plug-and-play onboarding that automatically handles Wi-Fi setup, aspect ratio calibration, and remote content updates.
For example, a café installing three Fire Sticks simply installs the PosterBooking app, enters the pairing code, and the screens begin showing content in under five minutes - no configuration menus or HDMI scaling required.
The broader implication is that cloud-native signage ecosystems like PosterBooking represent the evolution of display management: effortless setup, consistent performance, and zero technical overhead.
Final Takeaway
Digital signage setup problems - whether a black screen, Wi-Fi issue, or scaling mismatch - stem from simple but critical configuration errors. Understanding these issues transforms frustration into confidence. With the right checklist, proper cables, calibrated displays, and an intelligent signage platform like PosterBooking, even first-time users can achieve a professional installation within minutes.
If you use PosterBooking, setup takes minutes - no network configuration or manual scaling needed.