
How to set up digital signage screens on a Raspberry Pi
A super-quick setup guide
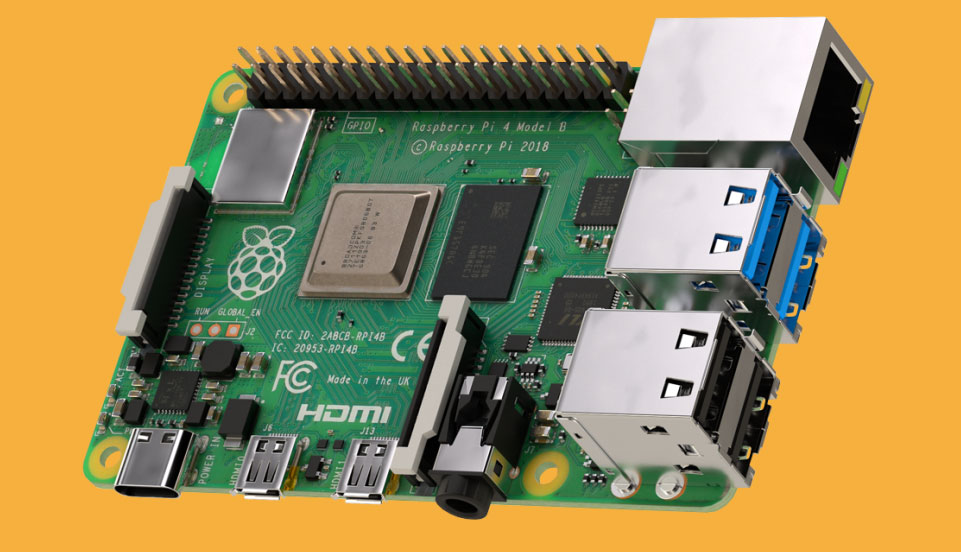
Here's what you will need:
A HDTV Monitor/Any TV
(with HDMI input)
A Raspberry Pi
(We recommend a Raspberry Pi 5 or a Raspberry Pi 4 Model B 4GB).
Internet Connection
To upload and update content
This super quick setup guide assumes you have already connected the Raspberry Pi to your monitor and you are using your Raspberry Pi and no other external device.
Before installing the PosterBooking app, please make sure you have Raspberry OS installed, if you are using a brand new Raspberry Pi you will need to install Raspberry OS Instructions to install Raspberry OS can be found here.
Step 1: Download the Raspberry Pi installer.
Click here to download it and then transfer it onto a USB drive and upload it onto the desktop of your Raspberry Pi. You can also download it by visiting posterbooking.co.uk/download-app using any browser on your Raspberry Pi.
Step 2: Extract
On your Raspberry Pi, go to your downloads folder and find the posterbooking-pi-app.tar.gz file, right click and select 'Extract Here'.
Step 3: Begin Install
Open the extracted folder, then double click "Install PosterBooking Pi"
Choose Execute/Run if prompted. Follow the terminal installer.
Step 4: Reboot
Once installation is complete, reboot the Raspberry Pi. The PosterBooking application will automatically start after reboot.
One Platform for Every Screen, Everywhere
Enterprise digital signage should enable growth, not slow it down. With PosterBooking, you can deploy signage wherever it adds value without worrying about screen limits, per-device fees, or complex contracts. Unlimited screens means you can keep scaling, without having to worry about extra costs.
Display signage live in less than 2 minutes
Seconds to sign up. Seconds to add a screen. Seconds to add content and go live!